

Before You Start
This guide will walk you through connecting Square to your Readdy project. Before you begin, make sure you have the following ready:- An active Square seller account. If you don’t have one, sign up at squareup.com.
- At least one Square location with card payments enabled — this is the location that will receive payments, and it determines the payment currency.
- A Readdy project connected to Readdy Backend or Supabase.
Readdy currently supports one-time Square payments. Subscriptions, recurring billing, refunds, and in-person (Square Terminal / POS) payments are not included in this integration.
Connect Square in Readdy
1
Open the Connects Panel
In the Readdy editor, click “Connects” at the top of the screen.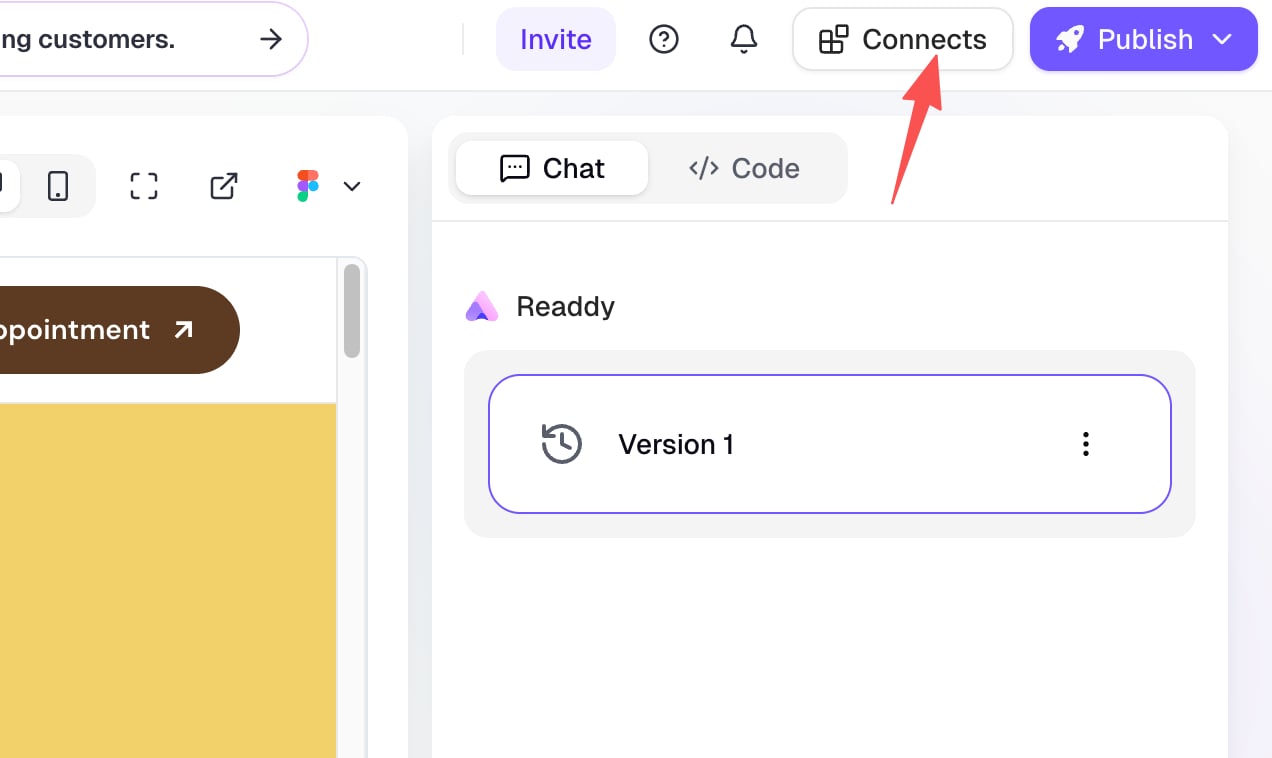
2
Select Square
Find “Square” in the Connects panel, then click “Connect with Square”.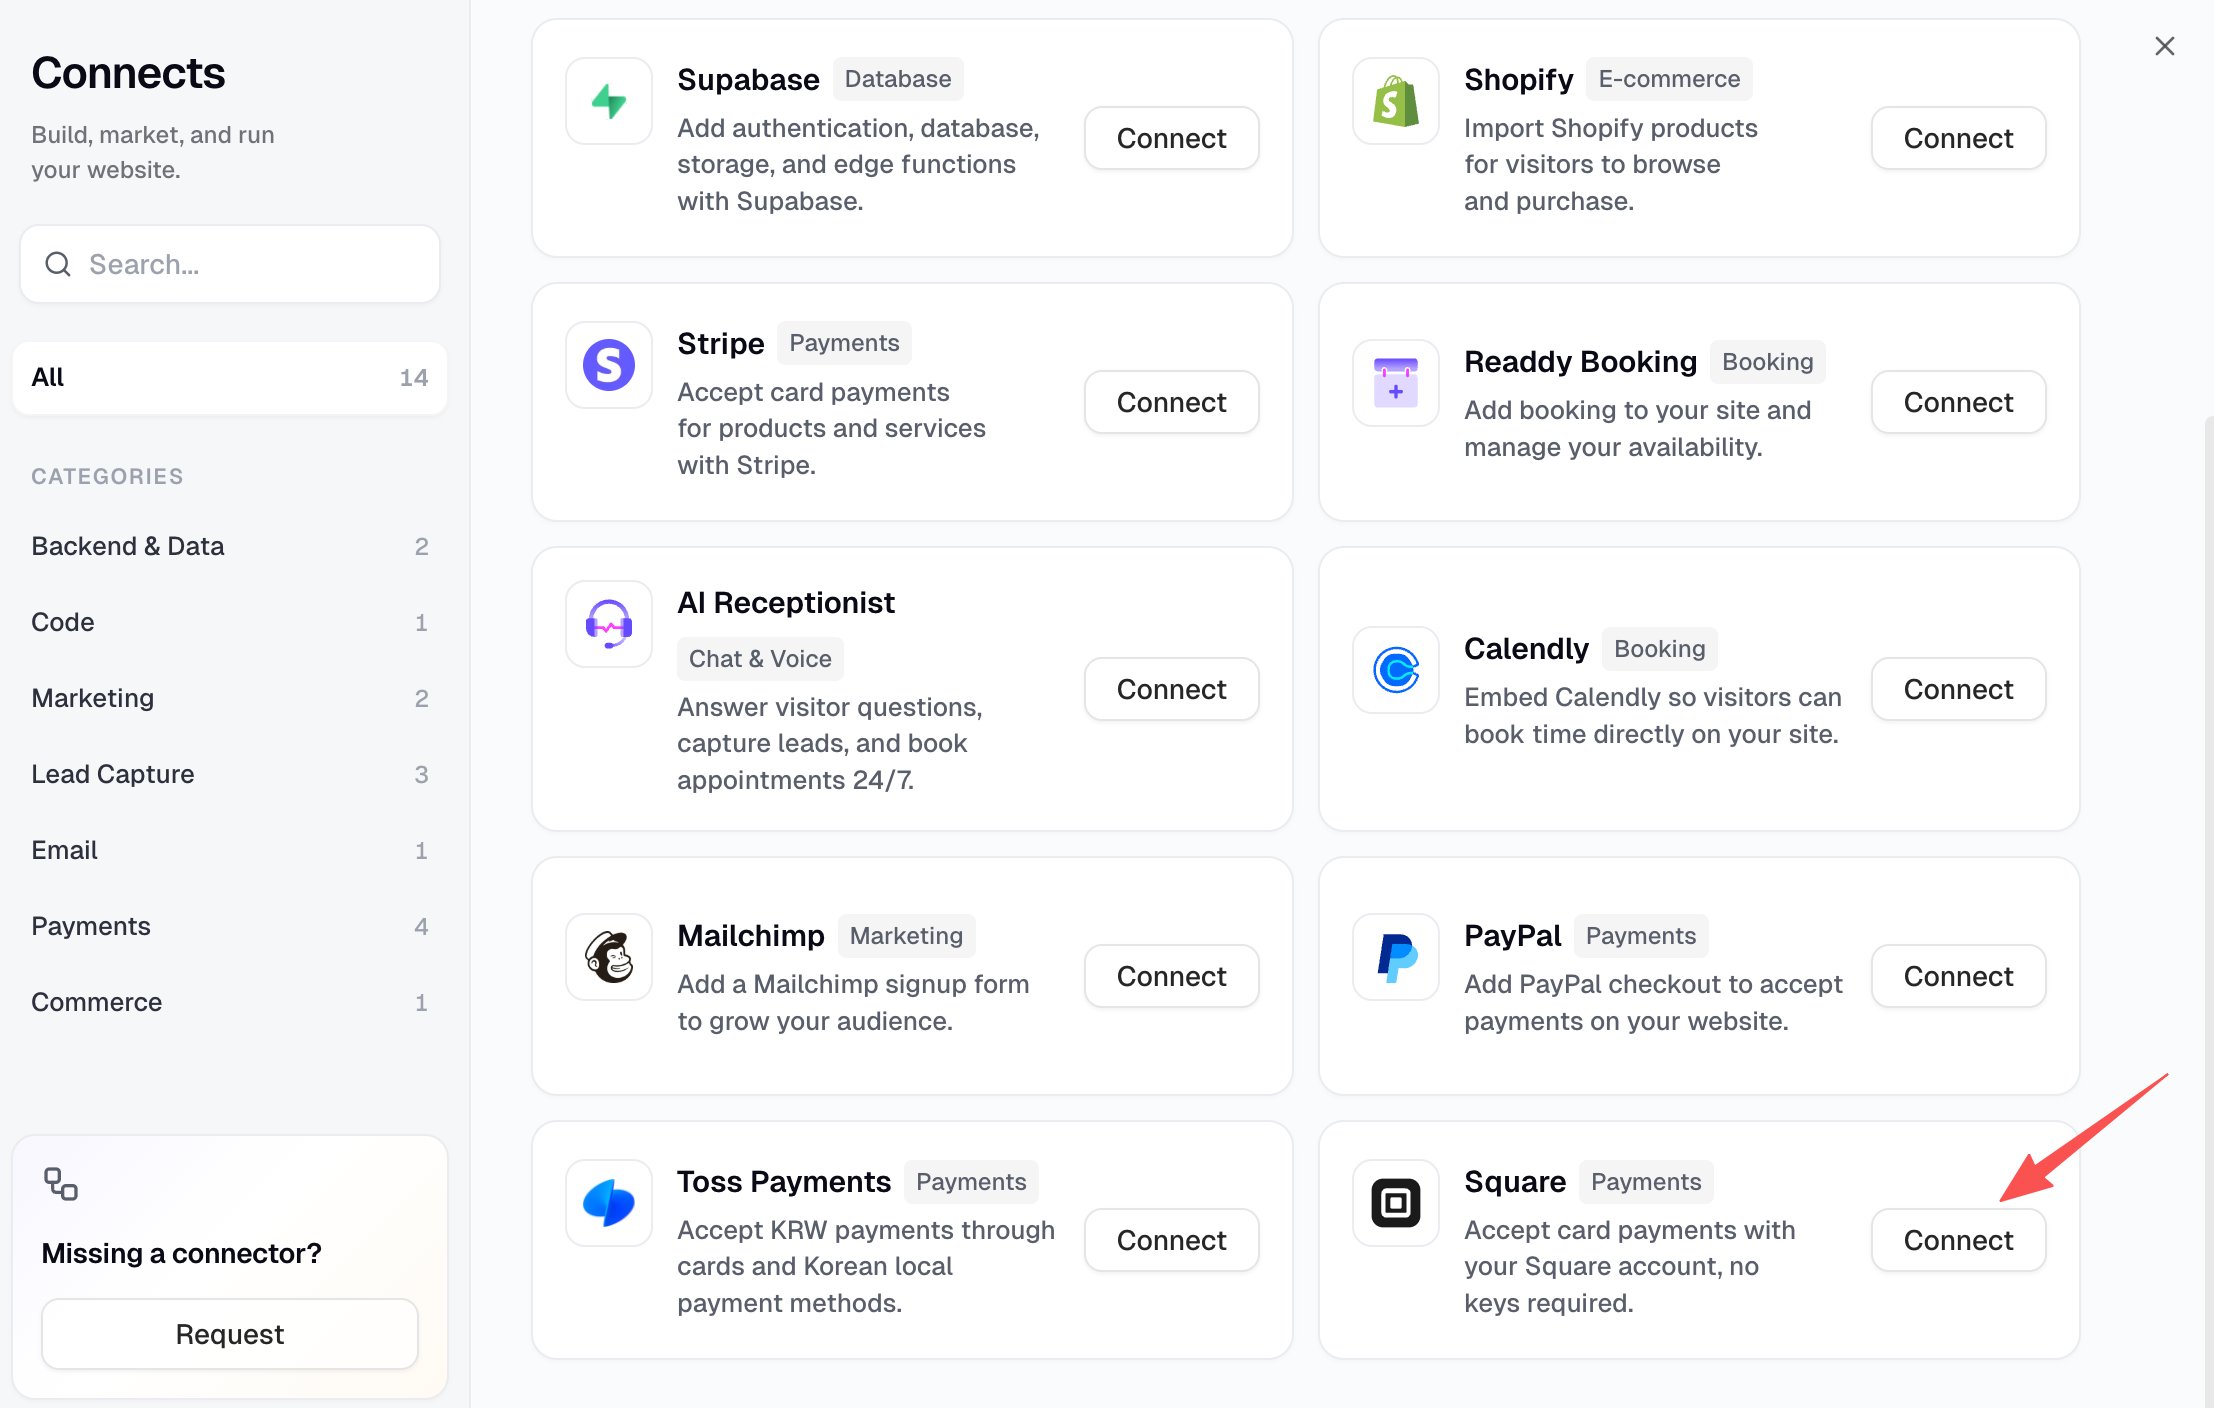
If your project does not have a connected database, Readdy asks you to connect Readdy Backend or Supabase first. Square uses the connected backend to keep your merchant tokens secure and record orders.
3
Authorize with Square
A new window opens to Square’s login page. Log in to your Square account and approve the permissions Readdy requests to view your business profile and process payments.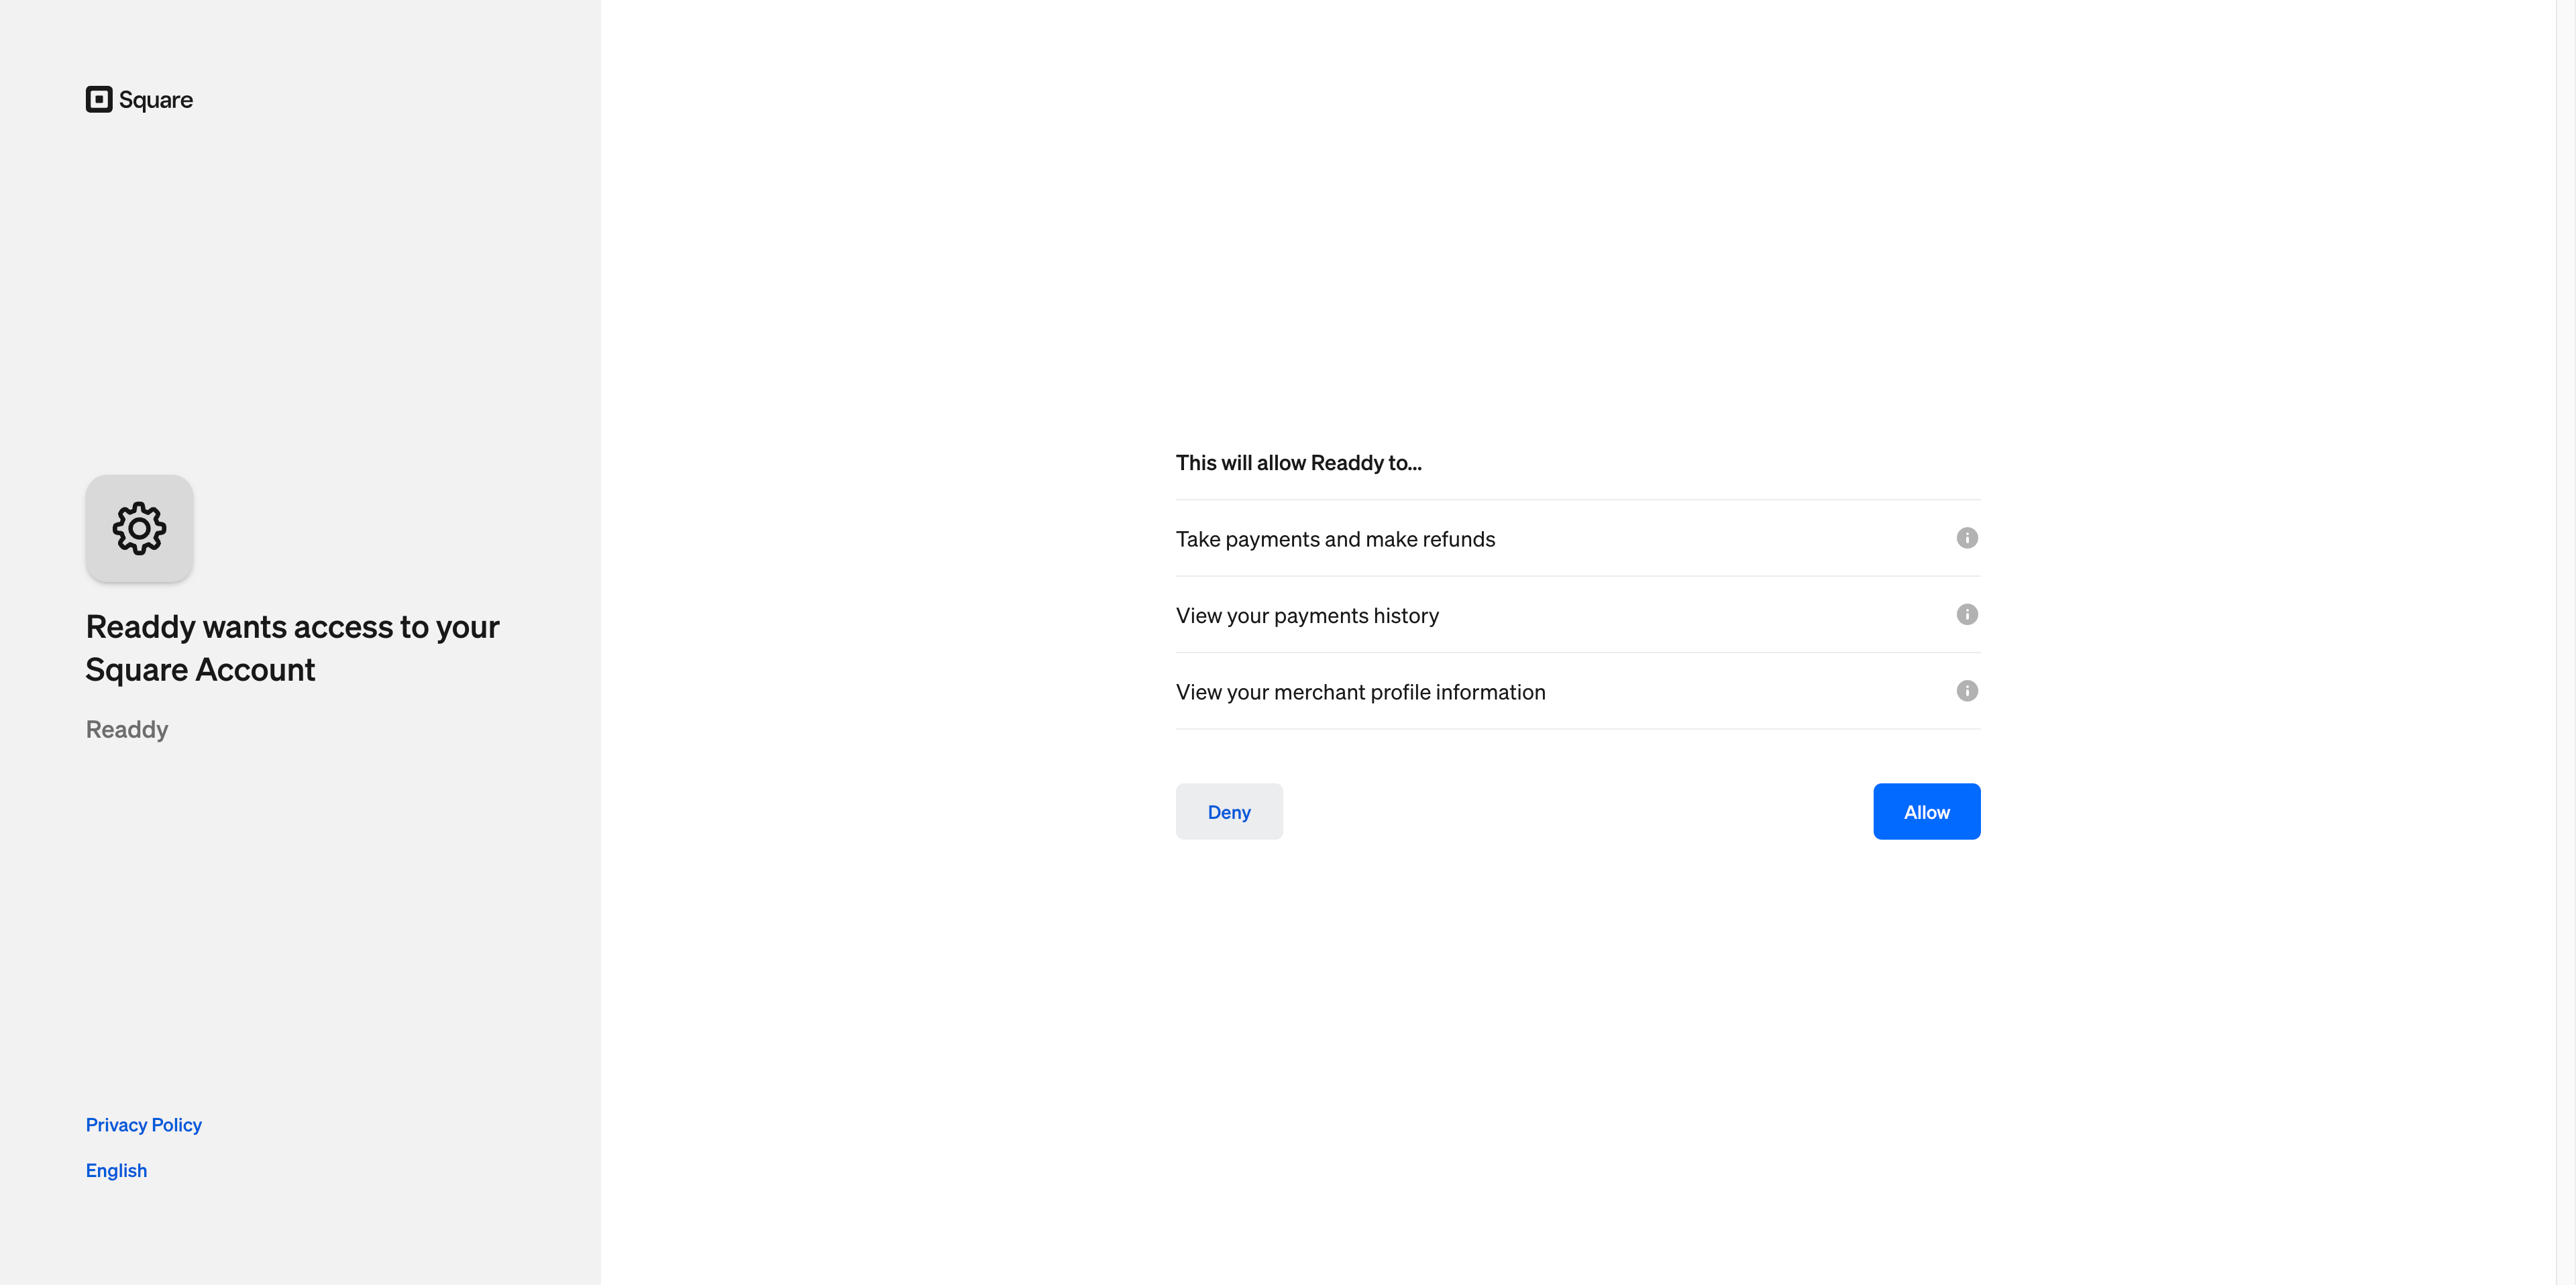
You never need to paste any API keys — authentication happens directly through Square’s own login page, and the window closes automatically once you finish authorizing.
4
Choose a Location
Back in Readdy, select the Square Location that should receive payments, then click “Save location”.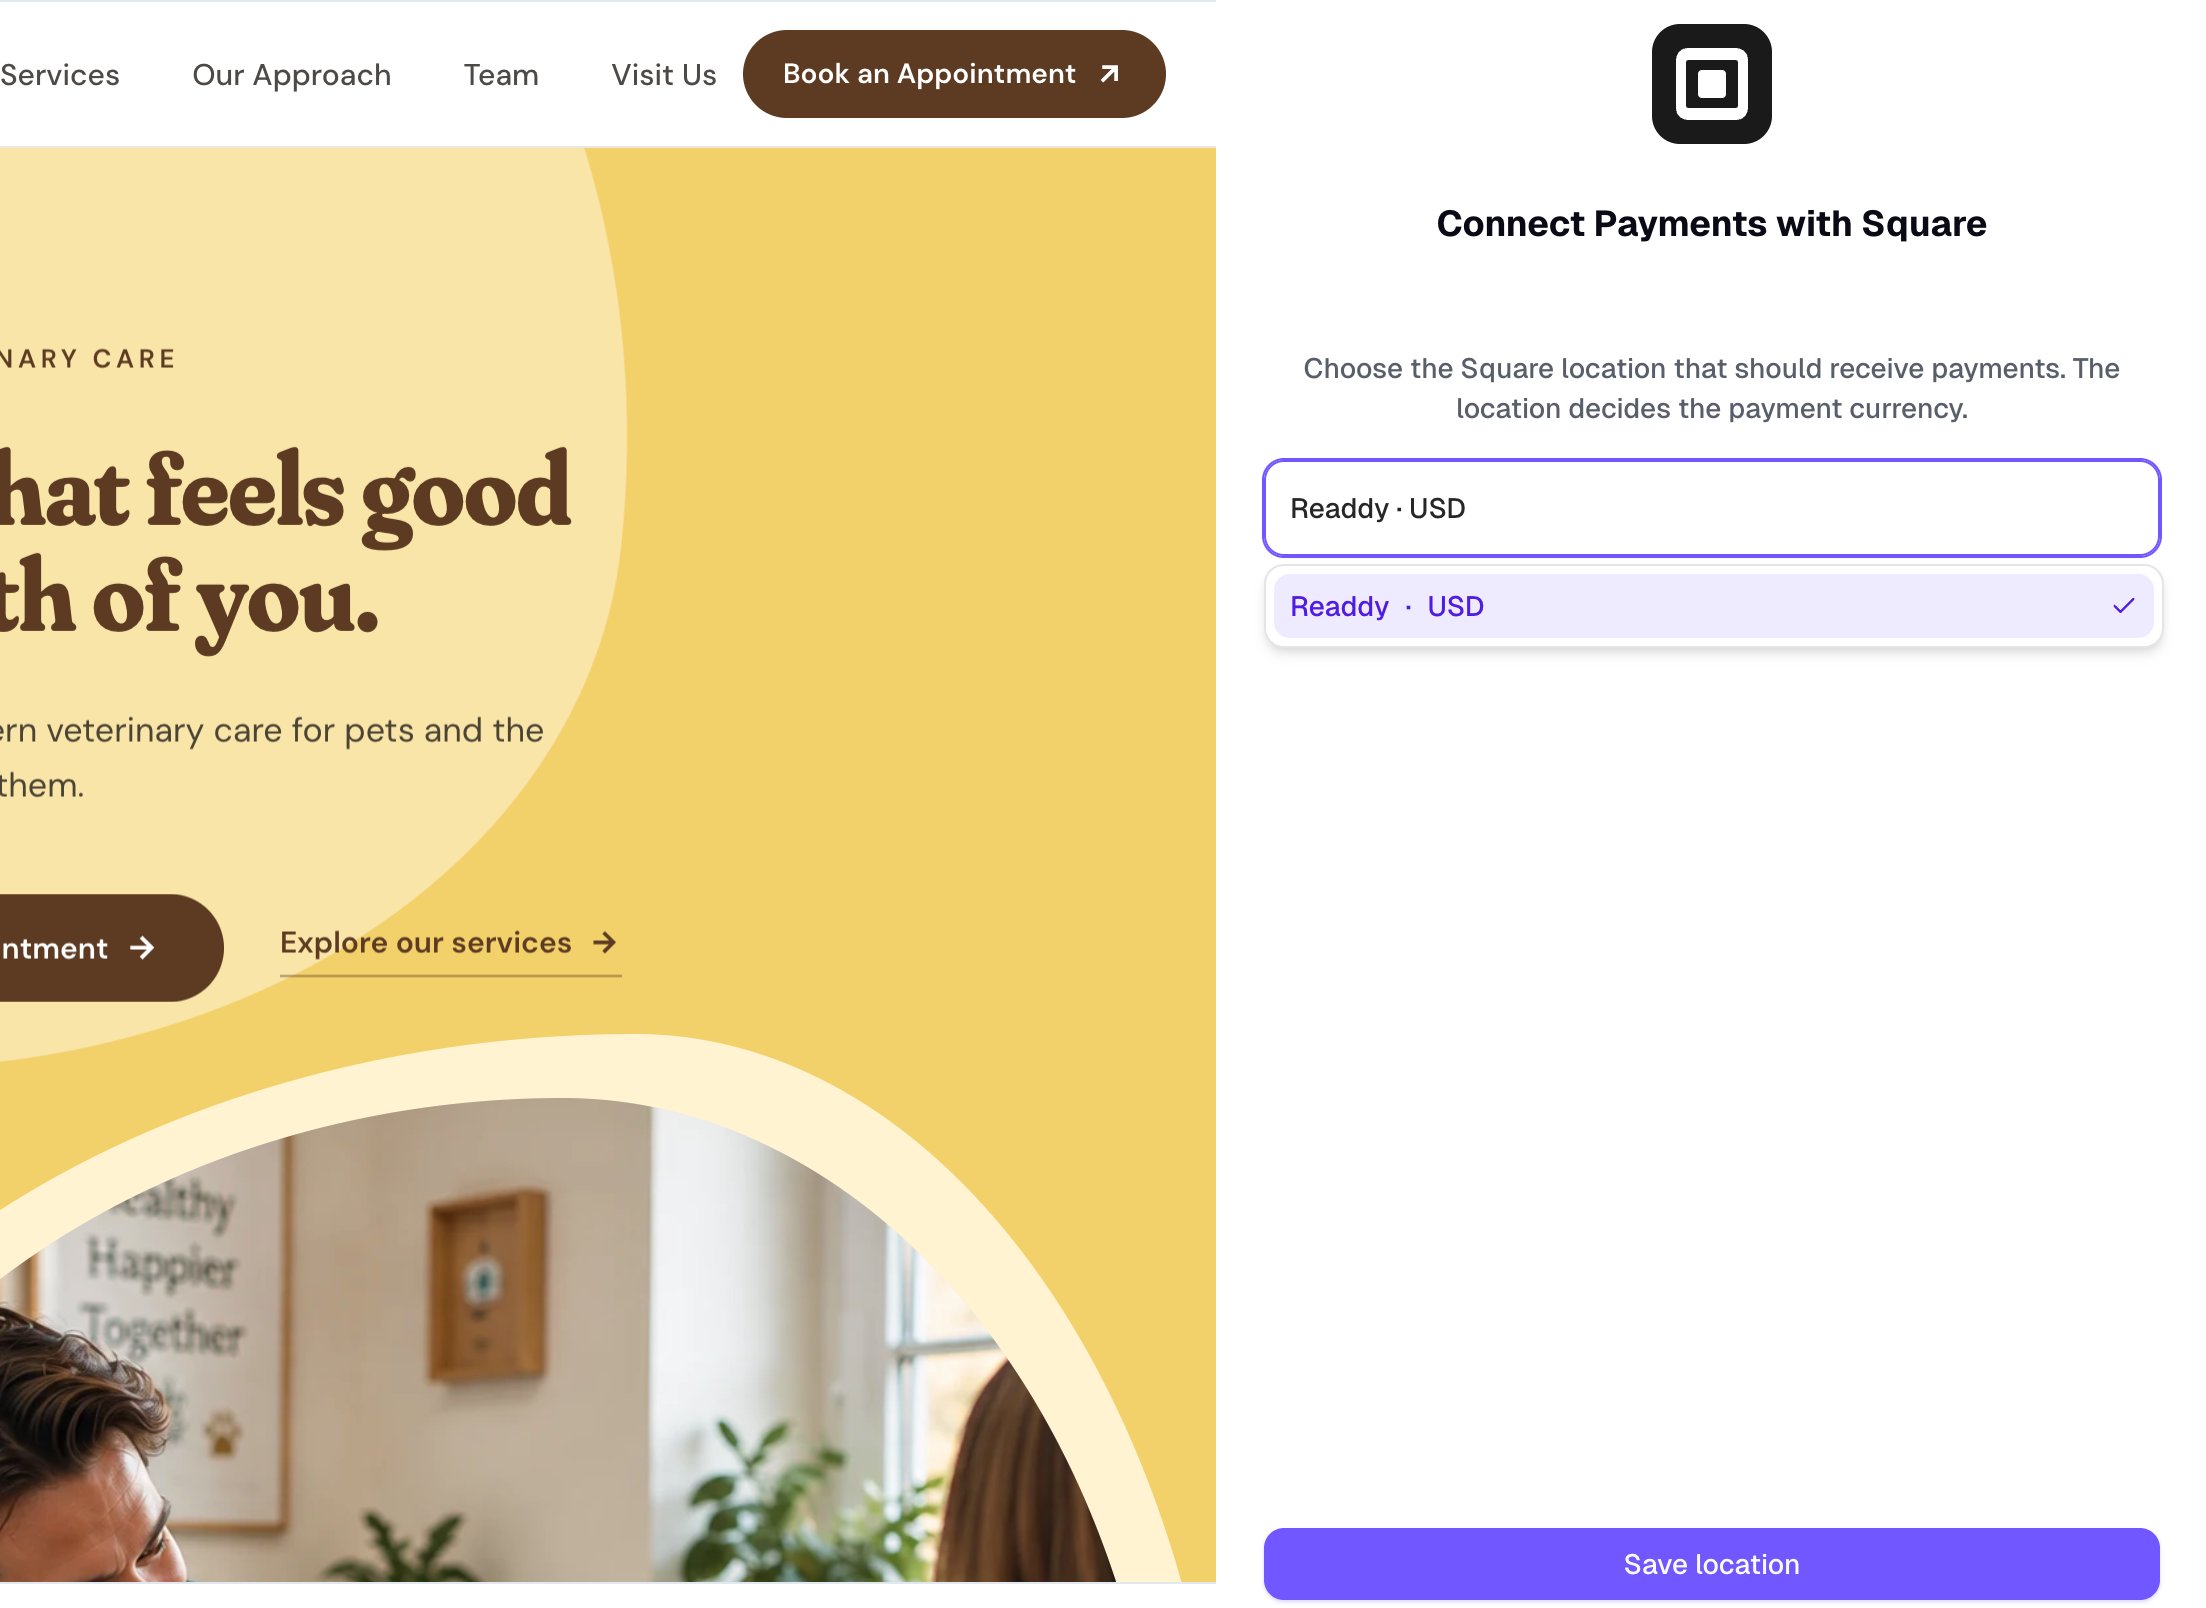
Locations that can’t accept card payments don’t appear in this list. If you only have one eligible location, Readdy selects it automatically.
5
Ask Readdy to Add the Payment Flow
Ask Readdy AI to add a Square checkout to the products, cart, or checkout button on your website.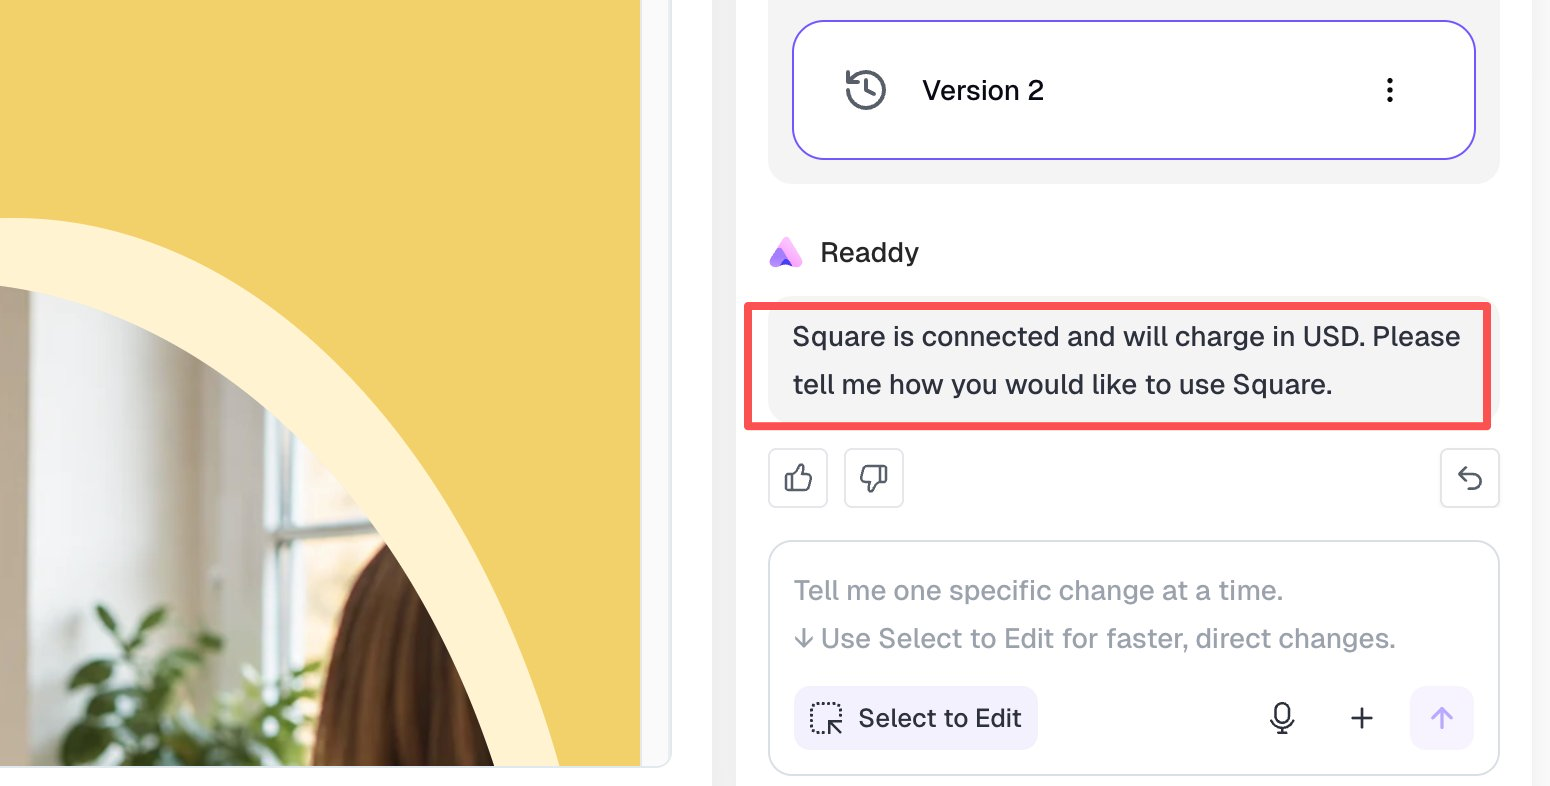
Managing Your Connection
Once connected, the panel shows a “Connected” label along with the linked Location, Currency, and Environment.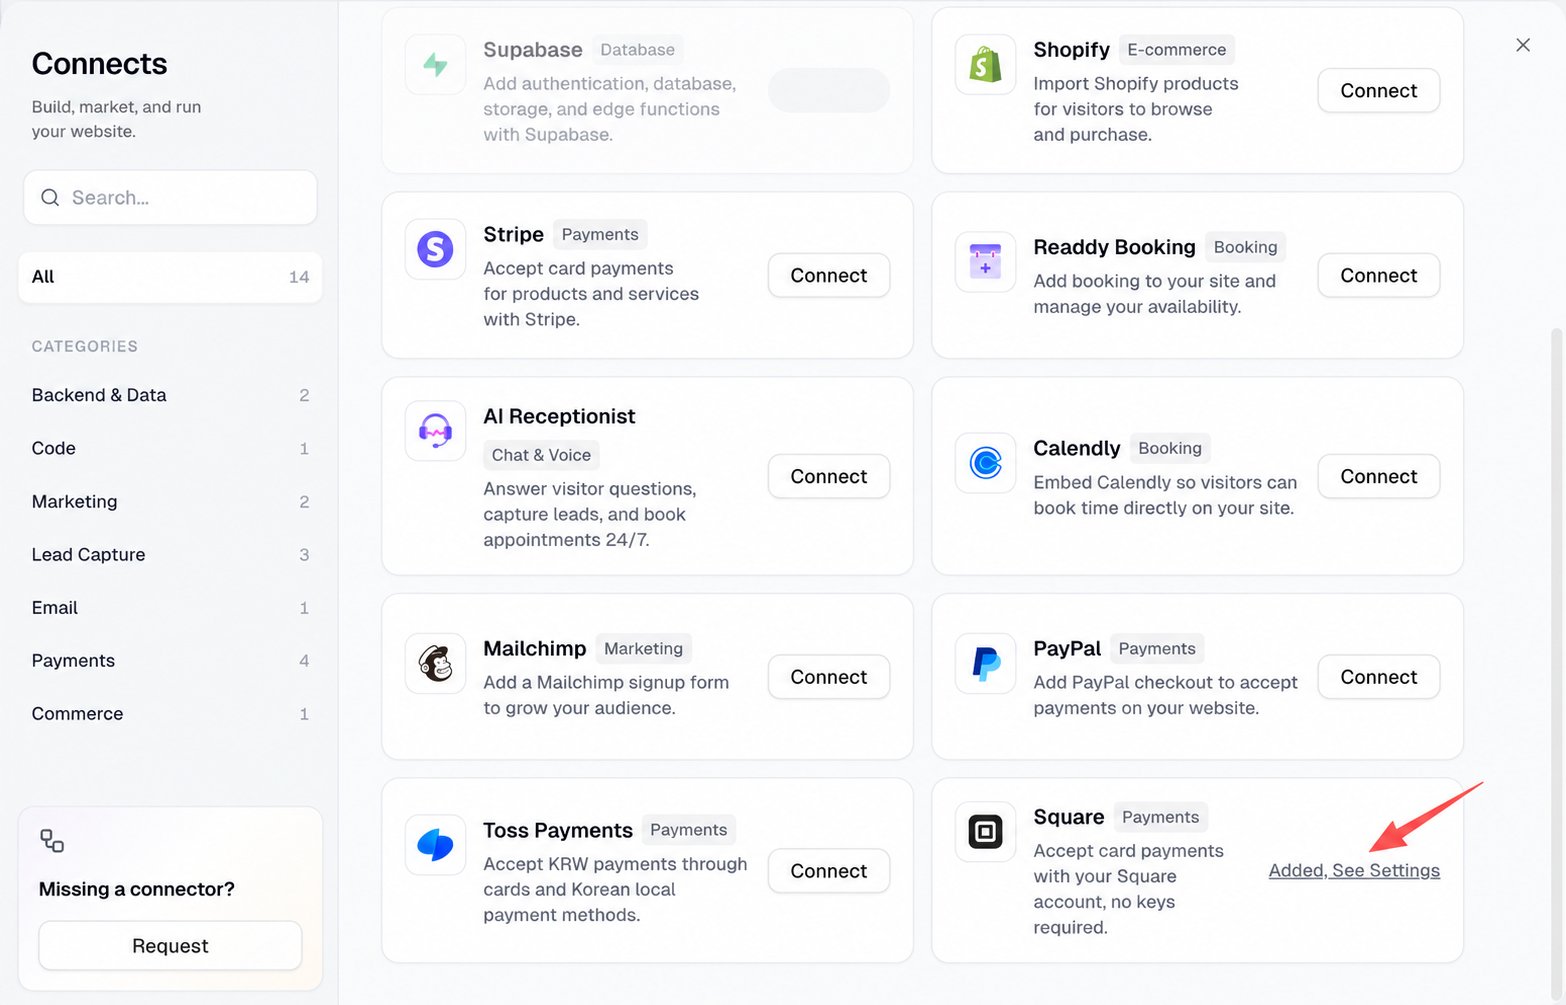
Best Practices
- Tell Readdy AI which products, cart, or checkout button should use Square.
- Confirm the connected location has card payments enabled before you publish.
- Test the complete purchase flow through your website’s share link or published URL before accepting live payments.
- If you change locations or accounts, regenerate and republish your website so it matches the newly connected location and currency.
Troubleshooting
None of your Square locations can accept card payments
None of your Square locations can accept card payments
Symptom: After authorizing, Readdy shows this message instead of a location list.Cause: Card payments are disabled for every location on your Square account.How to fix: Enable card payments for at least one location in your Square Dashboard, then click “Connect with Square” again.
FAQ
Do I need to paste any Square API keys?
Do I need to paste any Square API keys?
No. Square uses OAuth authorization — you log in to Square directly and grant access. Readdy never asks you to copy or paste API keys or tokens.
Why don't I see all my Square locations in the list?
Why don't I see all my Square locations in the list?
Readdy only lists locations that can accept card payments. If a location is missing, enable card payments for it in your Square Dashboard, then reconnect.
Which currency will customers pay in?
Which currency will customers pay in?
The currency is determined by the Square location you connect. If you need a different currency, click “Change location” and choose a location that uses that currency.
Why do I need to connect a database first?
Why do I need to connect a database first?
Readdy uses the connected backend to keep your Square merchant tokens secure, create orders, and record payment results after checkout.
Can I connect a different Square account later?
Can I connect a different Square account later?
Yes. Open the Square panel and click “Change location”. This restarts the authorization flow, so you can log in to a different Square account and choose a new location.