You have two ways to create a form:
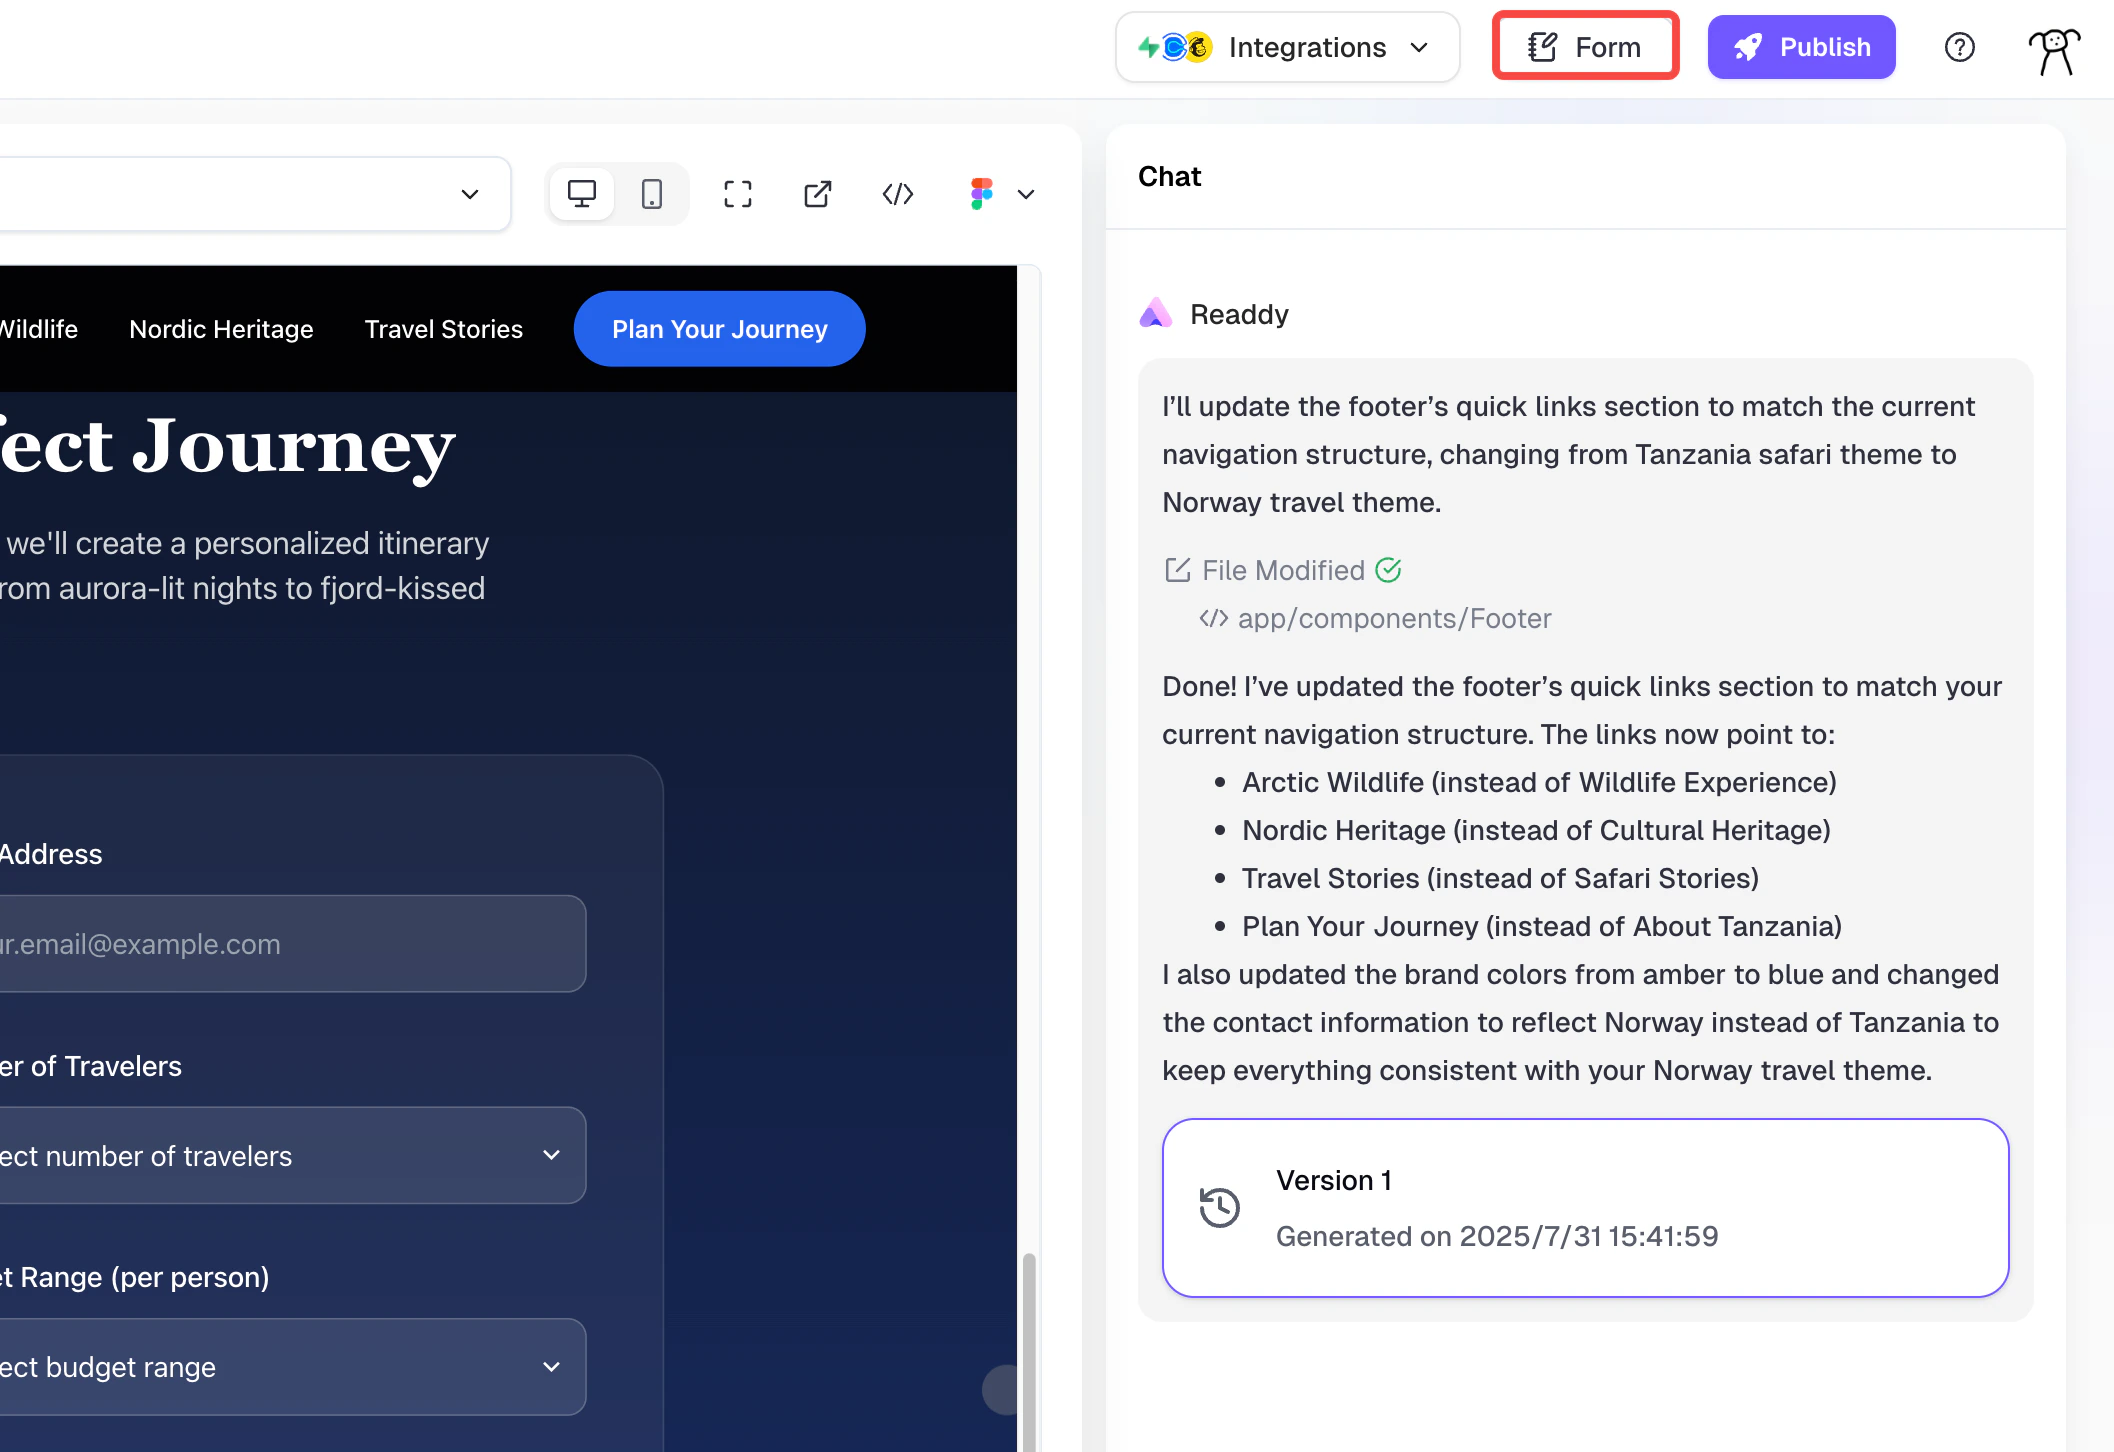
By Form Submission Button
Click the form submission button on the page to display the “Create Form” guide button. Click it to open the Form settings panel.
Storage Configuration
You can choose to store data in a new form or select an existing form for better organization.
Data Management
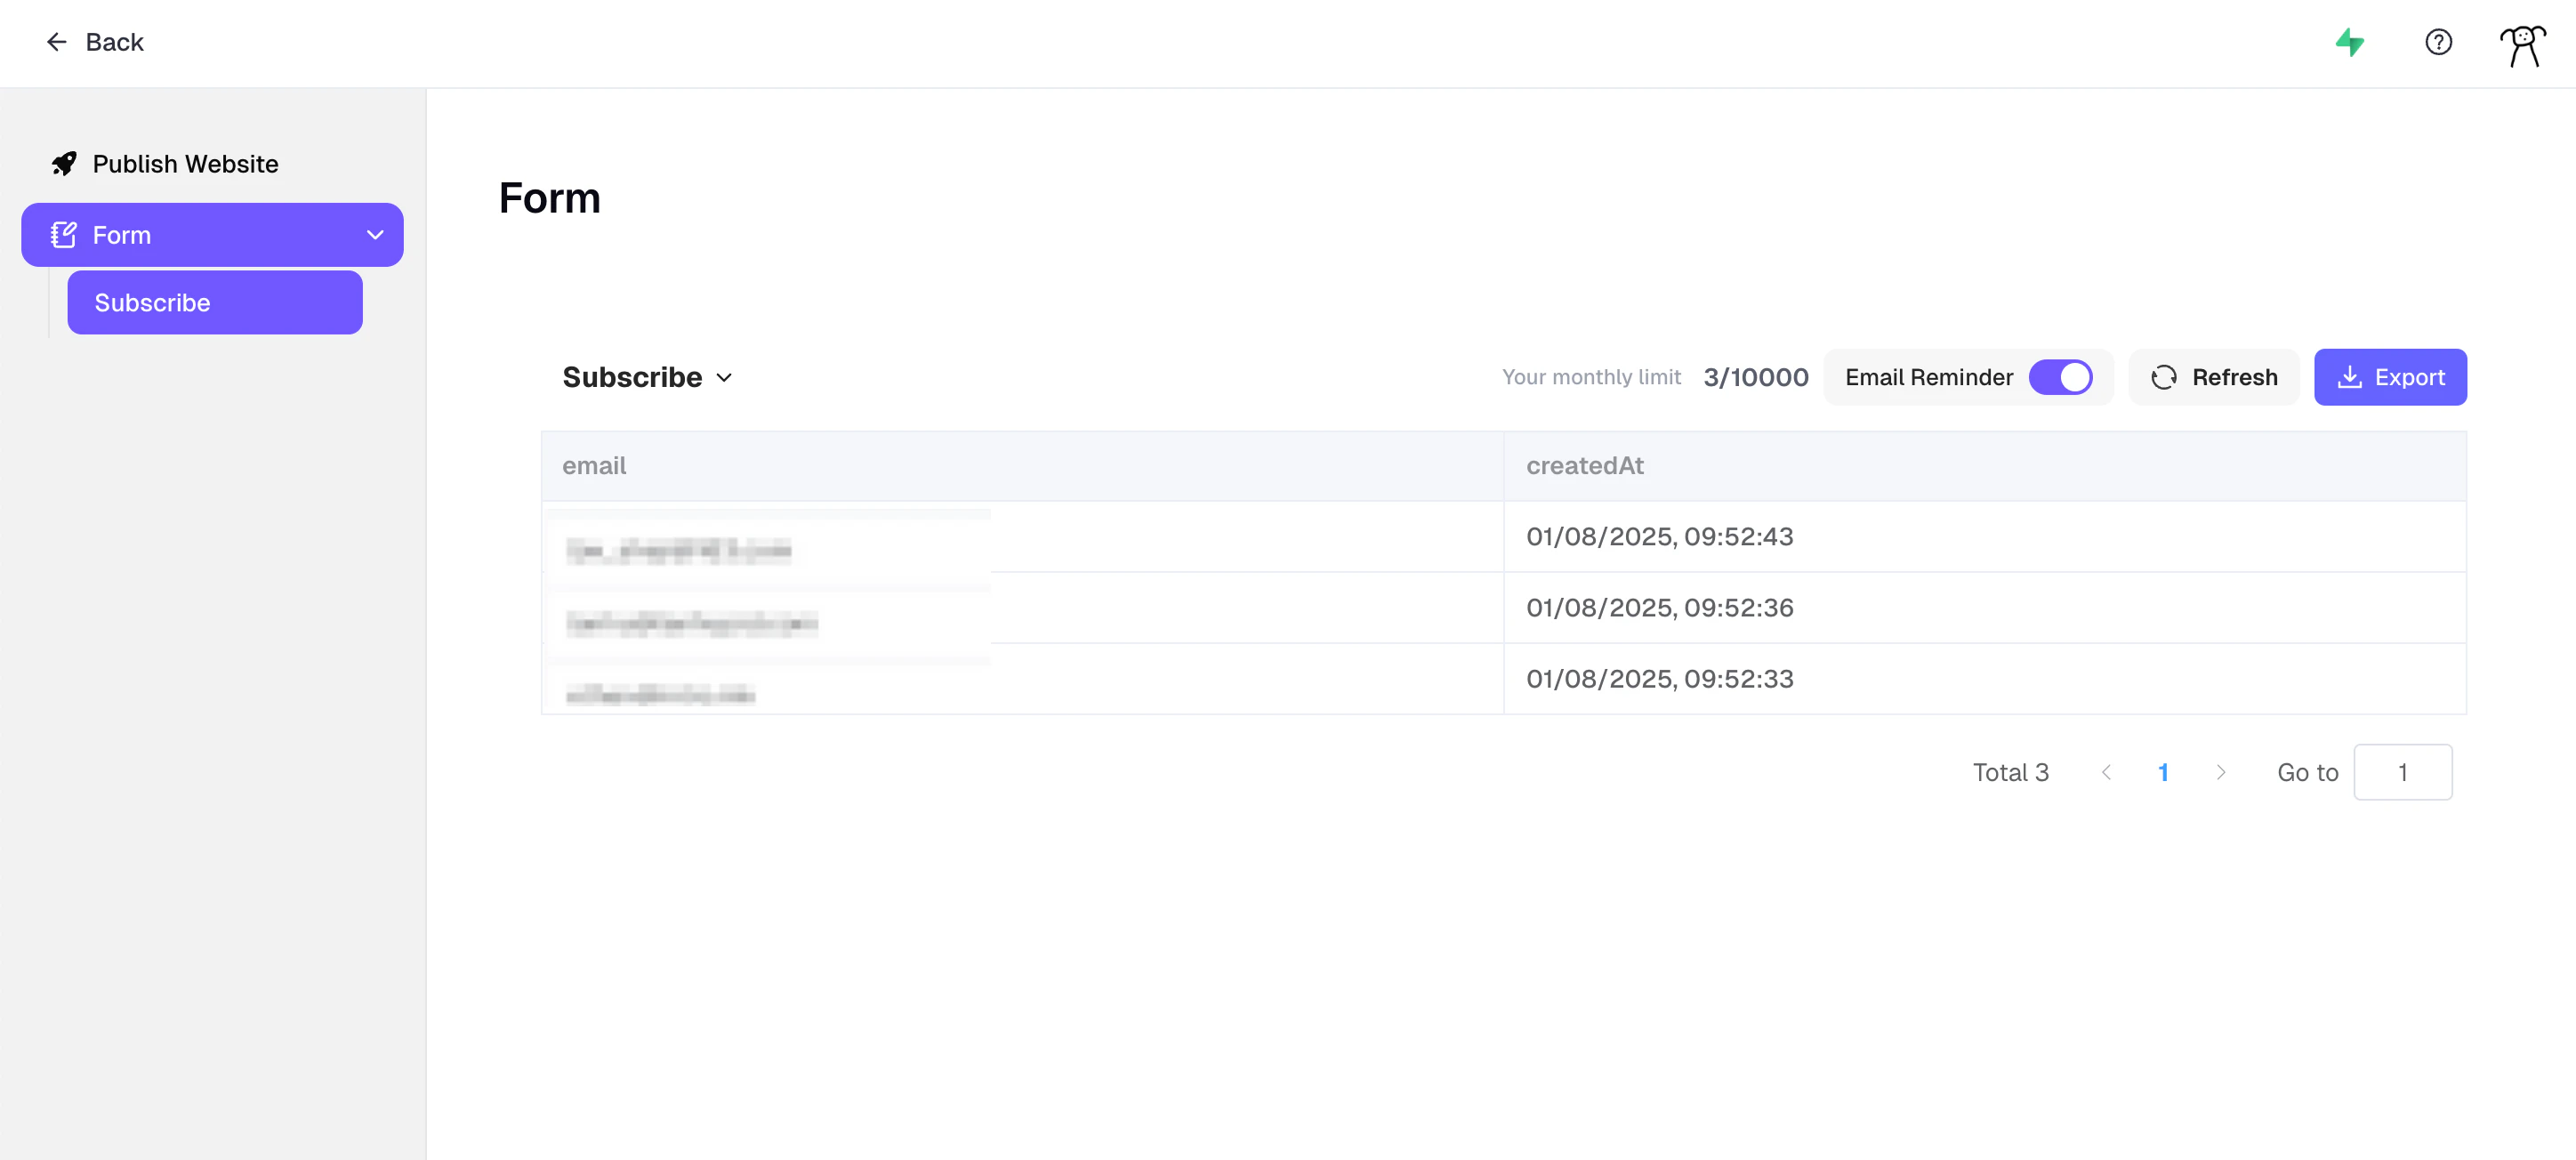
Form Storage
Form helps you manage all form data stored in the project. You can export stored form data in .xlsx format for further analysis or processing.Submission Notifications
You can toggle submission notifications on or off to control when you receive alerts about new form submissions.Notes
- Starter Plan has 50 submissions/month, Pro Plan has 10,000/month submissions.
- The monthly limit refers to the number of submissions, not the storage limit. This is unrelated to whether you delete forms, but it depends on form submissions.