Only the current project owner can start a transfer, and each project can only have one active transfer invite at a time.
What’s Included in the Transfer
When a transfer is completed, the recipient receives:- The project, including forms, agent configuration, integrations, and collaborators
- The custom domain, if the project still has a connected domain when the recipient accepts the invite
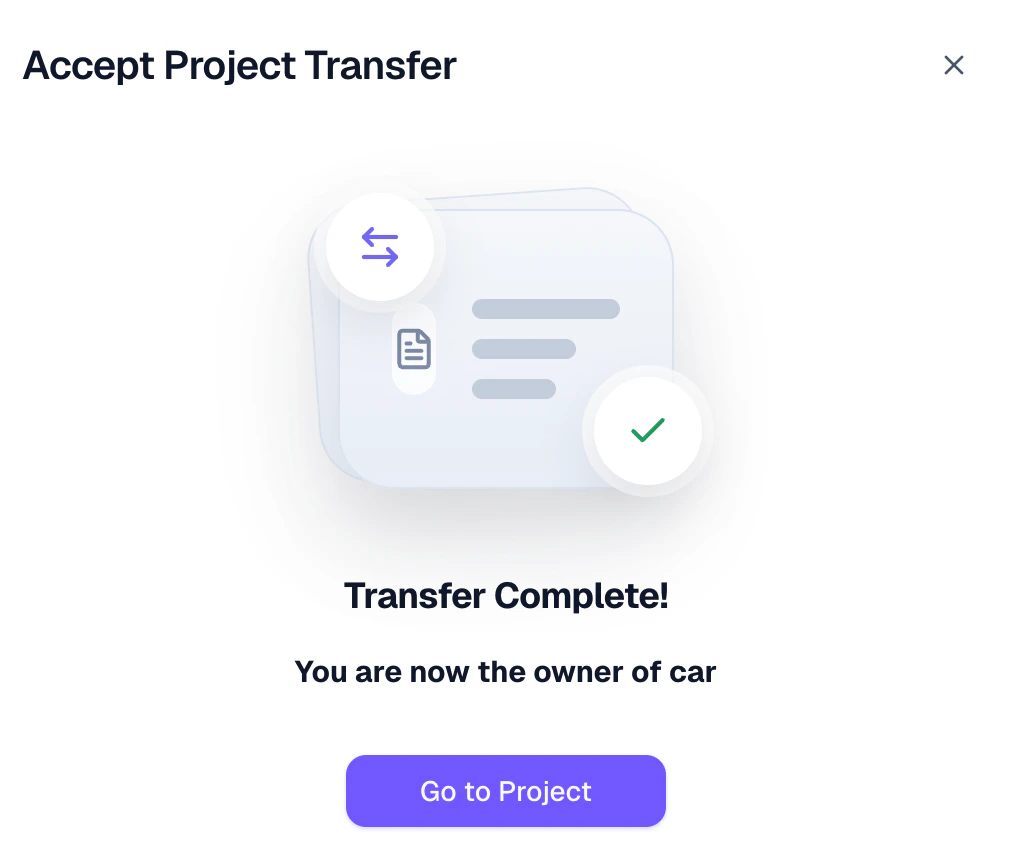
The recipient gets the latest version of the project at the moment they accept the invite. Project Transfer does not lock the project to a snapshot from when the invite was first sent.
Send a Transfer Invite
Open the transfer entry
Go to the project panel, click the Project Setting menu, then select Transfer Project after entering the page.After you send the invite, this same menu entry changes to Manage transfer.
Choose the recipient
Enter the recipient’s email address, then choose who they are.Readdy checks that the email is valid and makes sure you are not transferring the project to yourself. If the recipient is already a collaborator on the project, you can select their email from the suggestion list.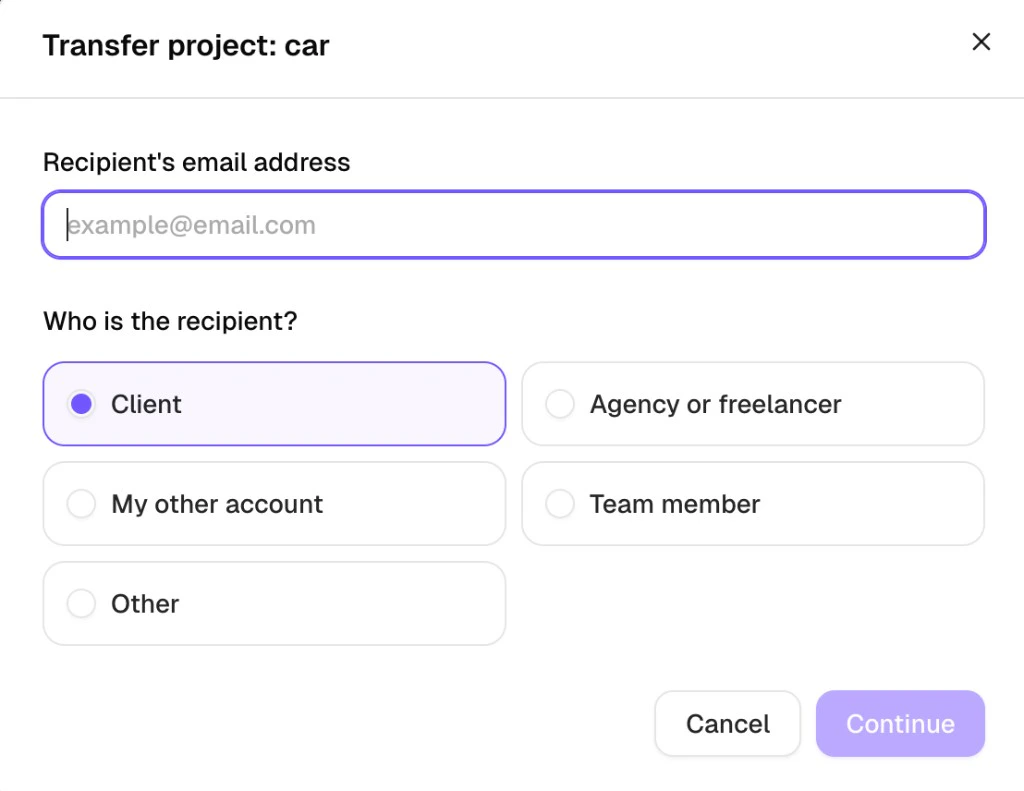
Review the transfer details
Review the project name, recipient email, what will be included, and the transfer options.At this step, you can choose whether to keep your viewer role after the transfer and whether the new owner can keep chat history and version history.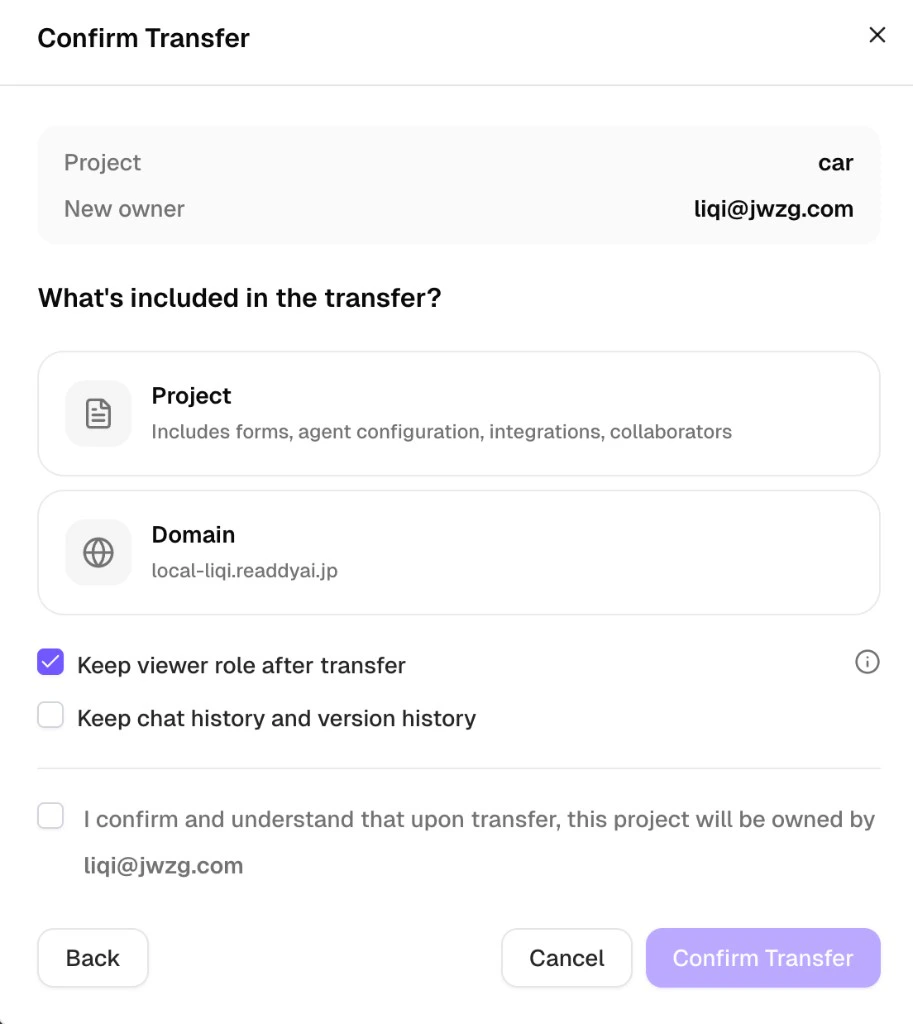
Manage an Active Transfer
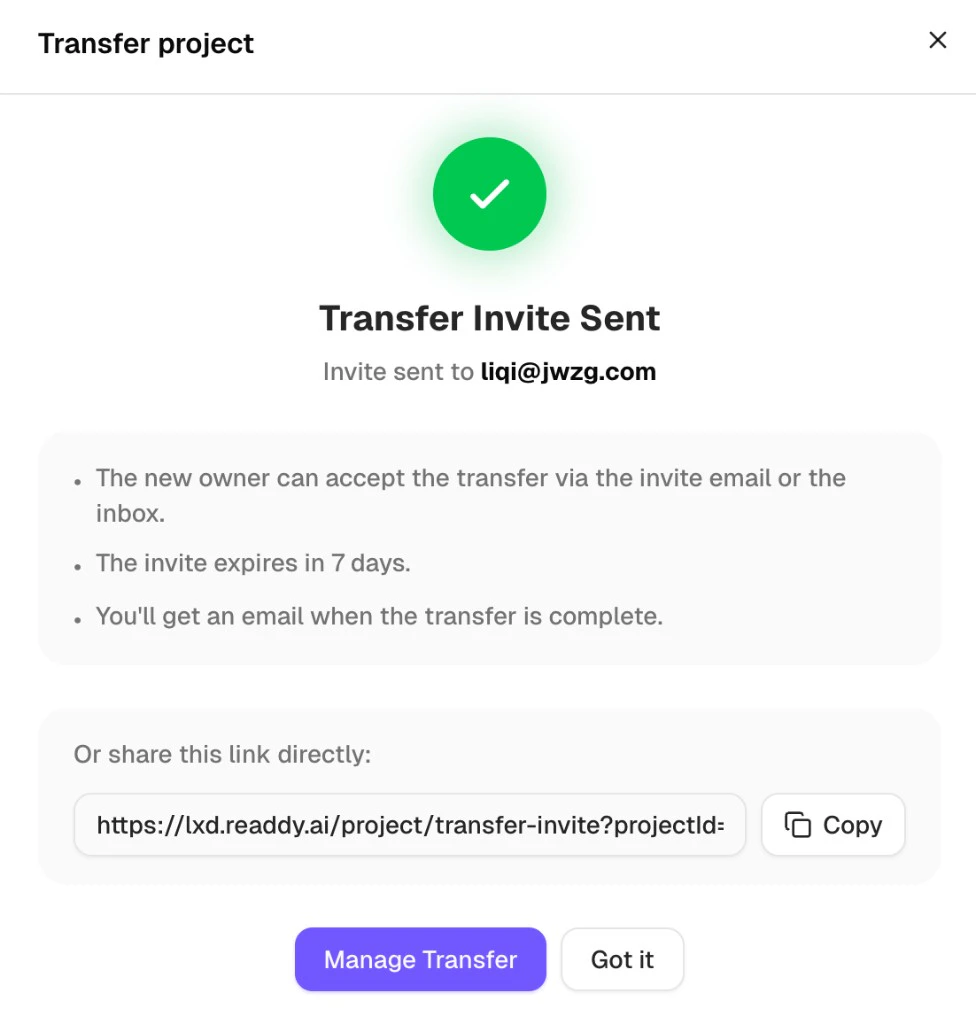
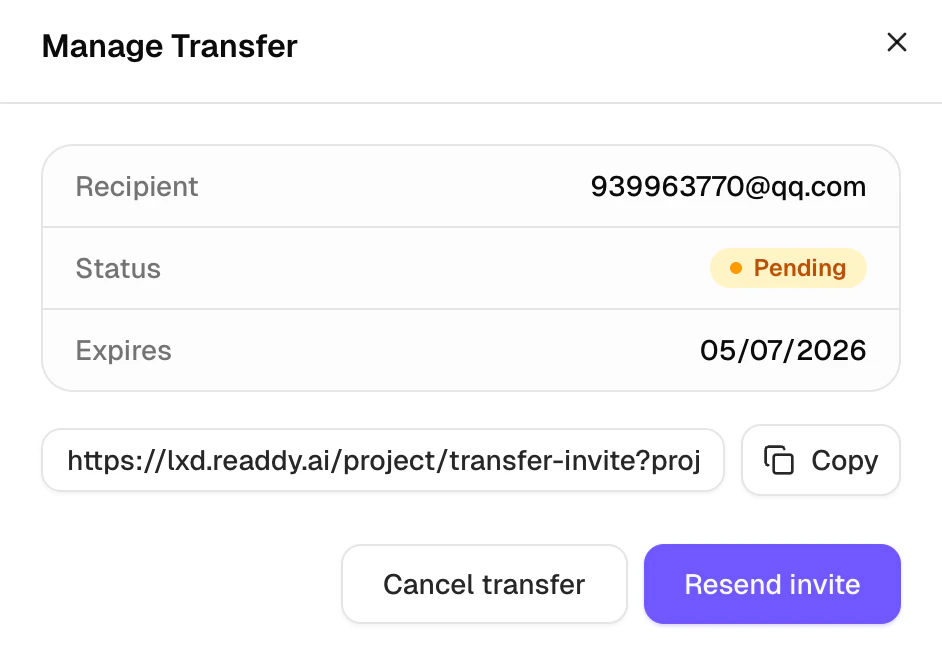
After the invite has been sent, open Manage transfer to review or update it. You can:- Check the recipient, transfer status, and expiration date
- Copy the invite link
- Resend the invite
- Cancel the transfer
Accept a Transfer Invite
To accept the transfer, the recipient must sign in with the same email address that received the invite.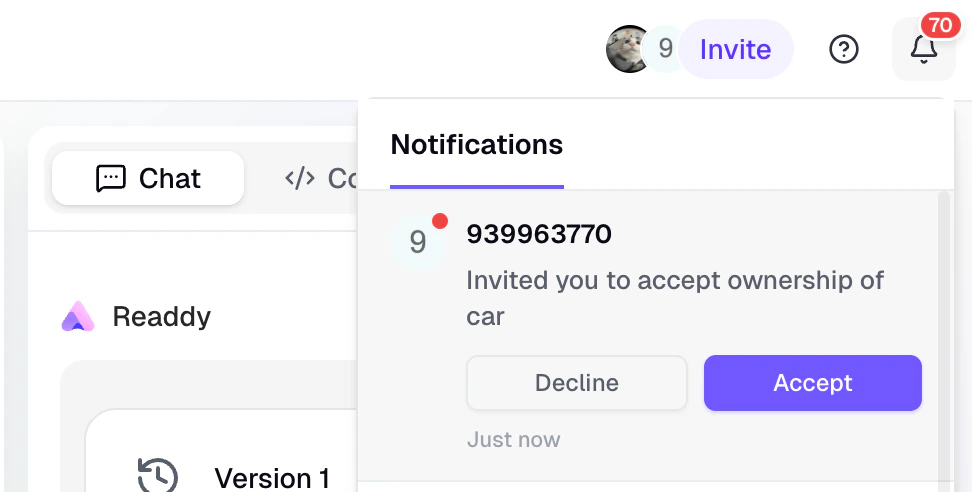
Review the transfer details
Before accepting, the recipient can review the sender, project name, expiration time, and the items included in the transfer.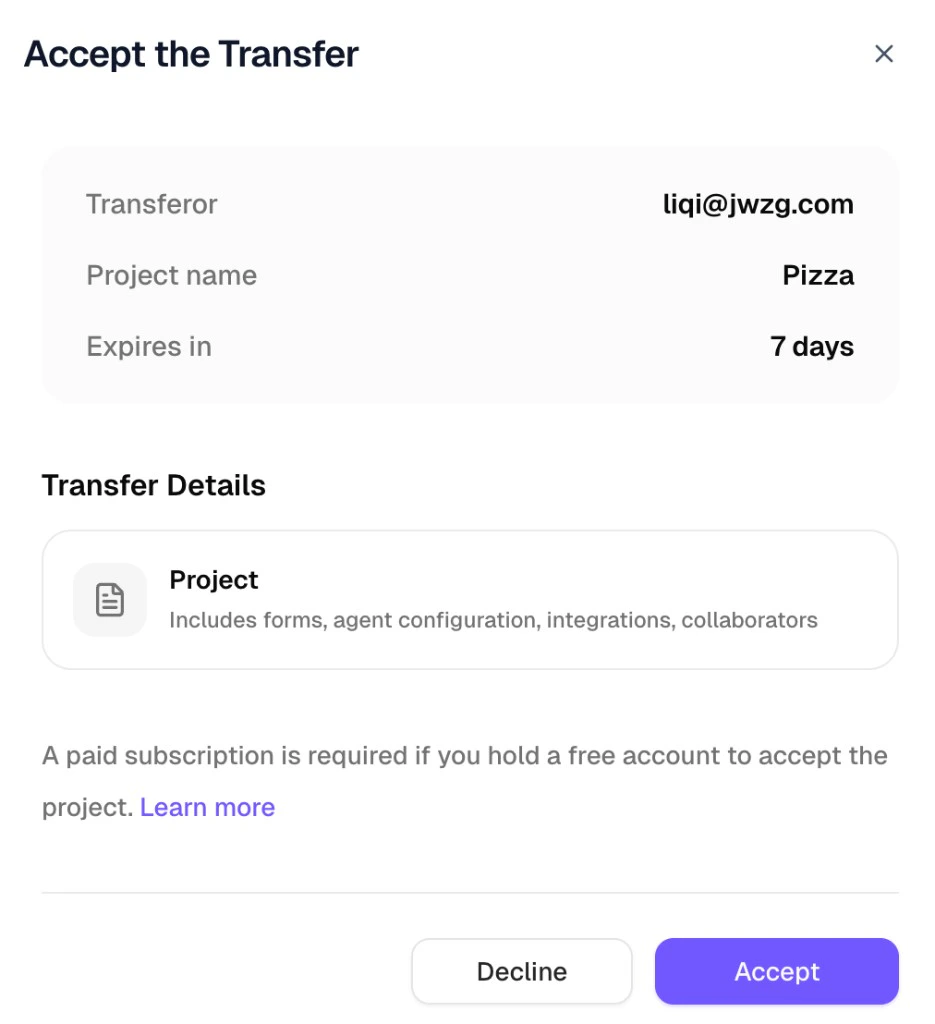
Transfer Options
Keep viewer role after transfer
Keep viewer role after transfer
If this option is enabled, you stay in the project as a viewer after the transfer is completed. If it is turned off, you will lose access once the recipient becomes the new owner.
Keep chat history and version history
Keep chat history and version history
If this option is enabled, the new owner can see the previous chat conversation and version history in the chat panel. If it is disabled, the new owner will only see the latest version and will not be able to view the conversation history.
Troubleshooting
Recipient sees a wrong account message
Recipient sees a wrong account message
Symptom: The recipient opens the invite and sees a “wrong account” message instead of the Accept screen.Cause: The recipient is signed in with a different email address than the one that received the invite.How to fix:
- Sign out of the current account.
- Sign in with the email address that received the invite.
- Open the invite again from the email or the Readdy inbox.
Recipient cannot accept on a free account
Recipient cannot accept on a free account
Symptom: The recipient sees a prompt to upgrade and cannot click Accept.Cause: Project Transfer requires the recipient to have an active paid subscription before they can take over the project.How to fix: Ask the recipient to upgrade to a paid plan, then reopen the invite and click Accept.
Invite has expired
Invite has expired
Symptom: The recipient opens the invite and sees an “invite expired” message.Cause: Transfer invites expire after 7 days if not accepted.How to fix:
- As the sender, open Manage transfer on the project card.
- Click Resend invite to send a new one.
- The recipient opens the new invite and accepts it before it expires.
Recipient has reached their project limit
Recipient has reached their project limit
Symptom: The recipient cannot accept the transfer because their account is at the project limit for their current plan.Cause: Each plan has a maximum number of projects. The recipient’s account is already at that maximum.How to fix: The recipient either upgrades to a higher plan or removes an existing project to free up a slot, then accepts the transfer.
Will project transfer cause data loss or temporarily take my website offline?
Will project transfer cause data loss or temporarily take my website offline?
Usually not. In normal cases, project transfer does not cause data loss or temporary downtime. Only in rare or extreme cases where the transfer fails might you run into this kind of issue. If that happens, please submit a support ticket as soon as possible, and we will investigate and help resolve it promptly.
Can I send a second invite while one is still pending?
Can I send a second invite while one is still pending?
No. A project can only have one active transfer invite at a time. If you need to transfer the project to someone else, cancel the current invite from Manage transfer first, then start a new transfer.