- Database: manage and inspect your project’s data
- Functions: run custom server-side logic for your project
- Secrets: store private values for server-side workflows without exposing them in your frontend code
- Skip separate backend setup: add backend capability to your project inside Readdy instead of first configuring a separate database service
- Start simple and go deeper: begin from Readdy’s UI and Chat, then move into direct data tools only when you need more control
- Choose your level of control: use visual tools for everyday work, and use SQL, Functions, or Secrets when your workflow becomes more advanced
- Support real product scenarios: manage leads, forms, products, orders, internal data, automations, and custom server-side workflows
Prerequisites: Readdy Backend and Supabase cannot be connected to the same project at the same time. If your project already uses Supabase, disconnect it first before connecting Readdy Backend.
Application Layer & Use Cases
Readdy Backend gives your project the core backend tools behind the scenes. But for many users, that does not mean working in Database, Functions, or Secrets every day. Readdy also offers simpler, task-focused tools for common business needs, so you can manage your work through pages that match what you are trying to do.- Use Database, Functions, and Secrets when you need direct backend access and control.
- Use a Readdy application when you want a simpler workflow built for a specific job.
- If a Readdy application already exists for your use case, start there.
- If you need direct data access, use Database.
- If you need custom server-side logic, use Functions.
- If you need to store private configuration for backend workflows, use Secrets.
Terminology
| Term | Meaning |
|---|---|
| Database | The place where your project’s structured data is stored. |
| Table | A collection of records, like a spreadsheet for one type of data. |
| Row | One record inside a table. |
| Column | One field inside a table, such as name, email, or price. |
| Schema | A grouping layer inside the database. In Readdy Backend, public is the main schema for app data. |
| Table Editor | A visual way to browse and edit data without writing SQL. |
| SQL Editor | A text editor for writing custom database queries. |
| Function | A piece of server-side code you can deploy and run for custom backend logic. |
| Endpoint URL | The URL you can call to trigger a deployed function. |
| Secret | A private project-level value, such as an API key or token, used by backend workflows. |
| Application layer | A higher-level Readdy module built on top of the backend foundation, such as Shop. |
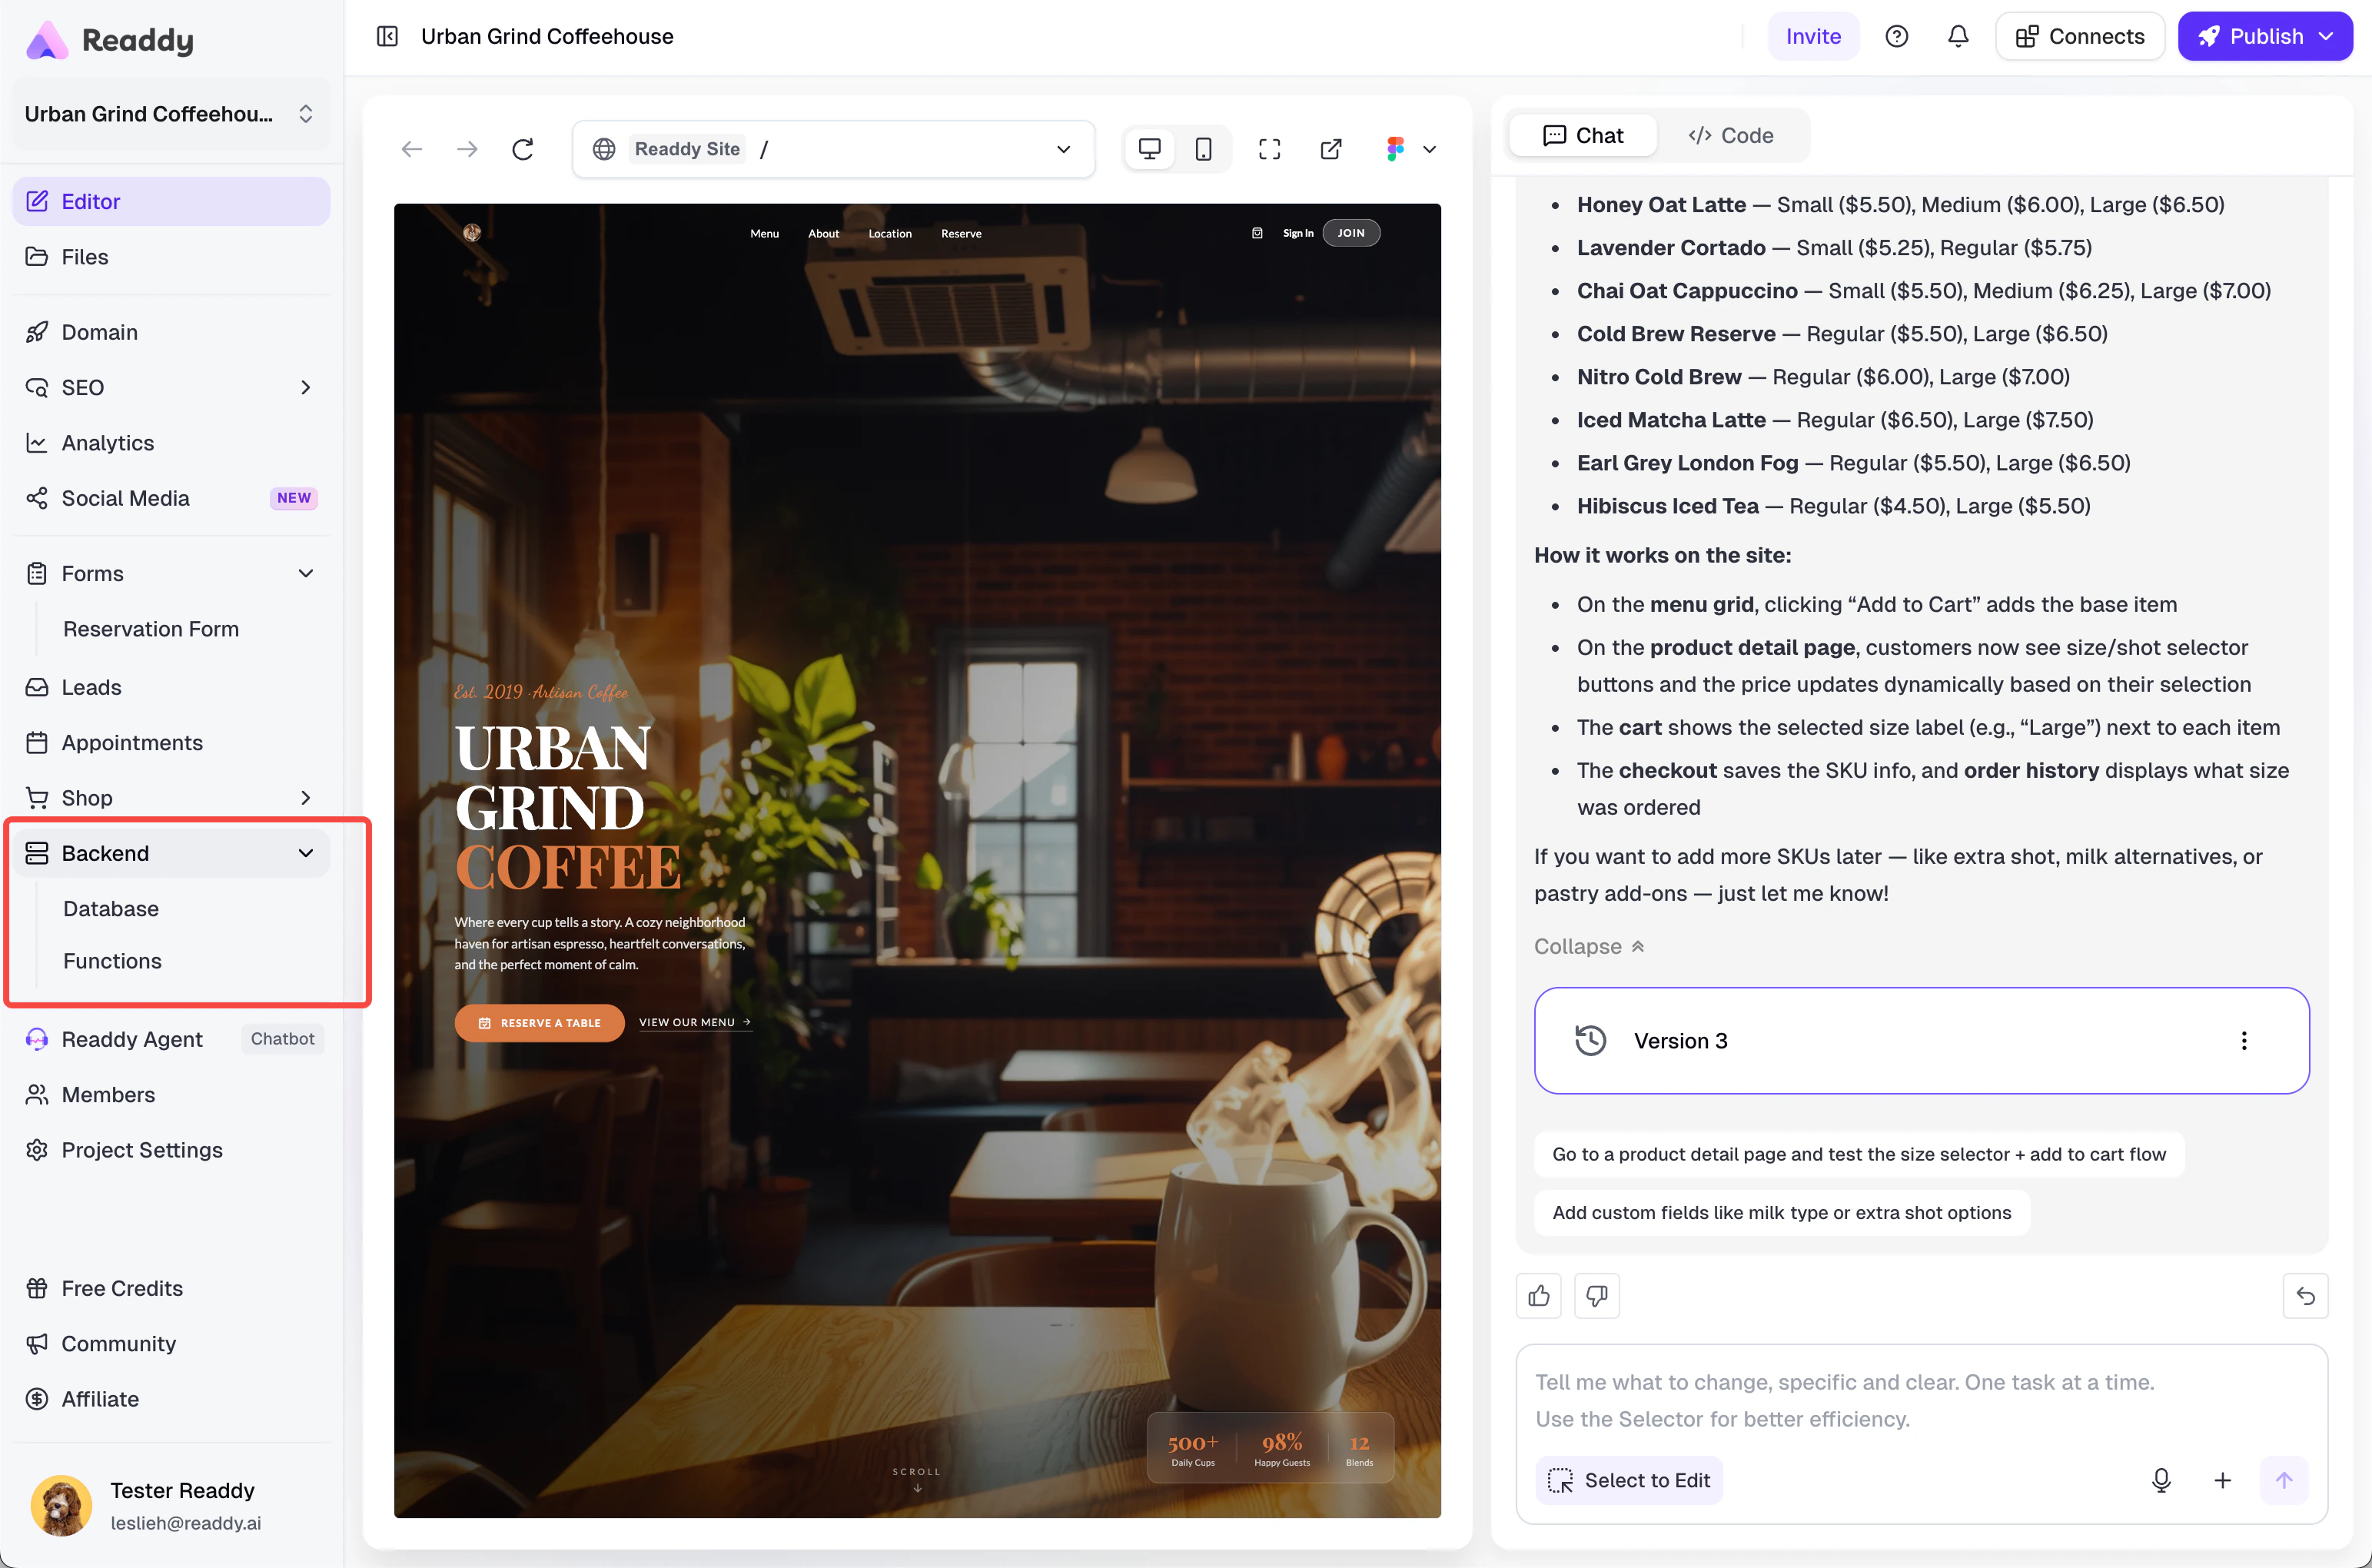
How to Connect
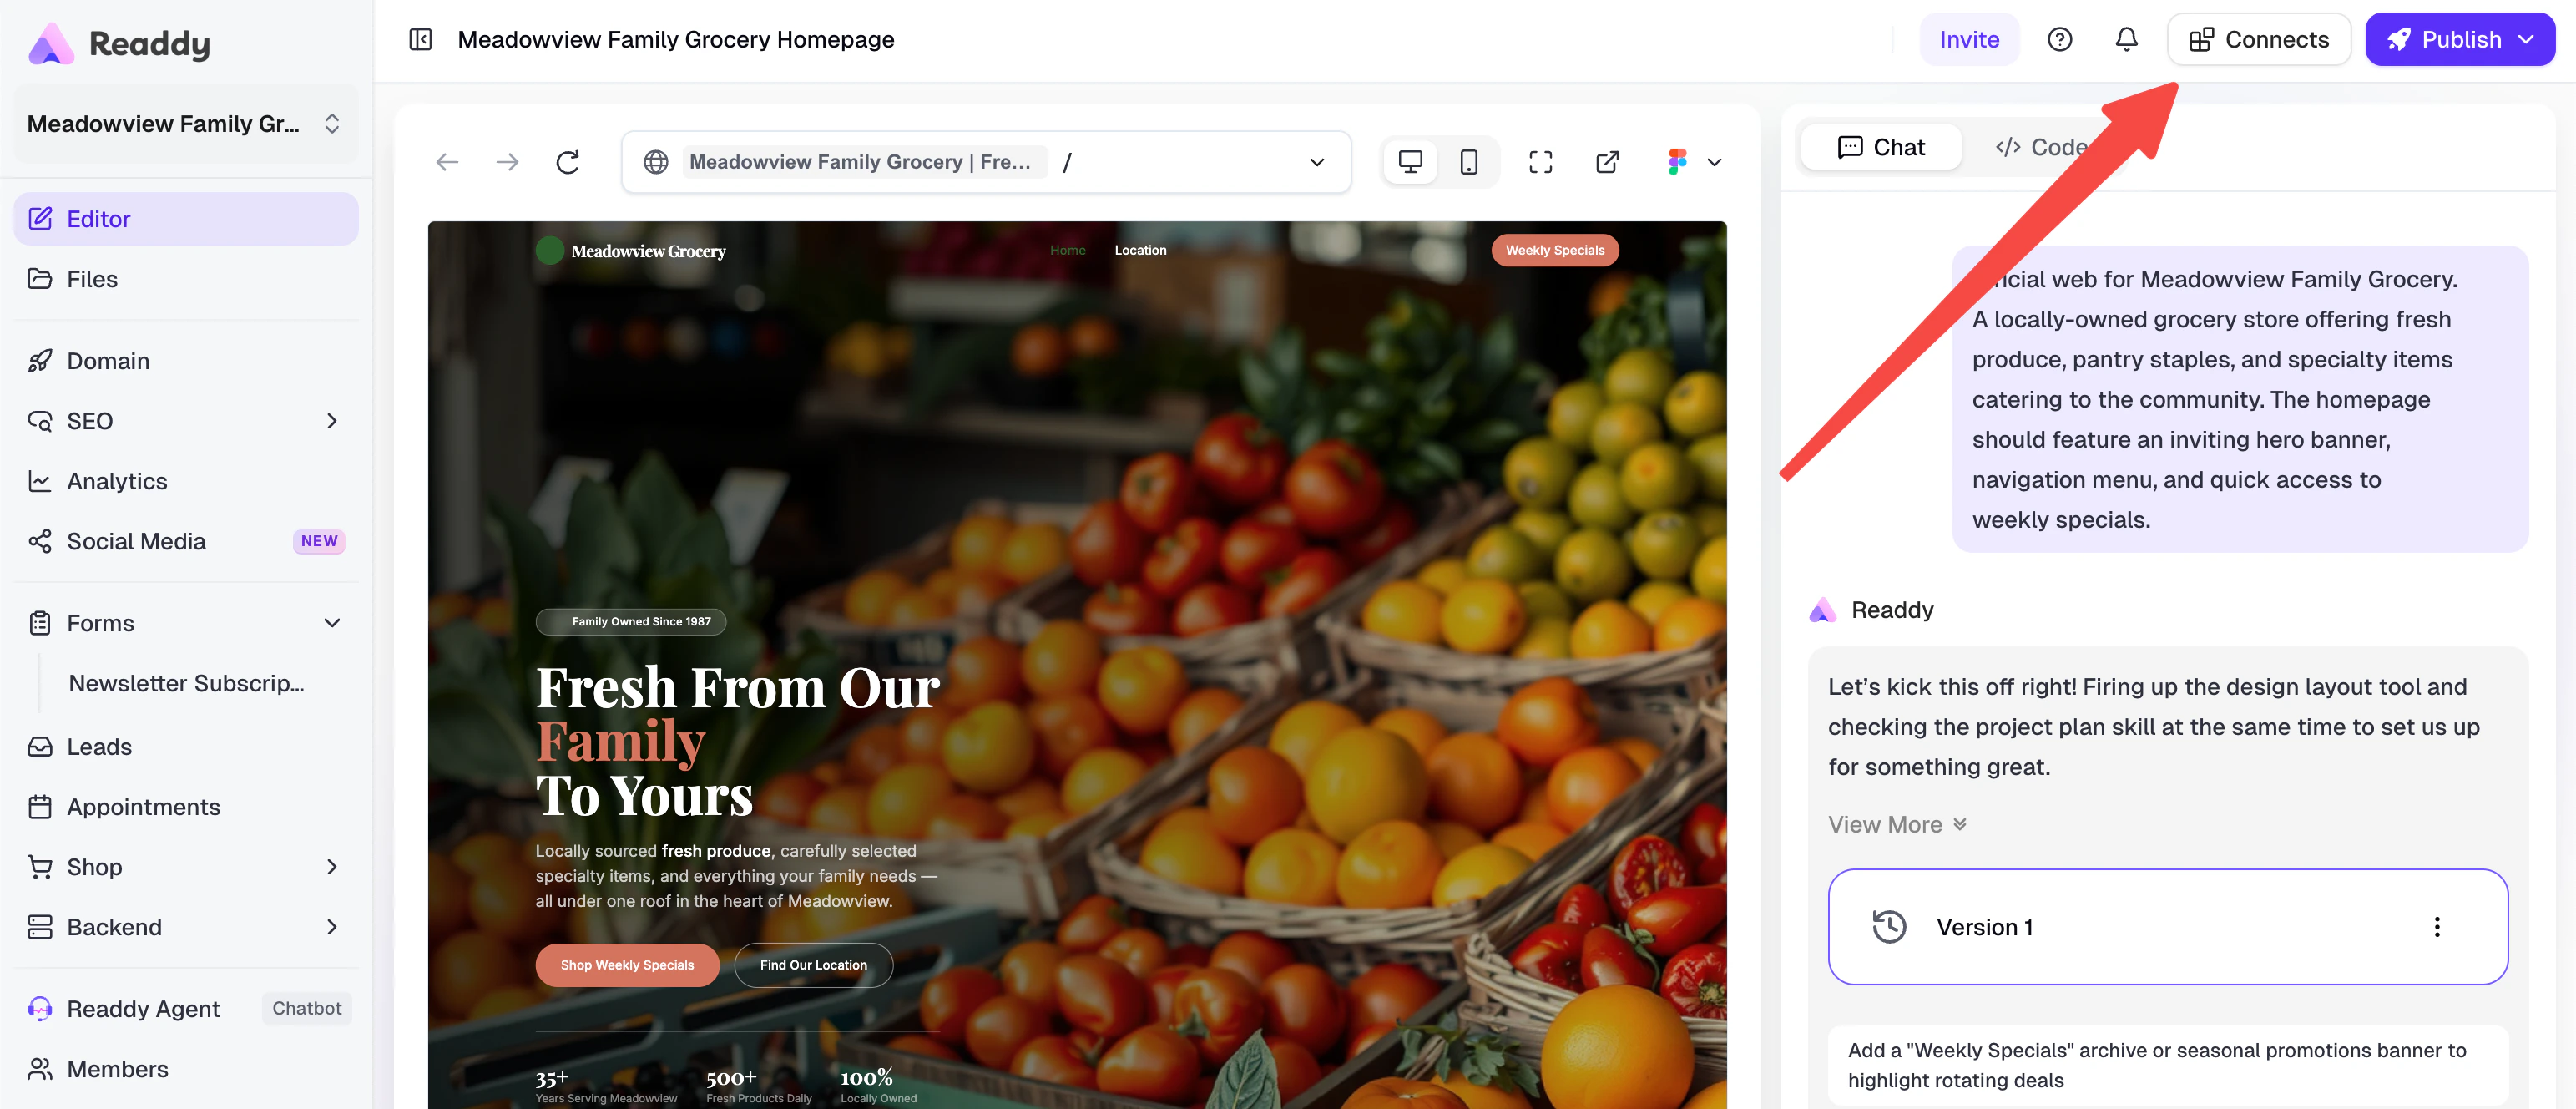
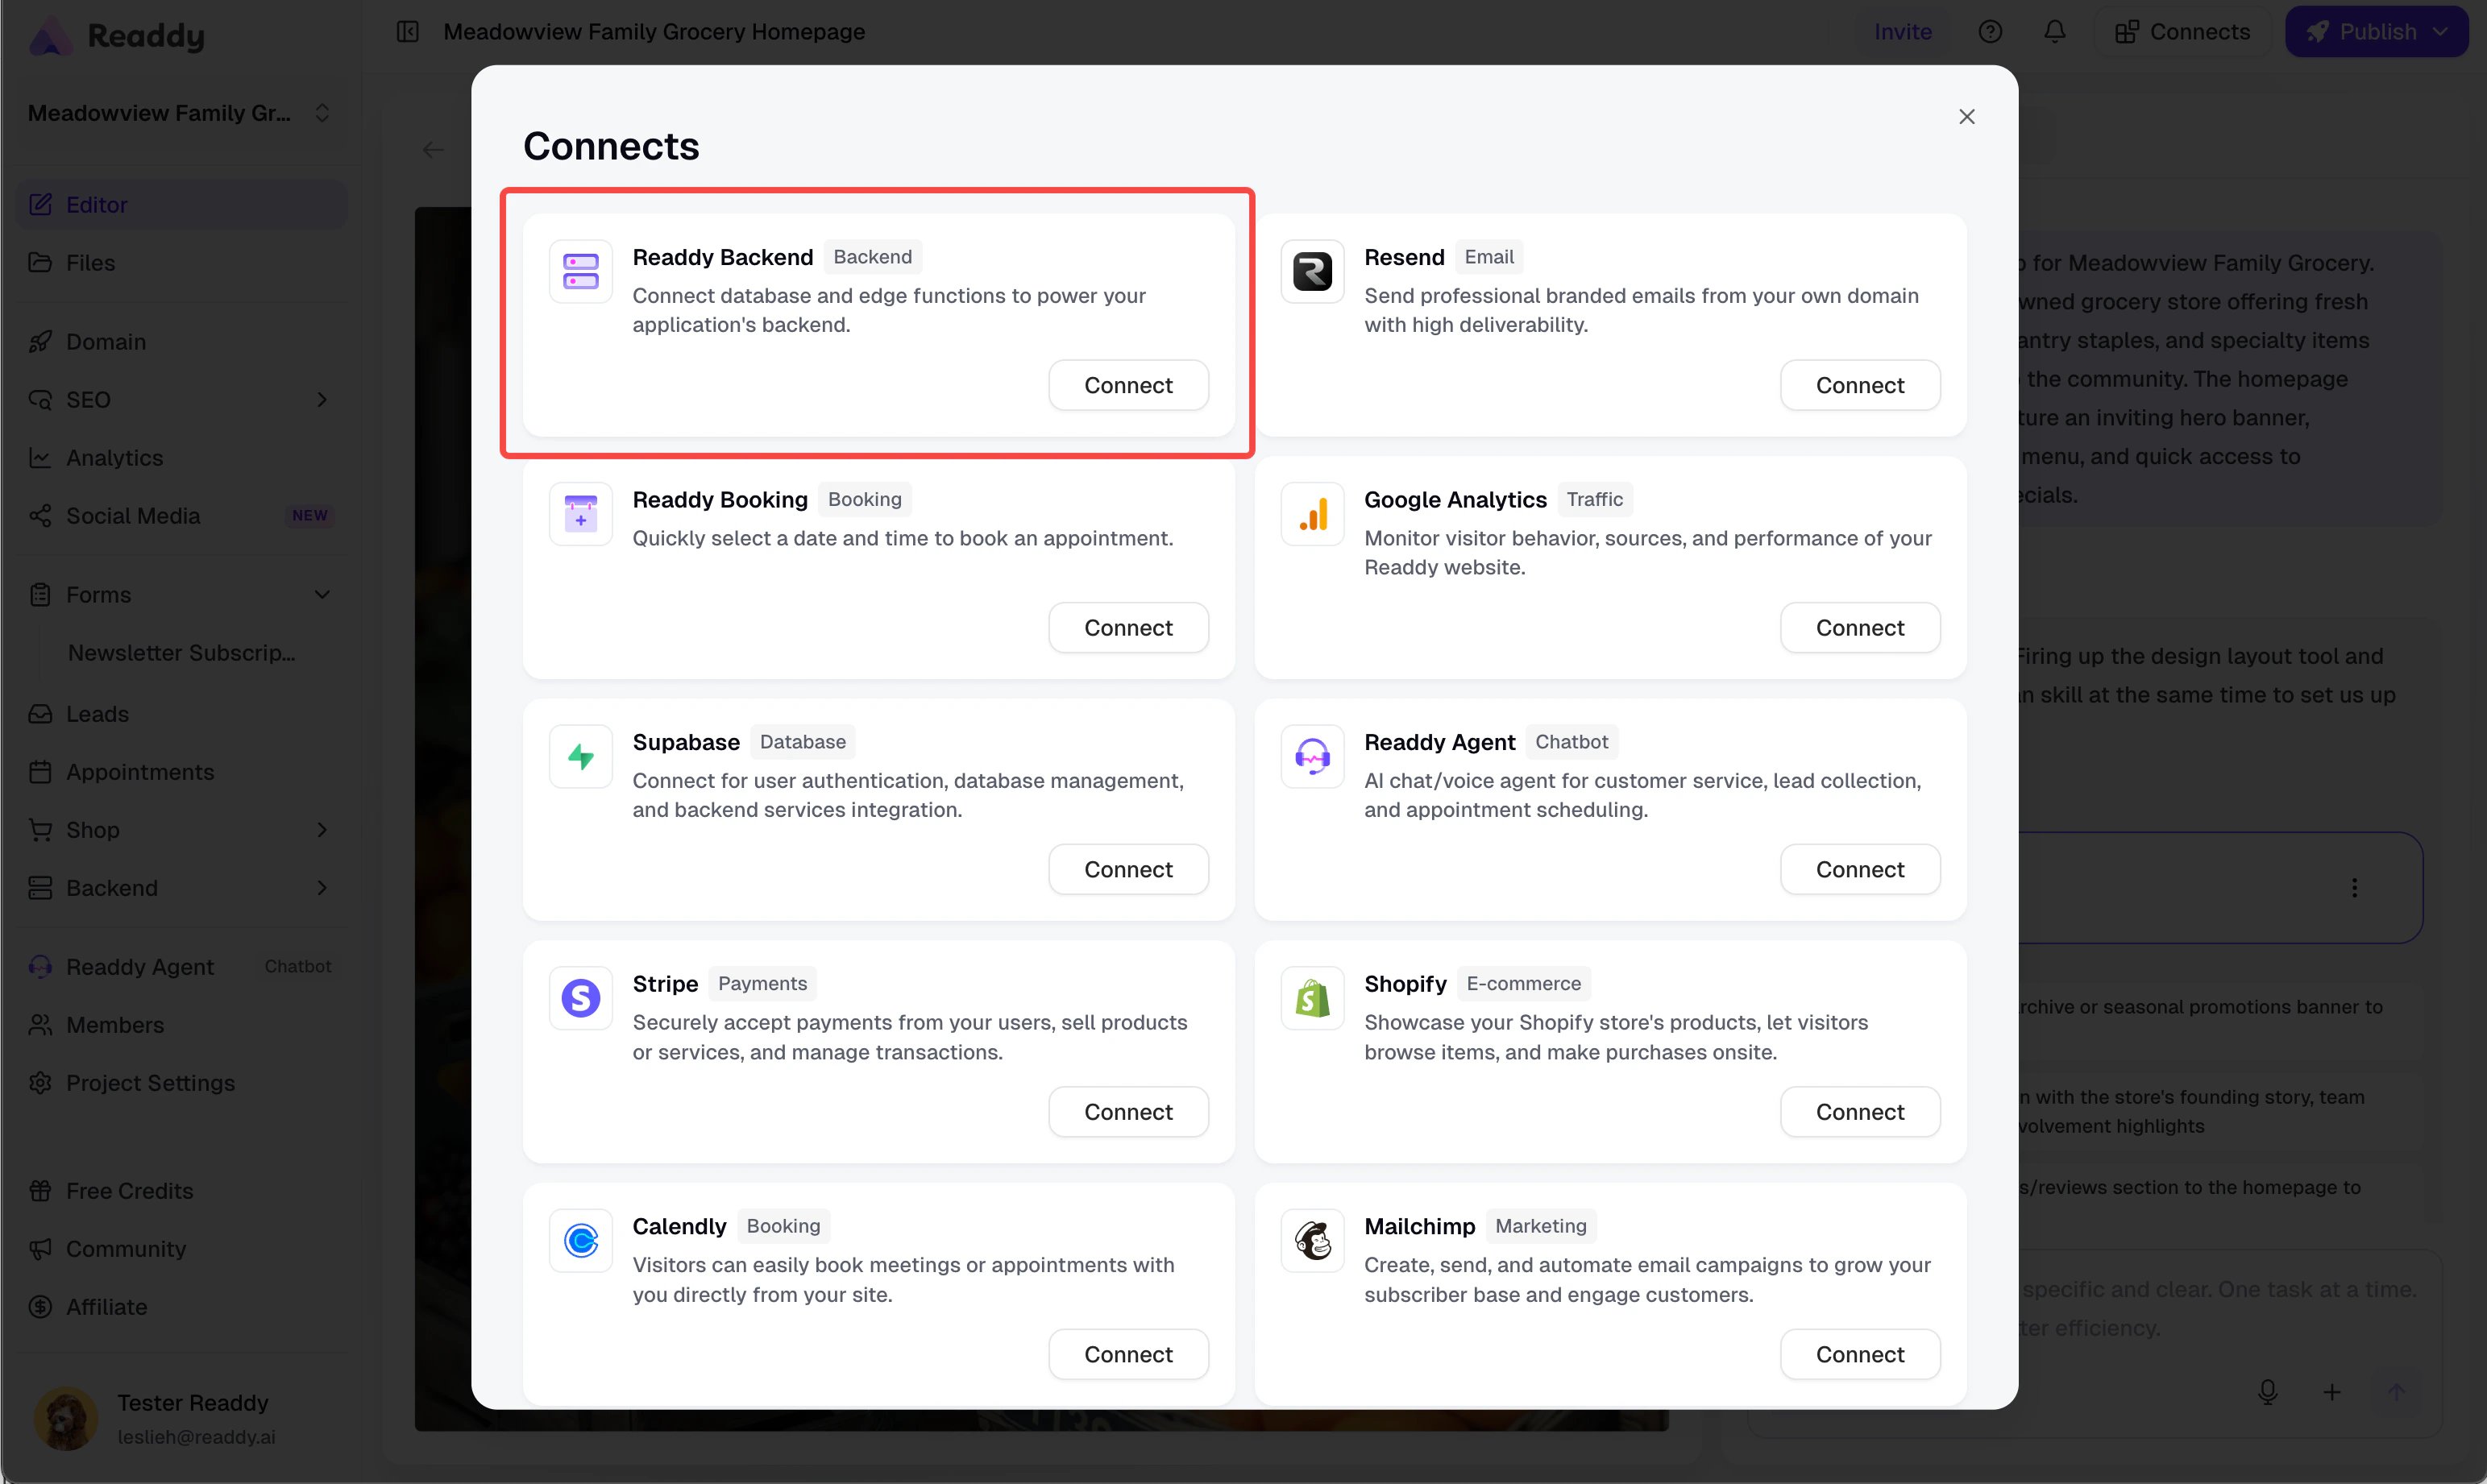
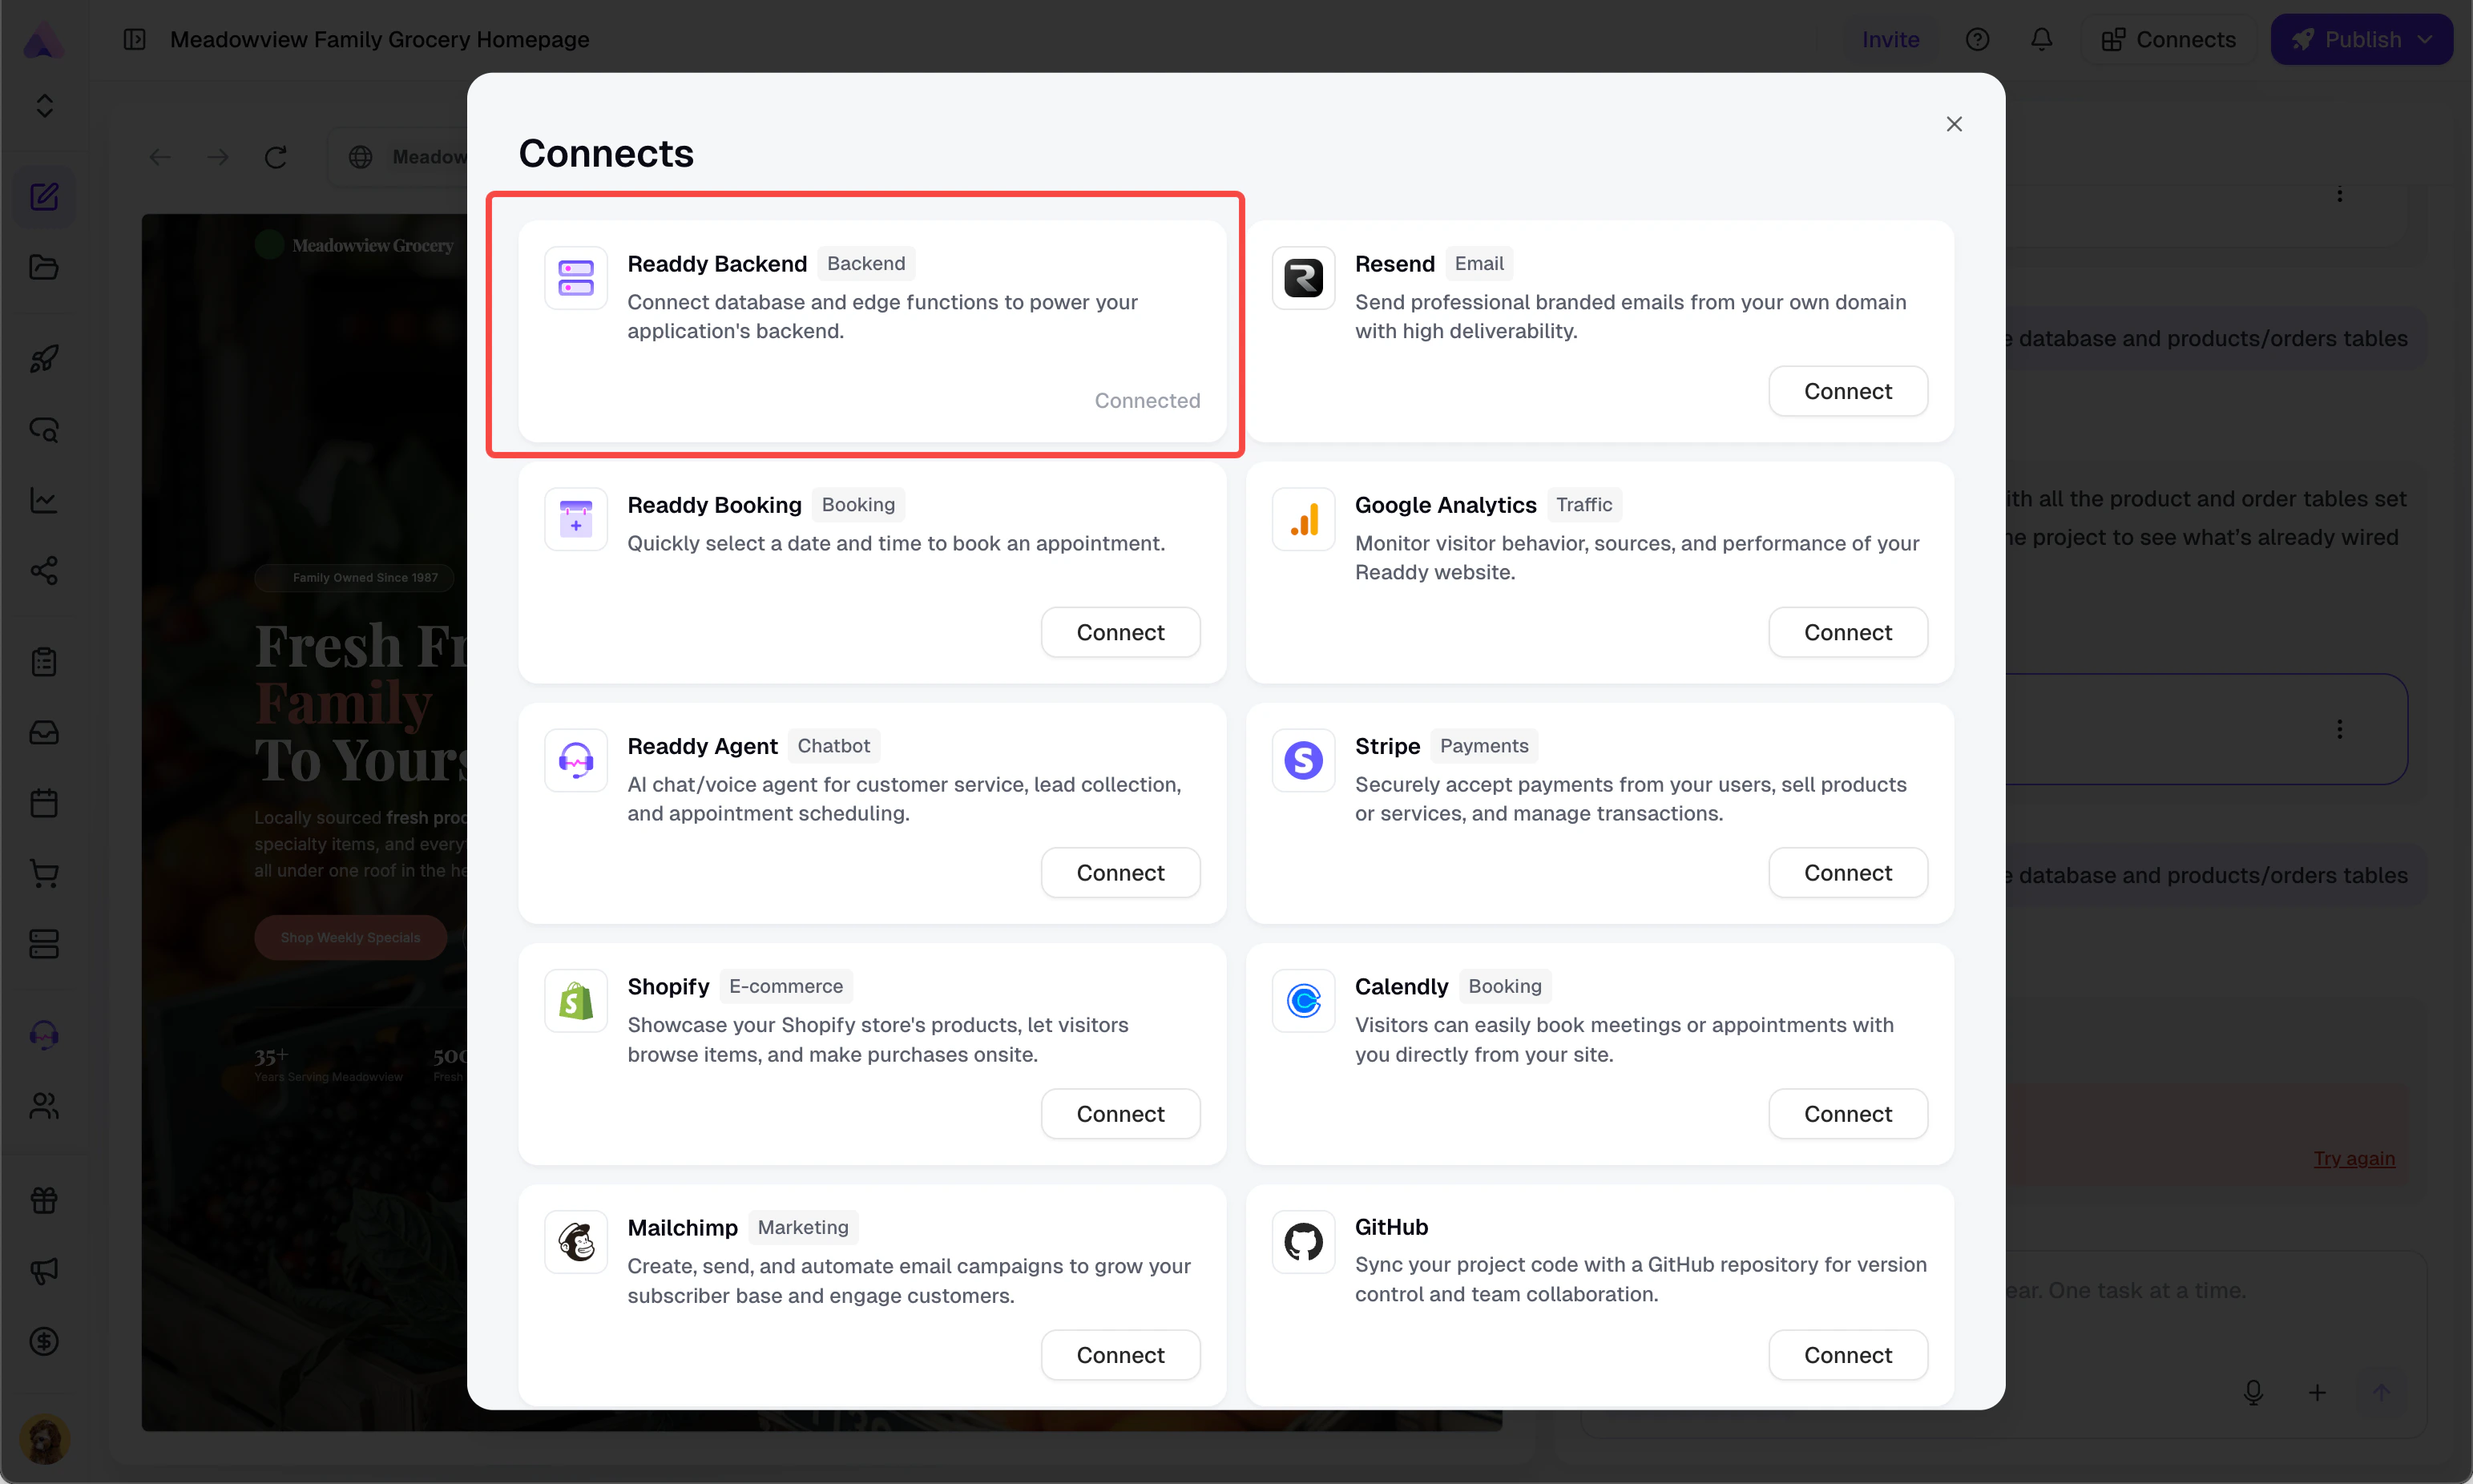
Click Connect
Click Connect. Readdy takes you back to the Editor and sends the setup request automatically.

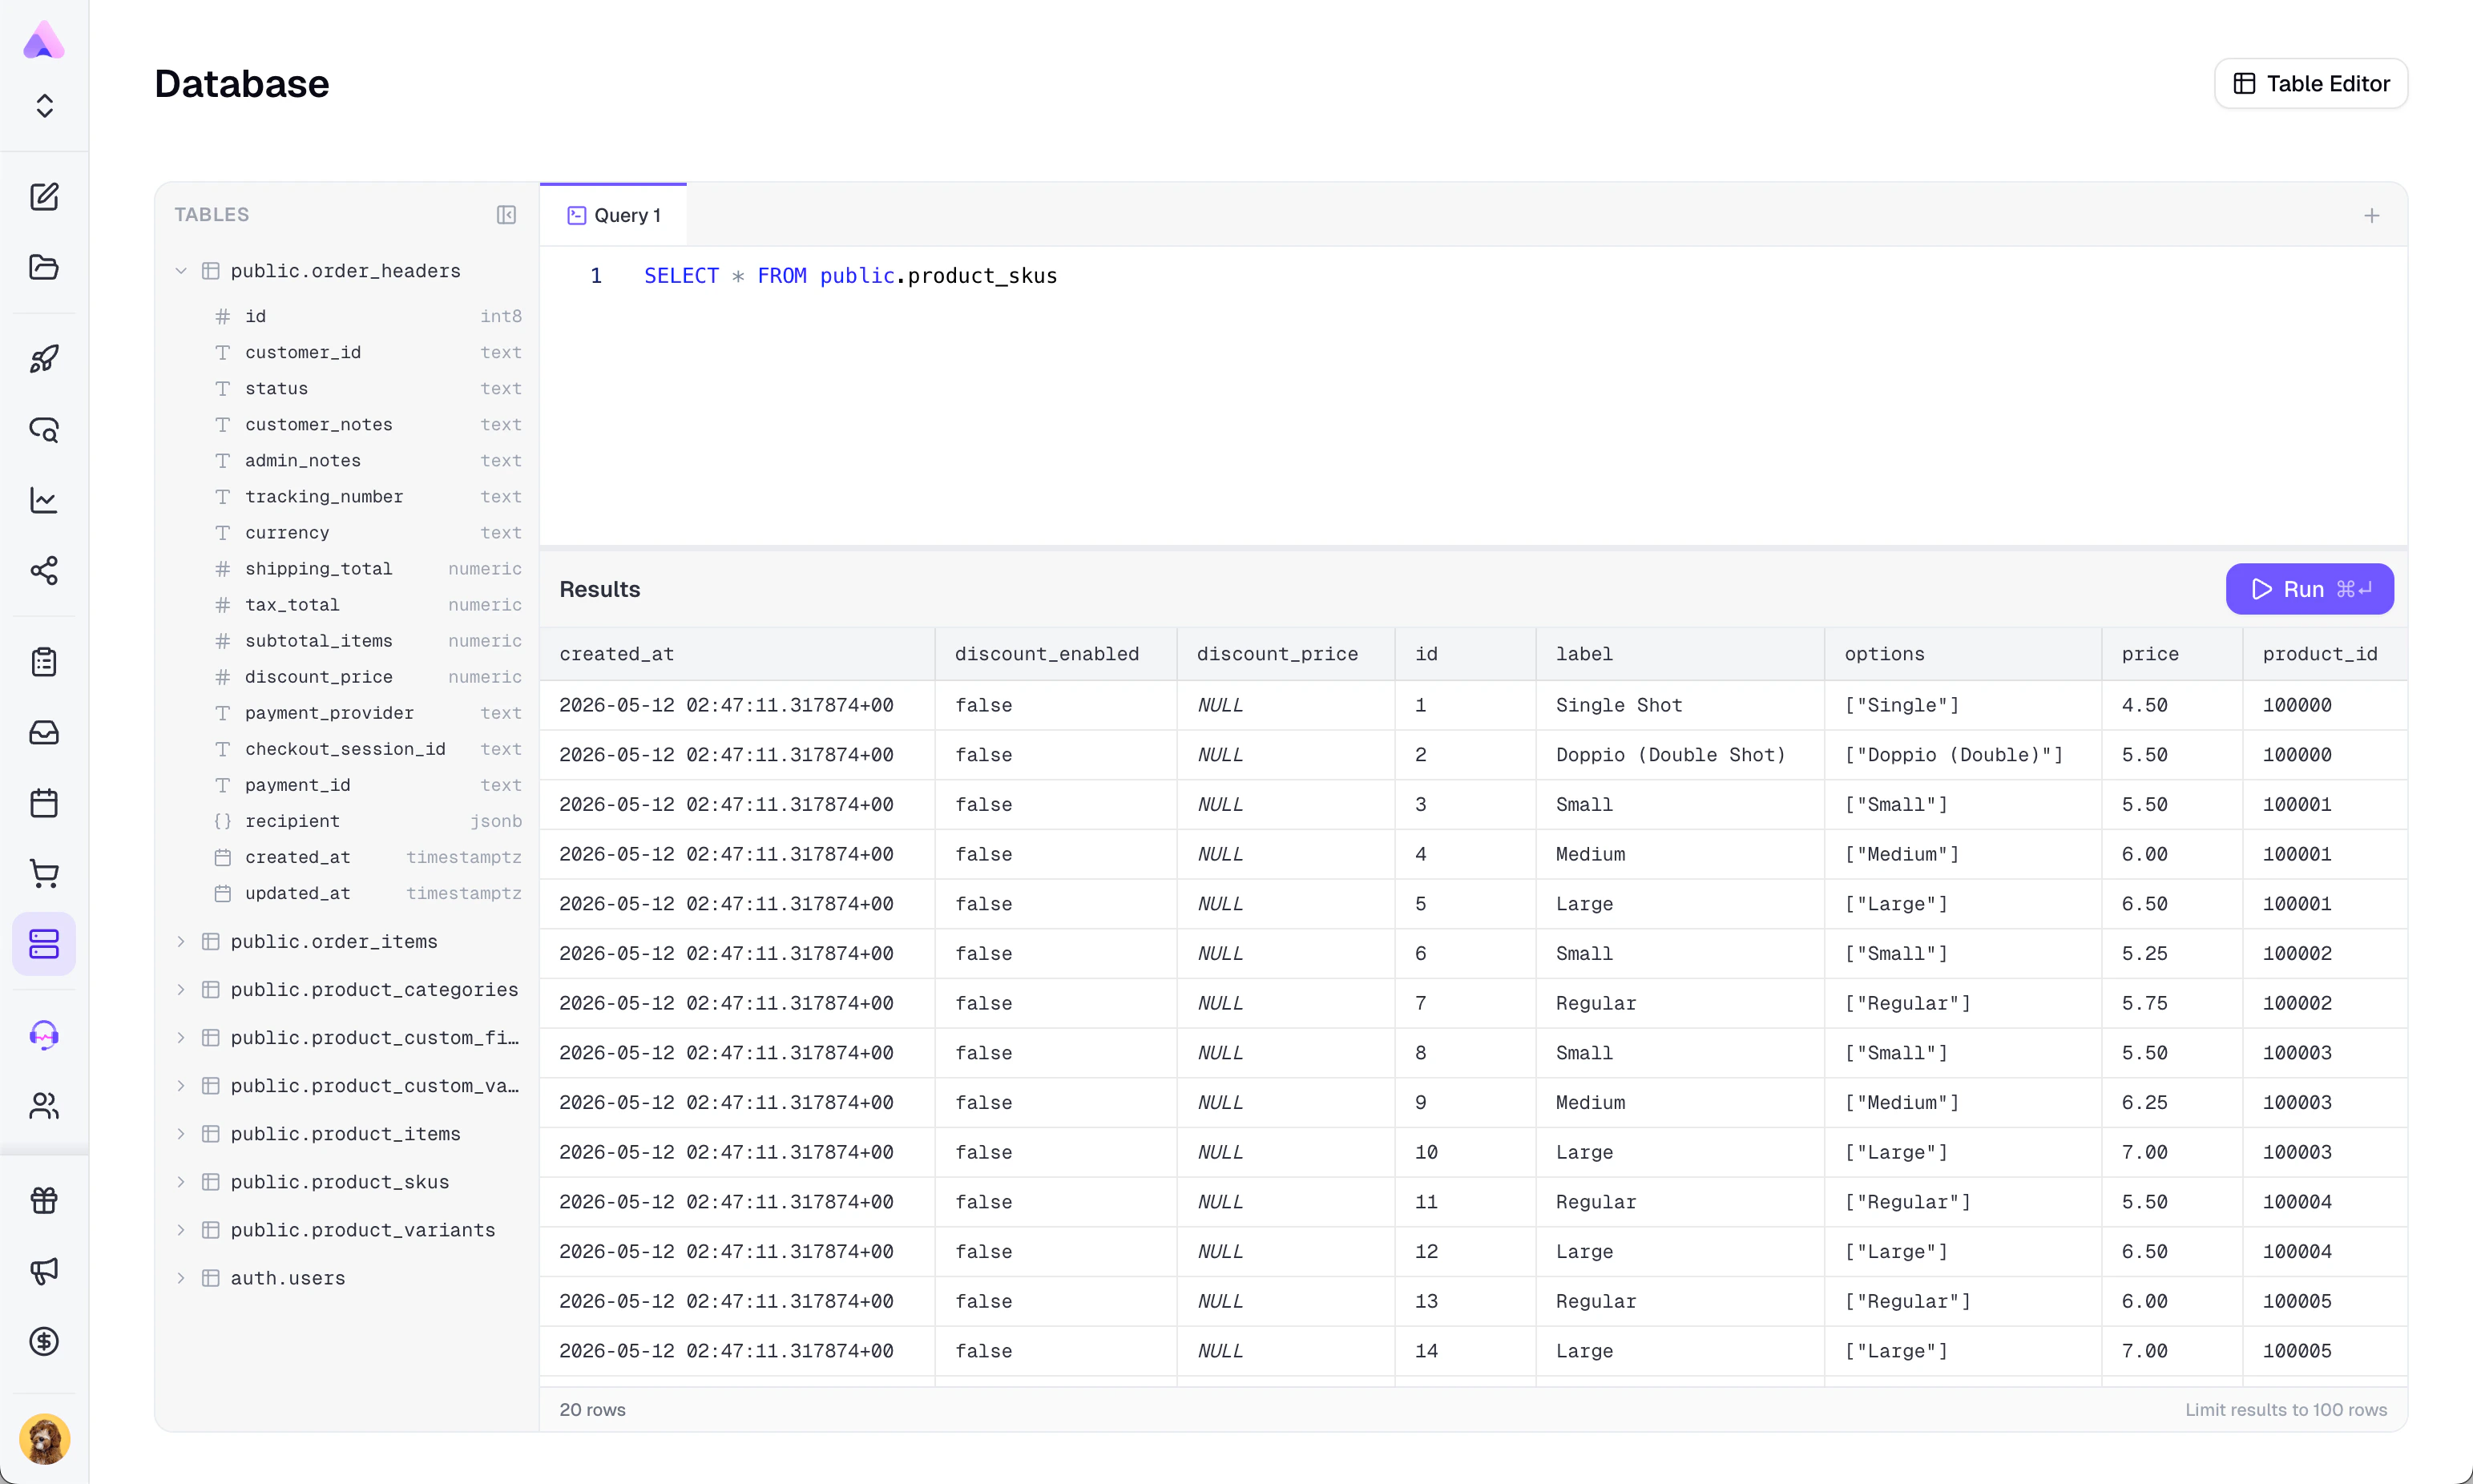
Using Database
Database gives you two working modes: Table Editor and SQL Editor.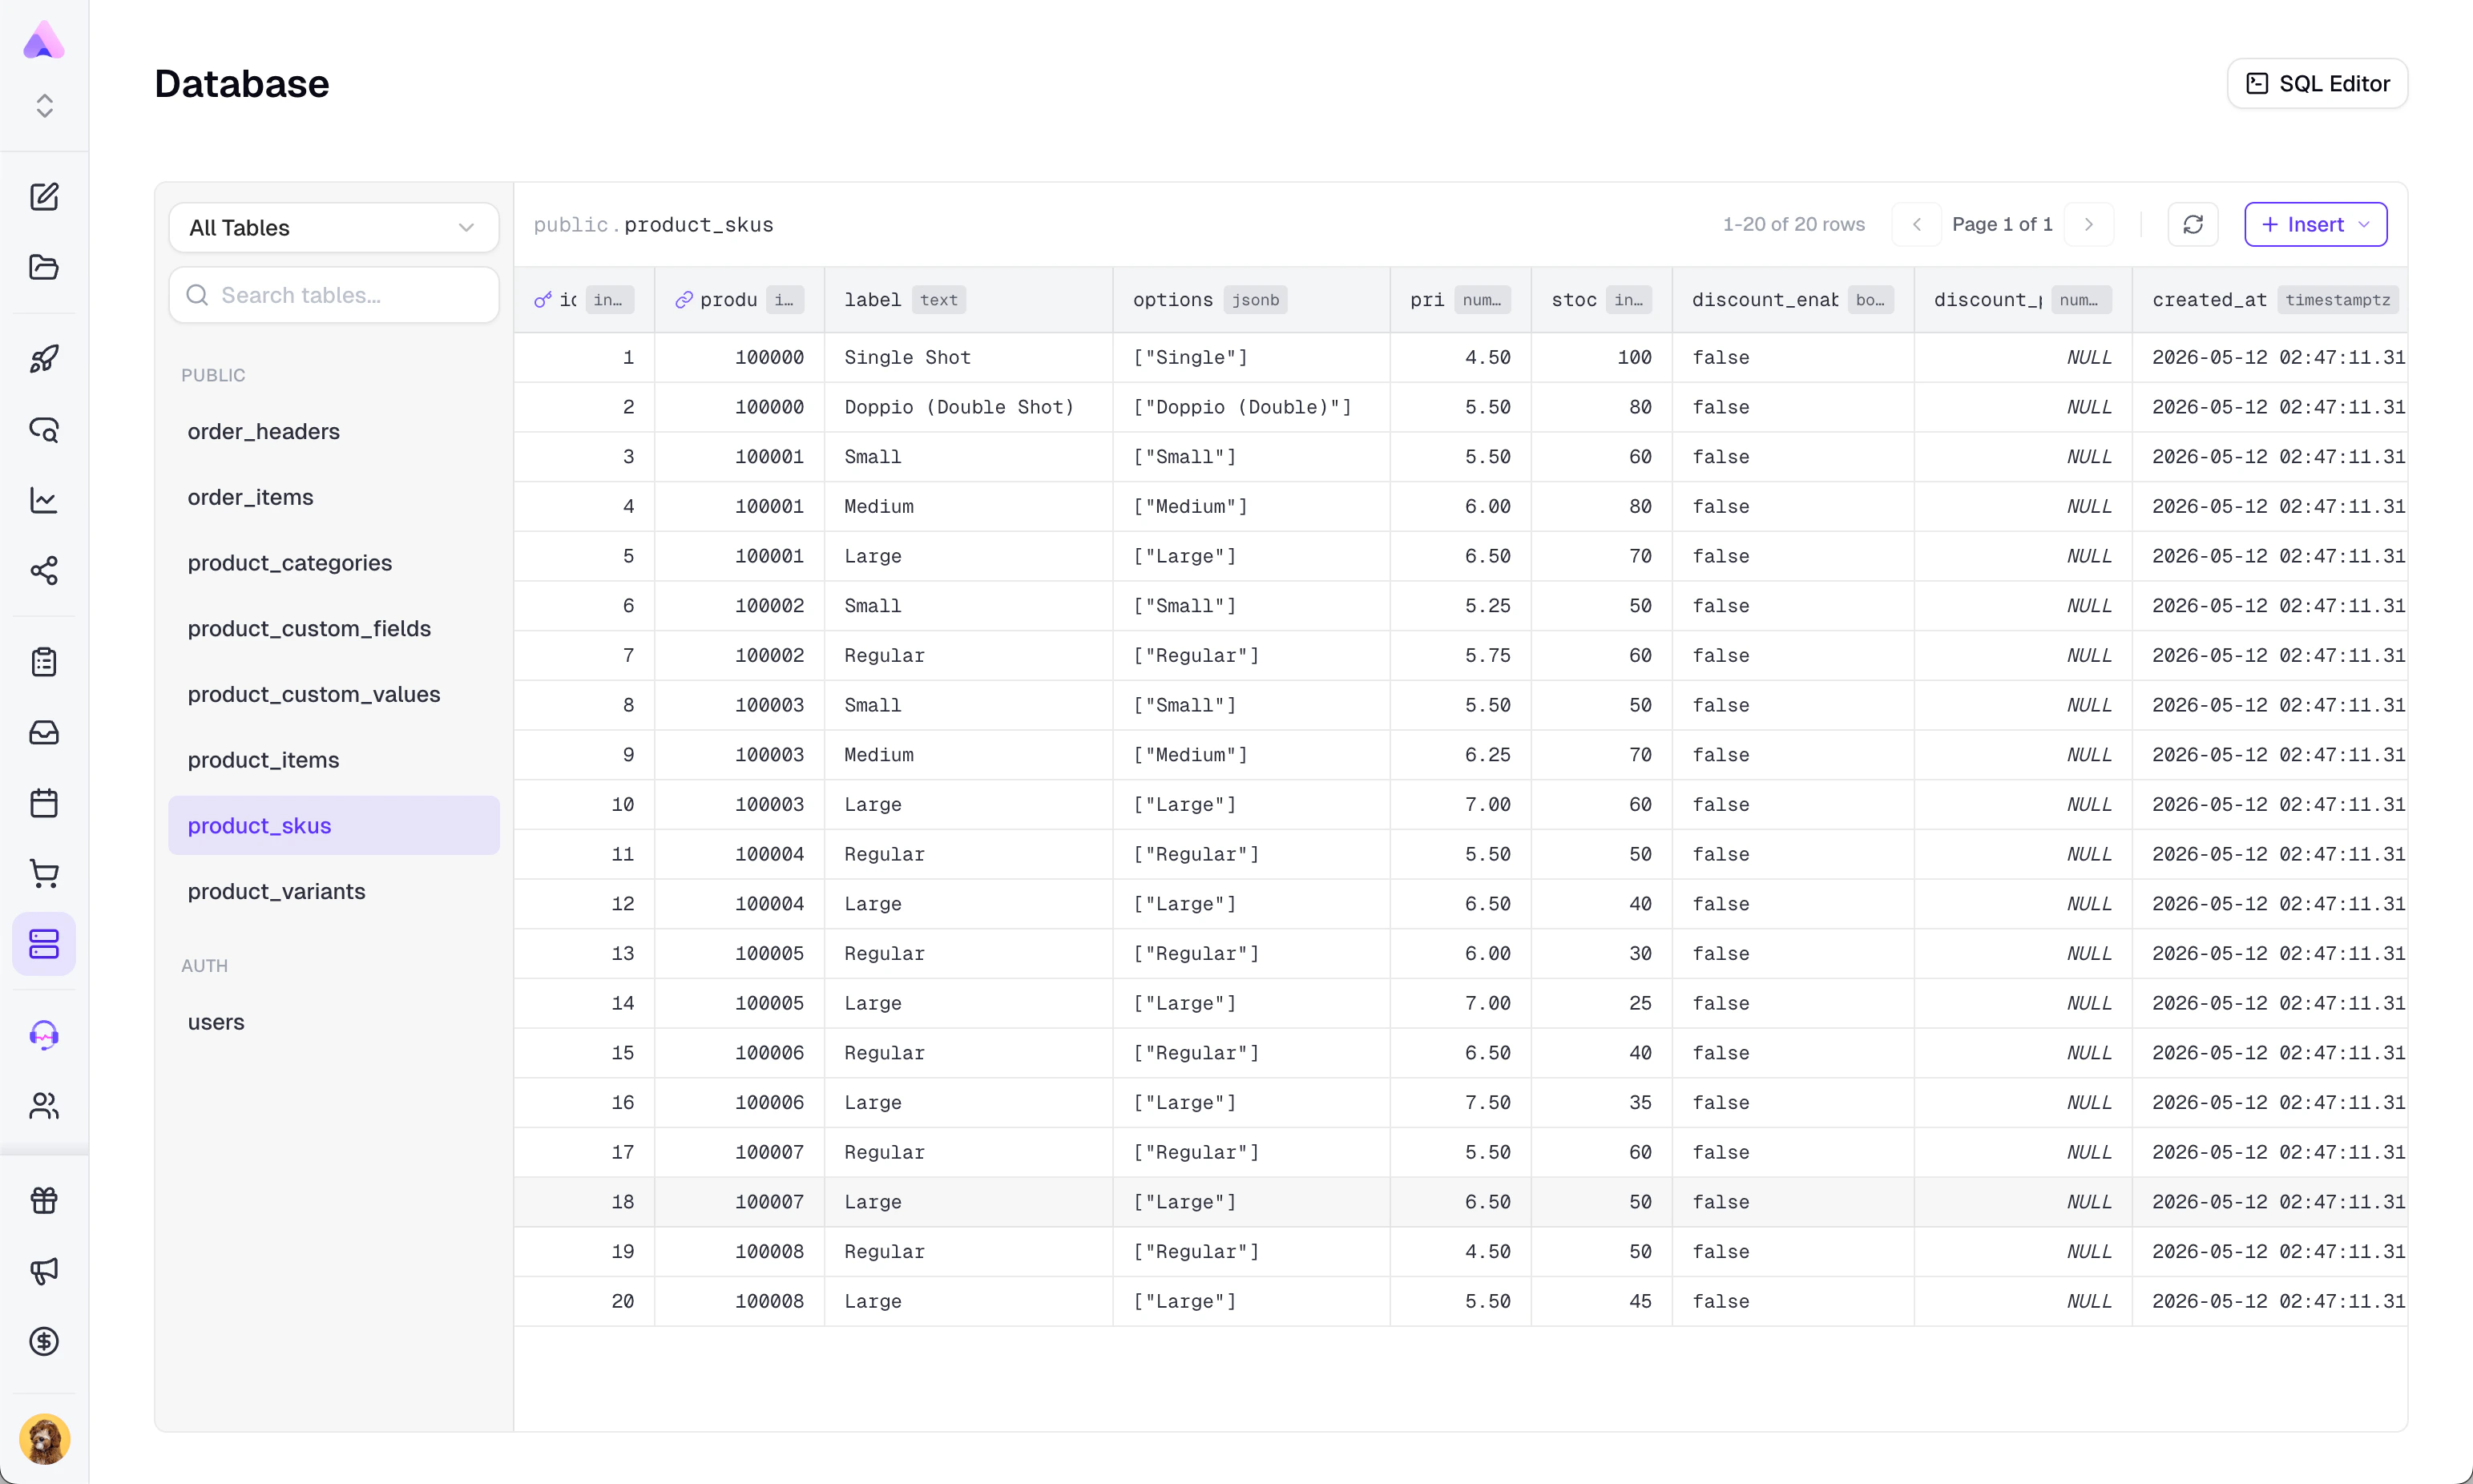
How to Use It
-
Open Backend in the sidebar, then open Database.
-
Select a table from the left panel.
- Use Table Editor for most everyday actions.
-
Switch to SQL Editor when you need a custom query.
- If there are no tables yet, go to Chat and ask Readdy to create the data structure you need.
What You Can Do in Database
- Search tables and switch between visible schemas
- View table rows with pagination
- Edit cells directly in Table Editor
- Insert a row, edit a row, or delete a row
- Add, edit, or delete columns
- Use a picker for foreign-key fields
Table Editor vs SQL Editor
- Choose Table Editor if you want a visual, low-risk workflow.
- Choose SQL Editor if you need a custom query and you already understand SQL.
Using Functions
Functions lets you create and deploy custom backend endpoints for your project.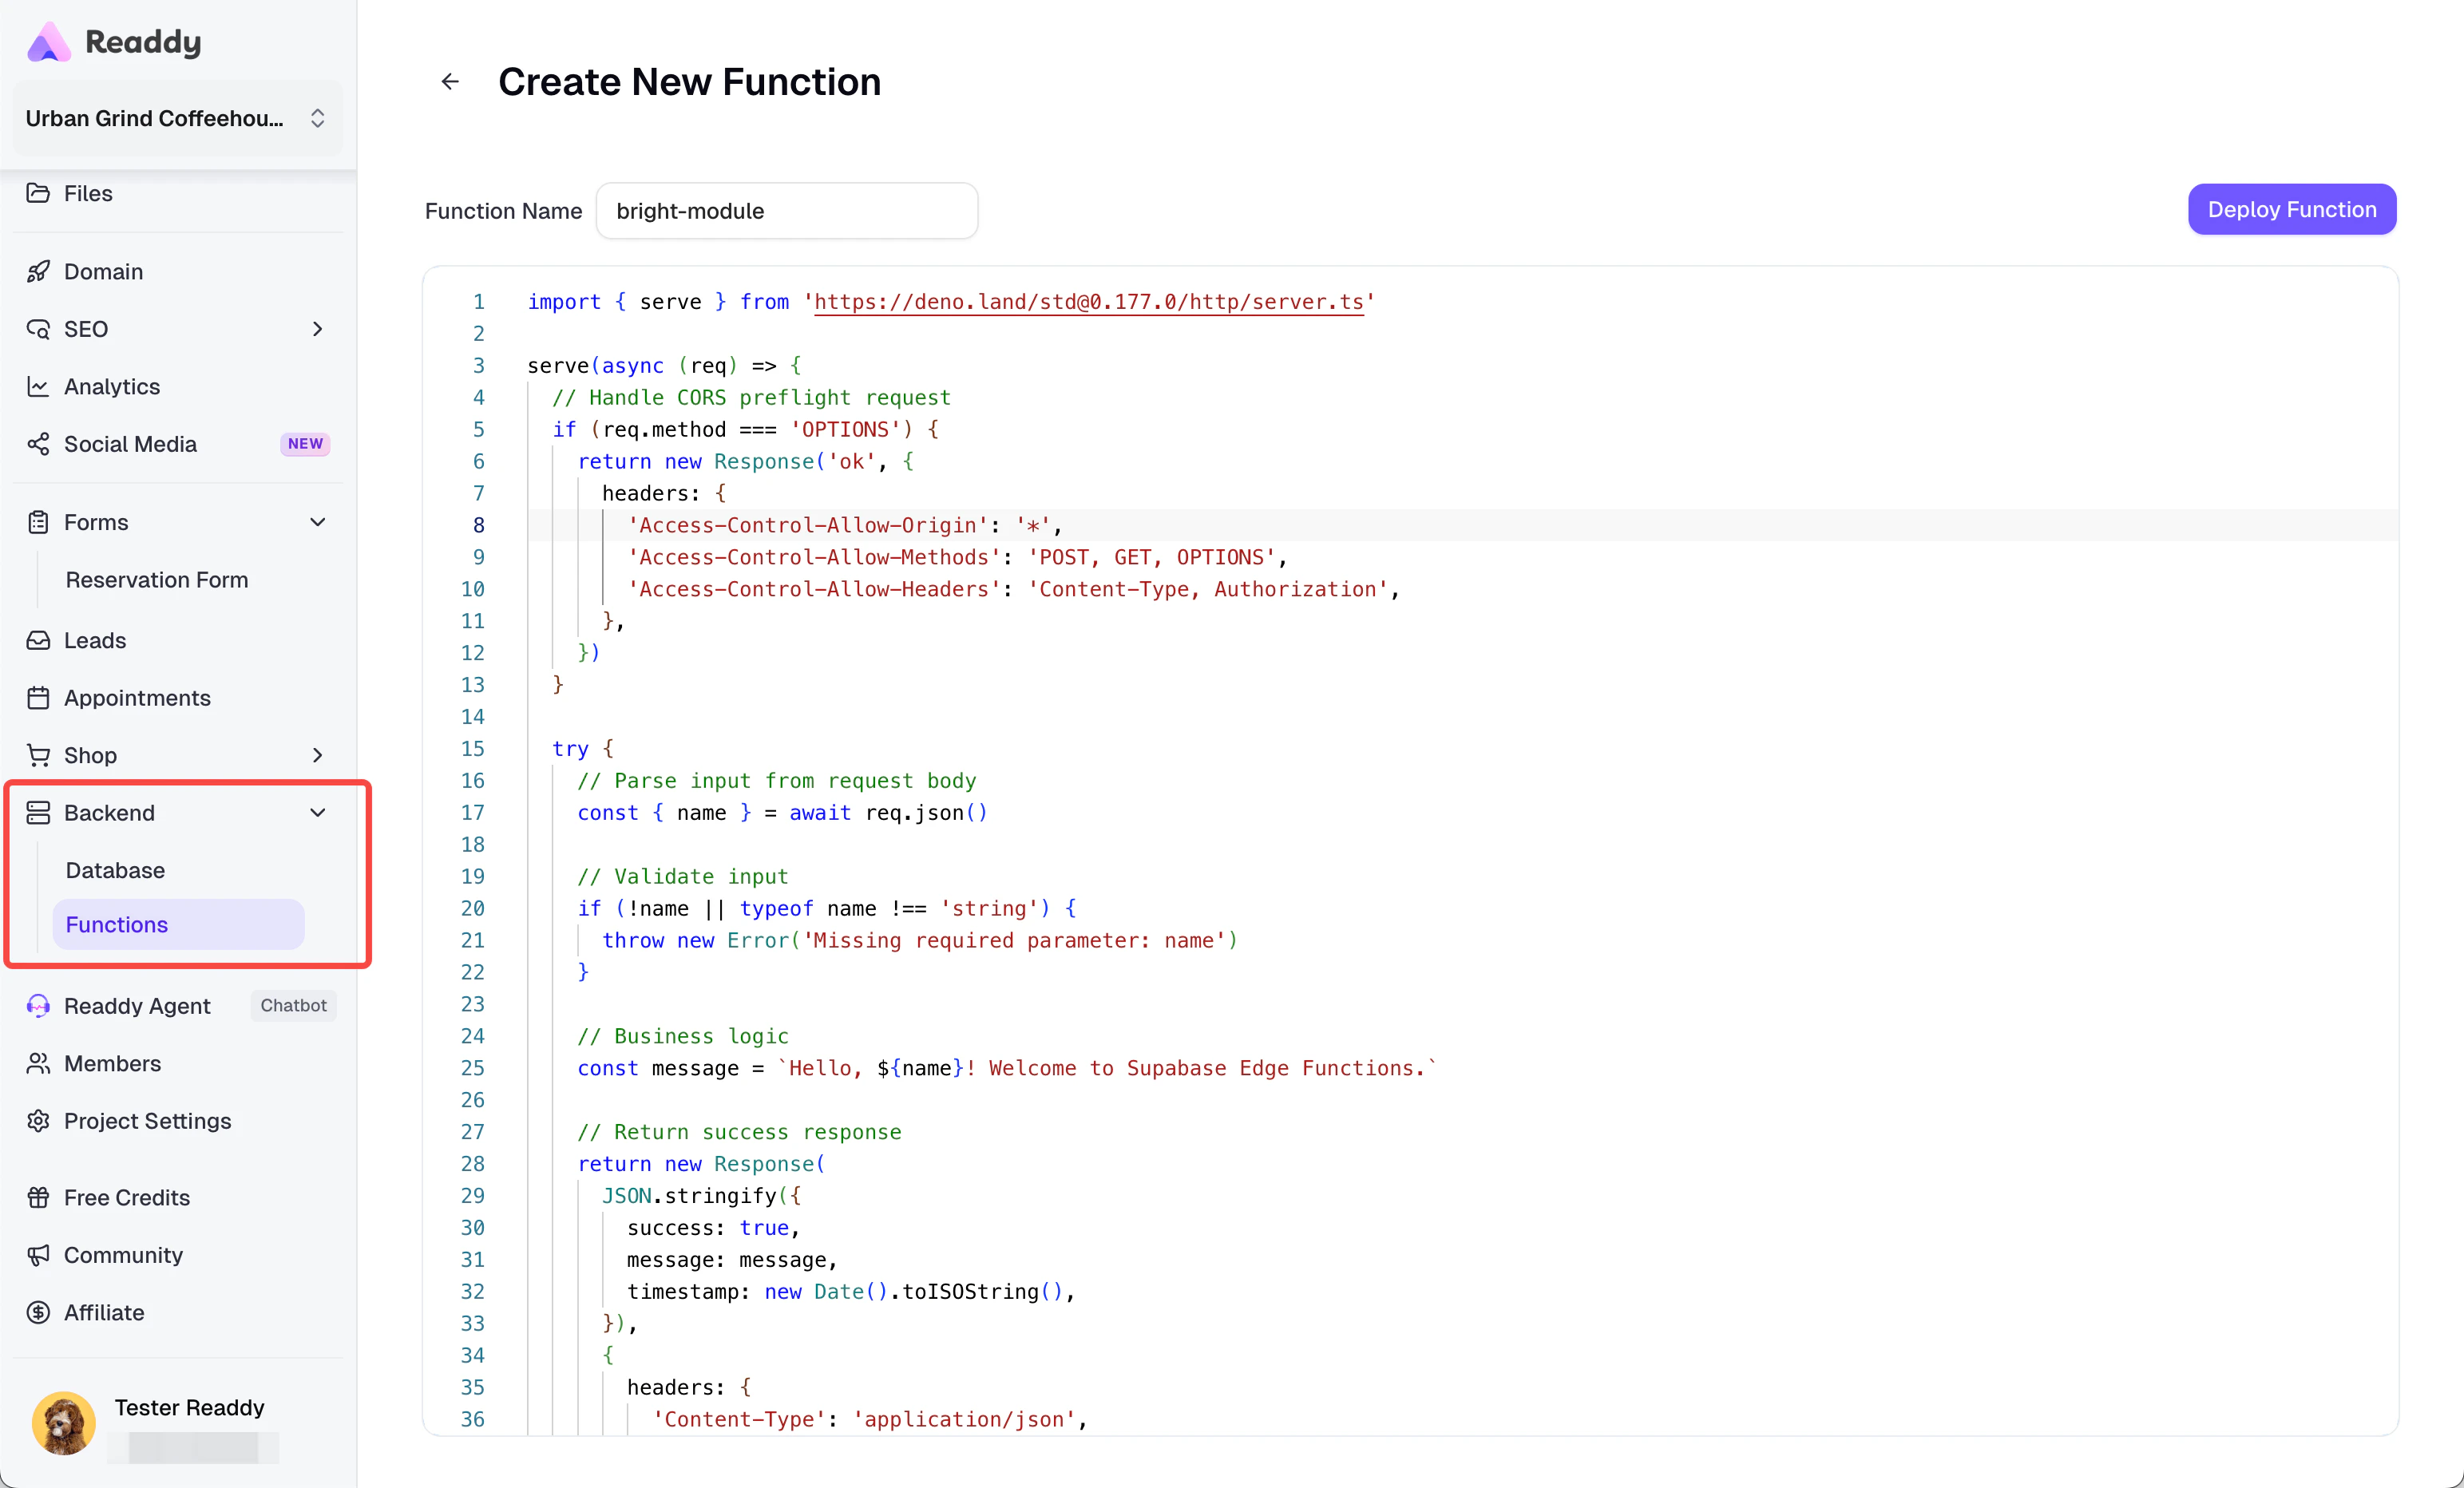
Why Use Functions
- You need logic that should run on the server side instead of in the page.
- You want an endpoint your project or an external service can call.
- You need to handle custom workflows that go beyond simple data editing.
Common Scenarios
- Handling webhook-style requests
- Connecting with third-party services
- Running custom processing logic
- Building automation behind forms, orders, or internal tools
- Creating backend endpoints for features that need more than UI-level logic
What You Can Do in Functions
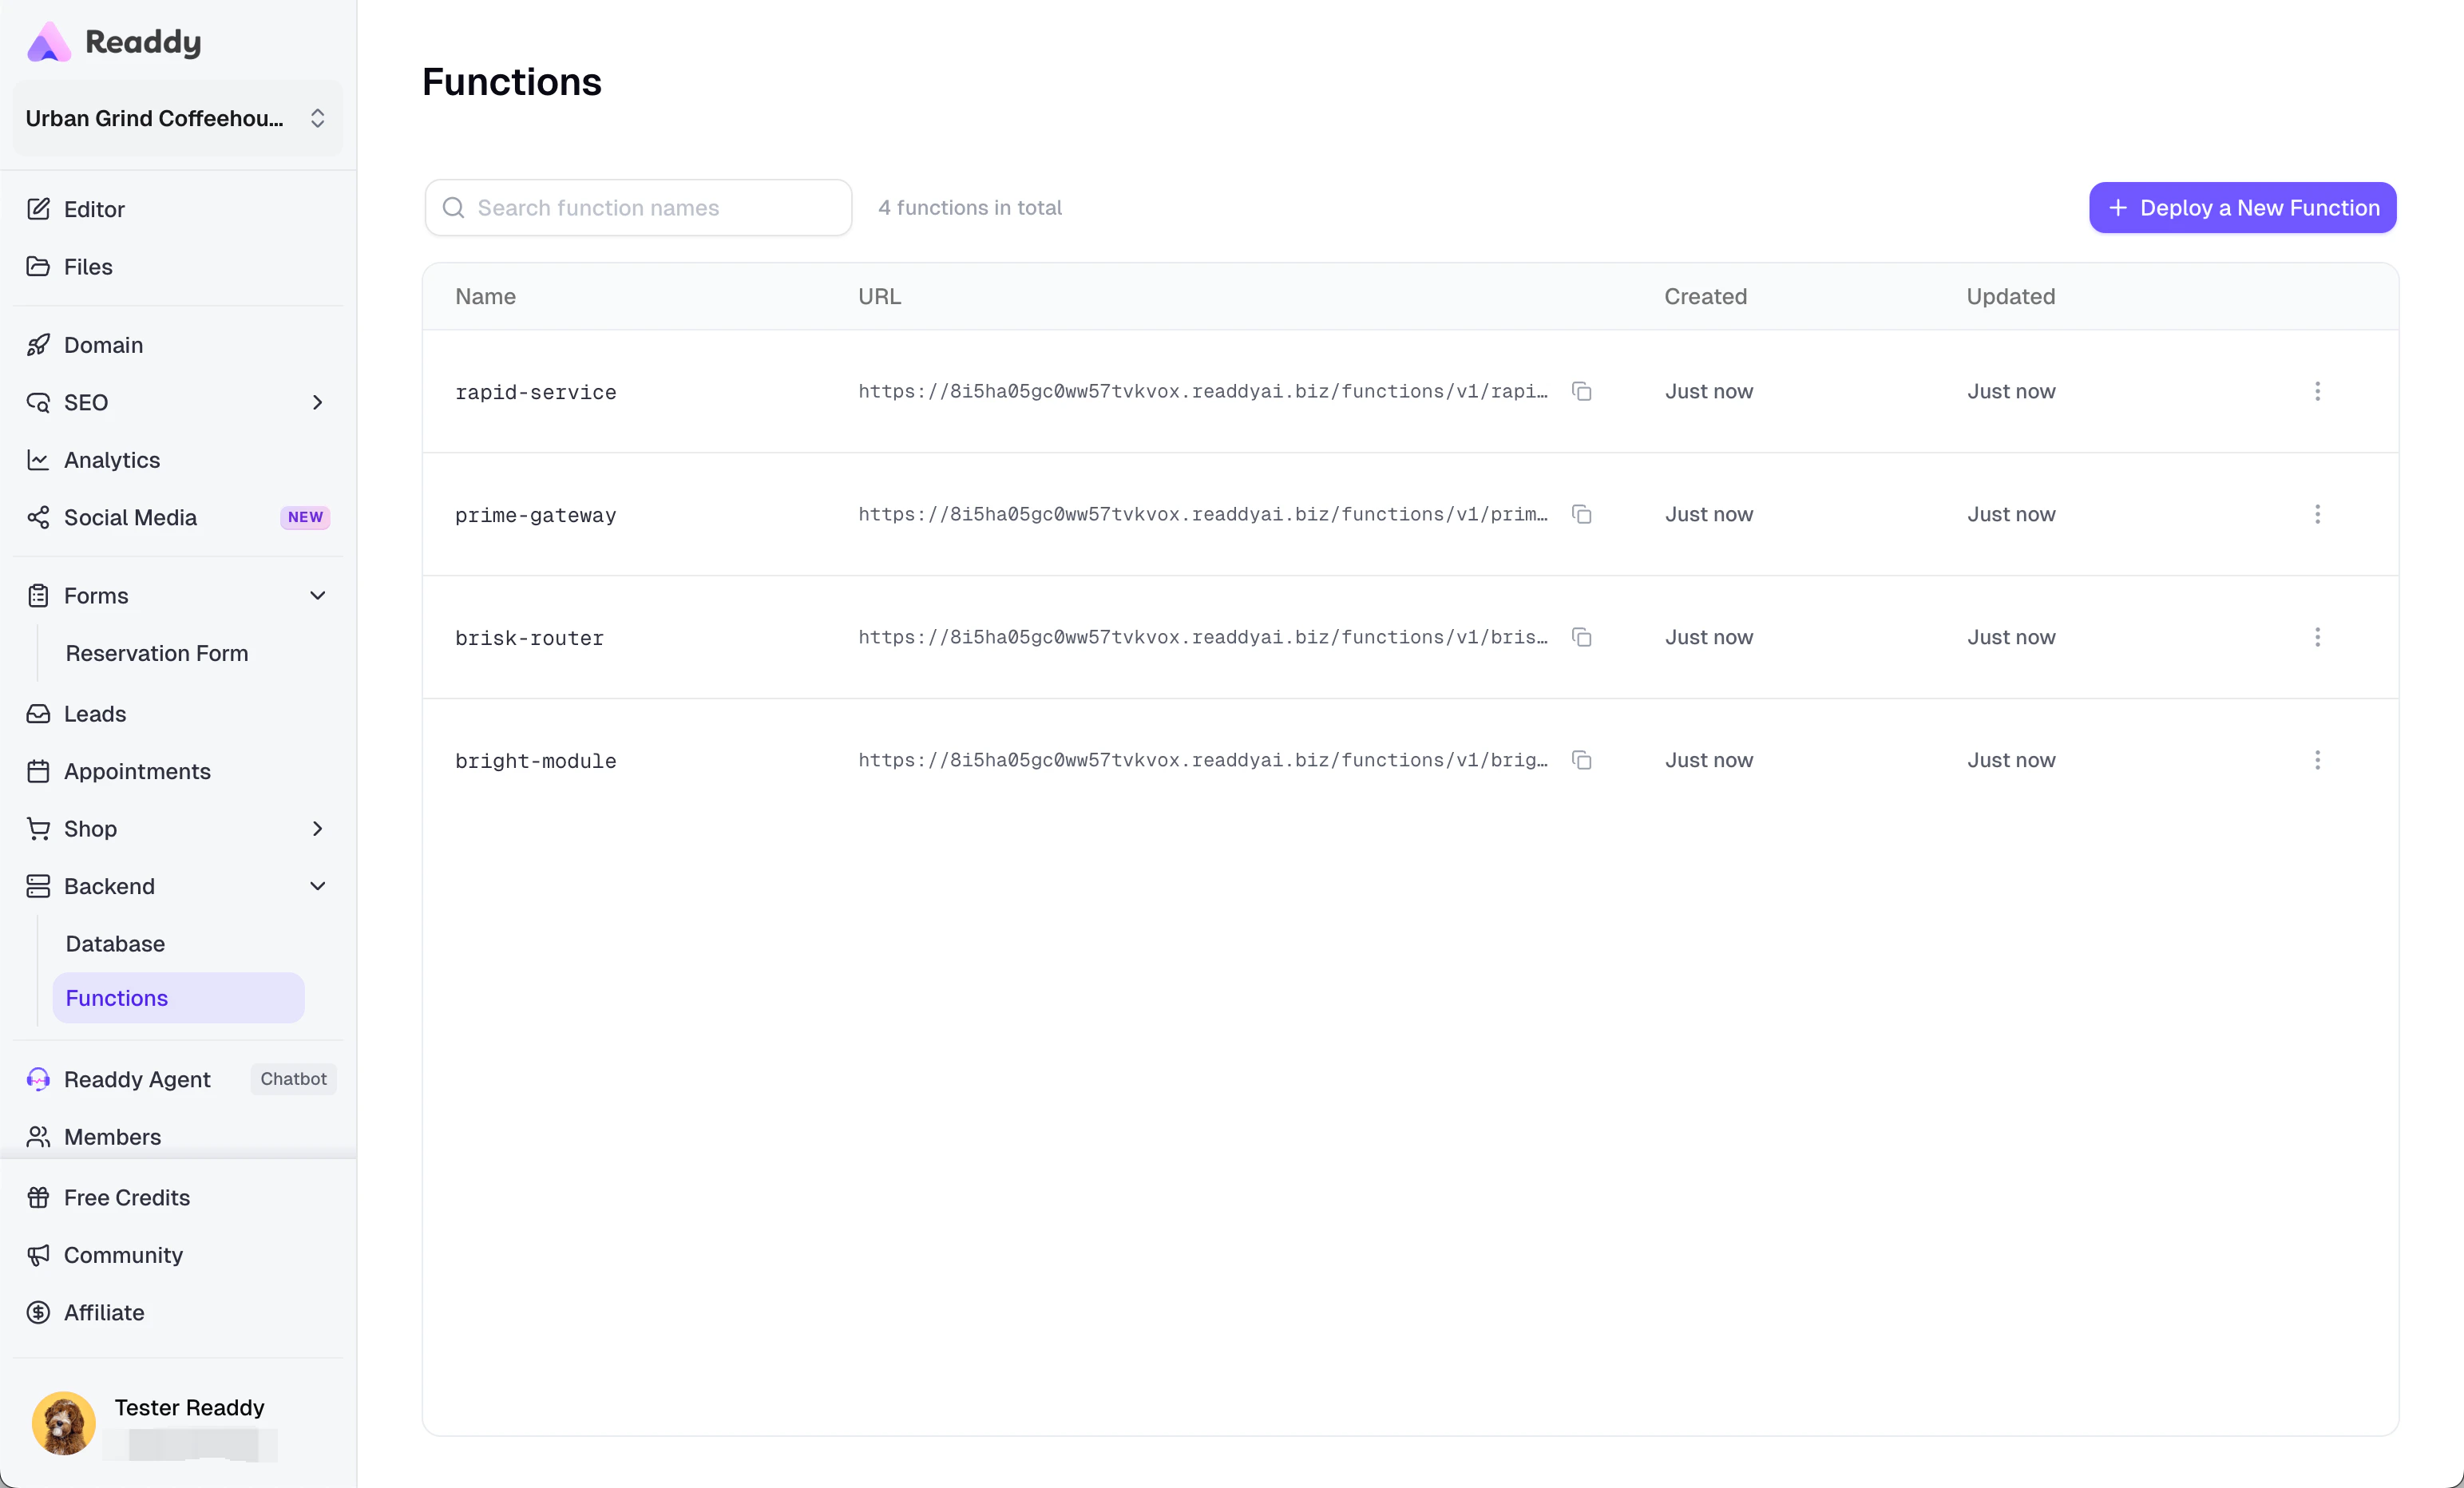
- View all deployed functions in one list
- Search functions by name
- Create a new function
- Edit and redeploy an existing function
- Copy a function URL
- Delete functions you no longer need
How to Use It
- Open Backend in the sidebar, then open Functions.
- Click “Deploy a New Function”.
- Enter a function name (function name is mandatory).
- Write your code in the editor.
- Click “Deploy Function”.
- Copy the generated URL from the list when you need to call the function.
Using Secrets
Secrets lets you store sensitive values for your project, such as API keys, access tokens, and other backend-only configuration. These values are designed for server-side use. They help your functions and backend workflows access private credentials without hardcoding them directly into your project code or exposing them in the page.Why Use Secrets
- You need to keep an API key or token out of your frontend code
- You want your backend logic to read private configuration safely
- You need one place to manage project-level secrets used by functions or backend workflows
What You Can Do in Secrets
- View all existing secret names in one list
- Add a new secret
- Replace the value of an existing secret
- Delete secrets you no longer need
How to Use It
- Open Backend Secrets in the sidebar.
- Click Add Secret.
- Enter the Name and Value.
- Click Save Secret.
- If a secret with the same name already exists, confirm that you want to replace it.
Important Behavior to Understand
- Secret values are write-only. After saving, Readdy does not show the value again in the list.
- Secret names are unique within a project. Adding a name that already exists replaces the previous value after confirmation.
- Updates may take up to 60 seconds to take effect in backend usage.
Usage Limits and Out-of-Scope Cases
- Database is not the best place for everyday business operations if a dedicated Readdy application already exists for your use case.
- In SQL Editor, only one SQL statement can run at a time.
- In SQL Editor, write operations are only allowed in the
publicschema. Other visible schemas are read-only. - Primary-key cells cannot be edited directly in Table Editor.
- Some rows or columns may not be deletable if other data depends on them or if the table is protected.
- Functions supports deploying and managing functions, but it is not a full backend operations suite. Items such as local debugging, logs/monitoring, migration management, and backup/restore are not part of this module.
- Secrets stores private configuration values, but it is not a full secret lifecycle or audit-management system.
Tips and Best Practices
FAQ
I connected Readdy Backend, but Database looks empty
I connected Readdy Backend, but Database looks empty
That usually means your project does not have any tables yet. Go to Chat and describe what data you want to store, such as users, products, orders, forms, or leads.
Should I use Shop or Database?
Should I use Shop or Database?
Use Shop for normal e-commerce operations like managing products and orders. Use Database when you need direct access to the underlying records or when you are working with data outside the Shop workflow.
Why can't I edit a cell in Table Editor?
Why can't I edit a cell in Table Editor?
Direct cell editing only works when the table has a primary key. Primary-key fields themselves are not editable in the inline editor.
Why didn't my SQL run?
Why didn't my SQL run?
Check these common causes:
- You tried to run more than one statement at once
- You tried a blocked system-level operation
- You tried to write outside the
publicschema - Your SQL has a syntax or table-name issue
Why can't I delete a row or column?
Why can't I delete a row or column?
The record may still be referenced by other data, or the table/column may be protected. Remove or update the dependent data first, then try again.
Where do I find my function URL?
Where do I find my function URL?
After deployment, the URL appears in the Functions list. You can copy it directly from there.
Why can't I view a secret value after saving it?
Why can't I view a secret value after saving it?
Secret values are write-only for security reasons. Readdy shows the secret name and description, but not the saved value.
I updated a secret, but my backend workflow still uses the old value
I updated a secret, but my backend workflow still uses the old value
Secret updates may take up to 60 seconds to take effect. Wait a moment, then run your function or workflow again.