Project Setup
Initialize and configure your new website projectCreate New Project
Create New Project
Getting Started: Begin your website building journey with these simple steps: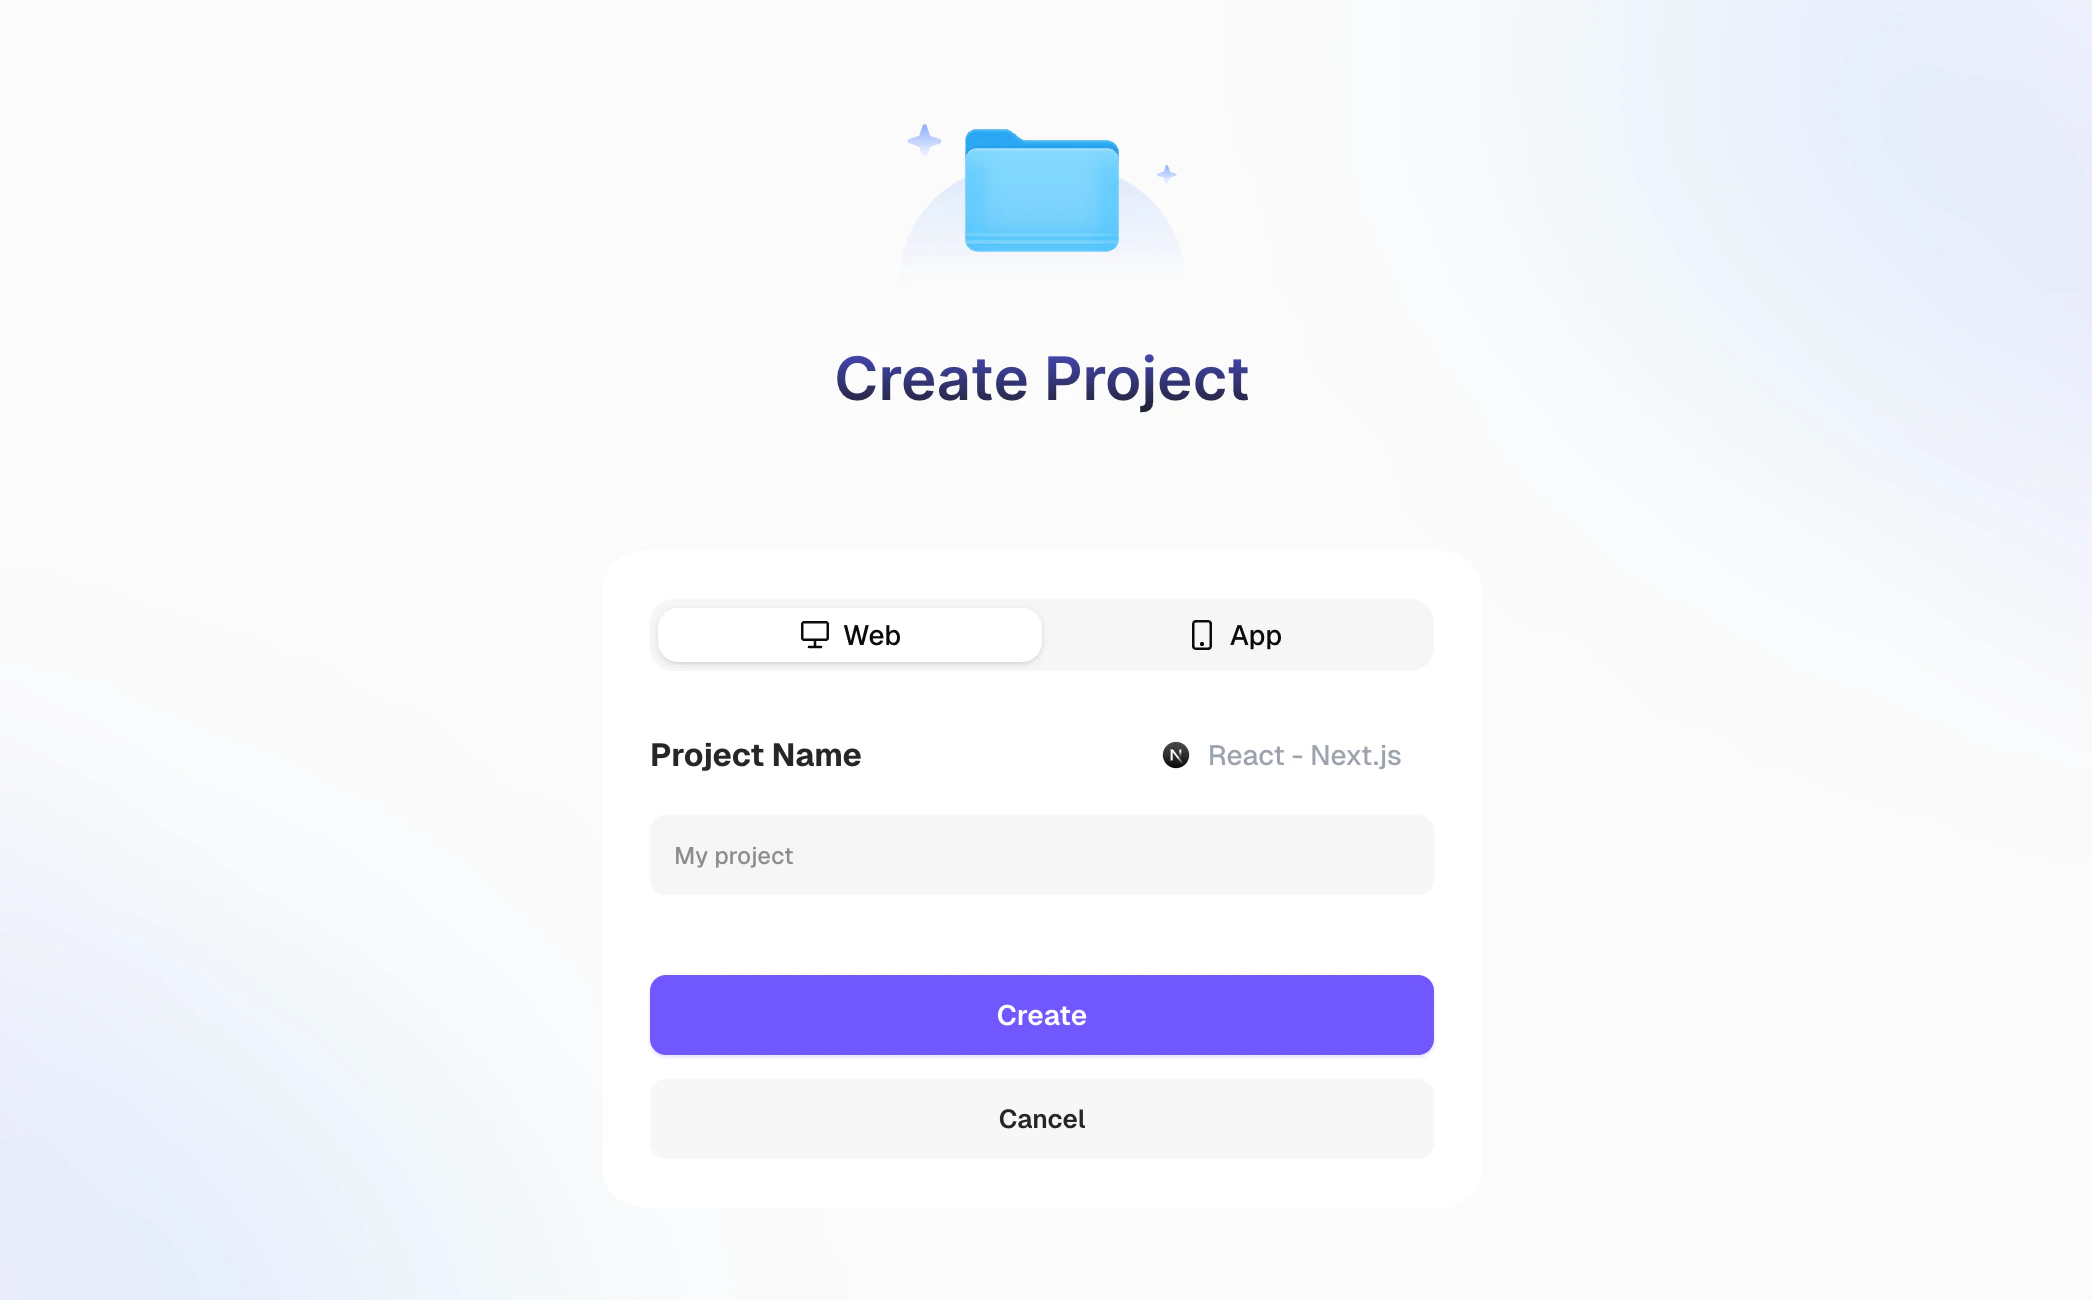
- Sign in to your Readdy dashboard
- Click “Create New Project” button
- Enter your project name.
We recommend using the default React Next.js project type for the best results.
Content Generation
Create your website content using AI-powered toolsText Prompts
Text Prompts
Create your website using detailed natural language descriptions.When to use: Perfect for starting from scratch when you have a clear idea of what you want but no visual references.How to prompt effectively:
- Be specific about your industry and target audience
- Include style preferences, colors, and layout requirements
- Mention required sections and functionality
- “Create a modern law firm website with services, about us, and contact pages”
- “Build a creative portfolio for a graphic designer with project galleries”
- “Design a SaaS landing page for a project management tool”
Templates
Templates
Start with professional pre-designed templates for faster development.When to use: When you want to save time and start with a proven design structure that you can customize.Template Process:
- Browse available templates in your project type
- Select one that matches your vision
- Customize the template according to your specific needs
Reference Images
Reference Images
Upload visual inspiration to guide your website design.When to use: When you have screenshots, designs, or layouts that capture the style you want for your website.Image Reference Process:
- Upload reference images (websites, designs, layouts you like)
- Describe what you like about each image
- Specify adaptations you want for your project
- Readdy creates a design inspired by your references
Reference Websites
Reference Websites
Use existing websites as inspiration for functionality and design.When to use: When you find a website with the exact functionality, layout, or style you want to recreate.Website Reference Process:
- Submit website URLs you want to use as inspiration
- Explain specific elements you want to incorporate
- Describe your unique requirements and differences
- Get a design that captures the essence while being uniquely yours
Visual Descriptions
Visual Descriptions
Describe your ideal website design in detail without visual references.When to use: When you have a clear vision in mind but no reference materials to share.Description Categories:
- Layout preferences: Header styles, navigation types, footer designs
- Color schemes: Primary and secondary colors, mood preferences
- Typography: Font styles, formal vs. casual tone
- Imagery: Photo styles, illustration preferences
Page Editing
Customize and refine your website design to match your exact visionEdit Page
Edit Page
Modify any element on your website using Readdy’s Selector Mode system.When to use: After generating your initial website content, use these tools to fine-tune specific elements like text, images, and layouts.Text Editing Features:
Click text elements and edit content directly.Most basic text changes don’t consume creditsImage Editing Features:
- Image Replacement: Upload new images to replace existing ones (free)
- Background Removal: Remove image backgrounds for transparent effects (10 credits)
- AI Background Generation: Create new backgrounds using AI prompts (50 credits)
Add Effects & Animations
Add Effects & Animations
Enhance your website with professional visual effects and interactions.When to use: After completing your basic design, add effects to make your website more engaging and interactive.Available Effects:
- Animations: Smooth transitions and movements
- Interactive Elements: Hover effects and click animations
- Video Backgrounds: Transform static images into dynamic videos (150 credits)
- Visual Enhancements: Shadows, gradients, and modern effects
- Use Selector Mode to select elements, then describe desired effects
- Send natural language commands: “add hover animation to this button”
- For complex animations, plan in chat mode before implementation
Multi-Page Websites
Multi-Page Websites
Expand your website with additional pages and comprehensive navigation.When to use: After creating your homepage, add additional pages like About, Services, Contact, or Blog pages to build a complete website.Page Generation Methods:
- AI Conversation: Describe new page requirements through chat
- Click-to-Generate: Click links targeting non-existent pages and describe requirements
- 404 Recovery: Use chat to describe missing page content when encountering 404 errors
Version Control
Version Control
Manage your project versions and recover from unwanted changes.When to use: When you need to undo problematic changes or revert to a previous working version of your website.Version Management:
- Delete problematic versions through the right-side chat panel
- Only the last conversation can be deleted at a time
- System automatically reverts to the previous working version
- Multiple versions must be deleted one by one
Backend Features
Transform your static website into a dynamic application with backend functionalityForm Data Collection
Form Data Collection
Capture user input and build your first interactive feature.When to use: After creating your basic website pages, add forms to collect user information like contact details, feedback.Quick Setup:
- Click any form element in Selector mode or use the form submission button
- Configure data storage - create new forms or use existing ones
- Test form submissions in preview and view collected data
Connect Supabase
Connect Supabase
Add a powerful backend database to store and manage your application data.When to use: When your project needs user accounts, dynamic content, or data that changes over time (like user profiles, posts, or inventory).What is Supabase: A complete backend platform providing database, authentication, file storage, and custom functions - all with a generous free tier.Connection Process:
- Click Supabase integration in top navigation or when prompted by AI
- Sign in to Supabase (or create free account) and authorize Readdy
- Select or create a Supabase project for your website
User Authentication
User Authentication
Enable user accounts and personalized experiences.When to use: When you want users to create accounts, save preferences, or access protected content (member areas, user dashboards, personalized content).Available Methods:Results: Automatic generation of login/registration pages, user management, and protected page access.Essential for community sites, membership platforms, or any personalized user experience.📖 Learn More: Email/Password Auth | Third-Party Login
- Email/password registration and login
- Social logins (Google, Twitter, Apple)
Database Operations
Database Operations
Store and manage dynamic content and user data.When to use: After adding authentication, or when you need to save and display changing information (user posts, product catalogs, dynamic content).What you can build:Perfect for content-driven websites and applications requiring structured data storage.📖 Learn More: Database Operations
- User profiles and settings
- Content management (blogs, portfolios)
- Product catalogs with categories
- Comment systems and user interactions
Edge Functions
Edge Functions
Add custom backend logic and external service integrations.When to use: When you need server-side processing, AI integrations, email sending, or complex business logic that can’t run in the browser.Common Applications:Ideal for adding advanced functionality that requires server-side processing.📖 Learn More: Edge Functions
- AI chatbots and content generation
- Email notifications and messaging
- Data processing and calculations
- Third-party API integrations
File Storage
File Storage
Handle user uploads and media management.When to use: When users need to upload files like profile pictures, documents, portfolios, or when your site requires image galleries.Storage Features:Perfect for user-generated content, portfolios, and document sharing features.📖 Learn More: File Storage
- 1GB free storage through Supabase
- Support for images, documents, and videos
- Automatic image optimization and resizing
- Secure file access controls
Launch Website
Publish your completed website and optimize it for the world to discoverPublish Project
Publish Project
Make your website accessible to everyone on the internet.When to use: After completing your website design, adding all necessary functionality, and testing everything works properly.Pre-launch Preparation:
- Ensure all pages have unique, descriptive names
- Test all forms, links, and interactive features
- Review content for accuracy and completeness
- Check mobile responsiveness across different devices
- Click the Publish button in your project’s top navigation
- Enter your custom domain name (must be purchased separately)
- Configure DNS records with your domain provider
- Wait for DNS propagation and go live
SEO Optimization
SEO Optimization
Optimize your website for search engines and social media sharing.When to use: Before or immediately after publishing to ensure your website appears professionally in search results and social media shares.Essential SEO Elements:📖 Learn More: SEO Configuration
- Website Title: The main title shown in browser tabs and search results
- Meta Description: Brief summary that appears under your title in search results (150-160 characters)
- Favicon: Small icon displayed in browser tabs for brand recognition
🎉 Congratulations! You’ve just learned how to build a complete website from start to finish. We’re here to support your creative journey every step of the way! 🌟