

- Upload project files: Add documents, spreadsheets, images, archives, audio, or video files to the message you send to Readdy.
- Parse supported documents and data: Let Readdy read PDF, CSV, XLSX, and TXT files when your prompt asks it to use their content.
- Use media in project edits: Upload MP4 videos as assets and ask Readdy to replace suitable page elements with them.
- Use visual references: Add reference images for style, layout, composition, or visual direction without saving them to your project’s Files storage.
- Reuse existing assets: In an existing project, browse files that were already uploaded instead of uploading them again.
Before You Start
- File attachments are available from the ”+” menu in supported project creation and editing flows.
- In an existing collaborative project, you need permission to upload assets before “Upload Files” and “Browse Files” appear.
- File attachments saved to your project’s Files storage count toward your plan’s storage limit.
- Reference images are separate from file attachments. They are used as visual guidance and are not saved to the Files library.
- Readdy waits for uploads and image processing to finish before it sends your request.
File parsing is not the same as file uploading. Many formats can be uploaded, but only PDF, CSV, XLSX, and TXT are parsed as text or data sources.
File Attachments vs. Reference Images
Readdy has two ways to include visual and file-based context in a prompt.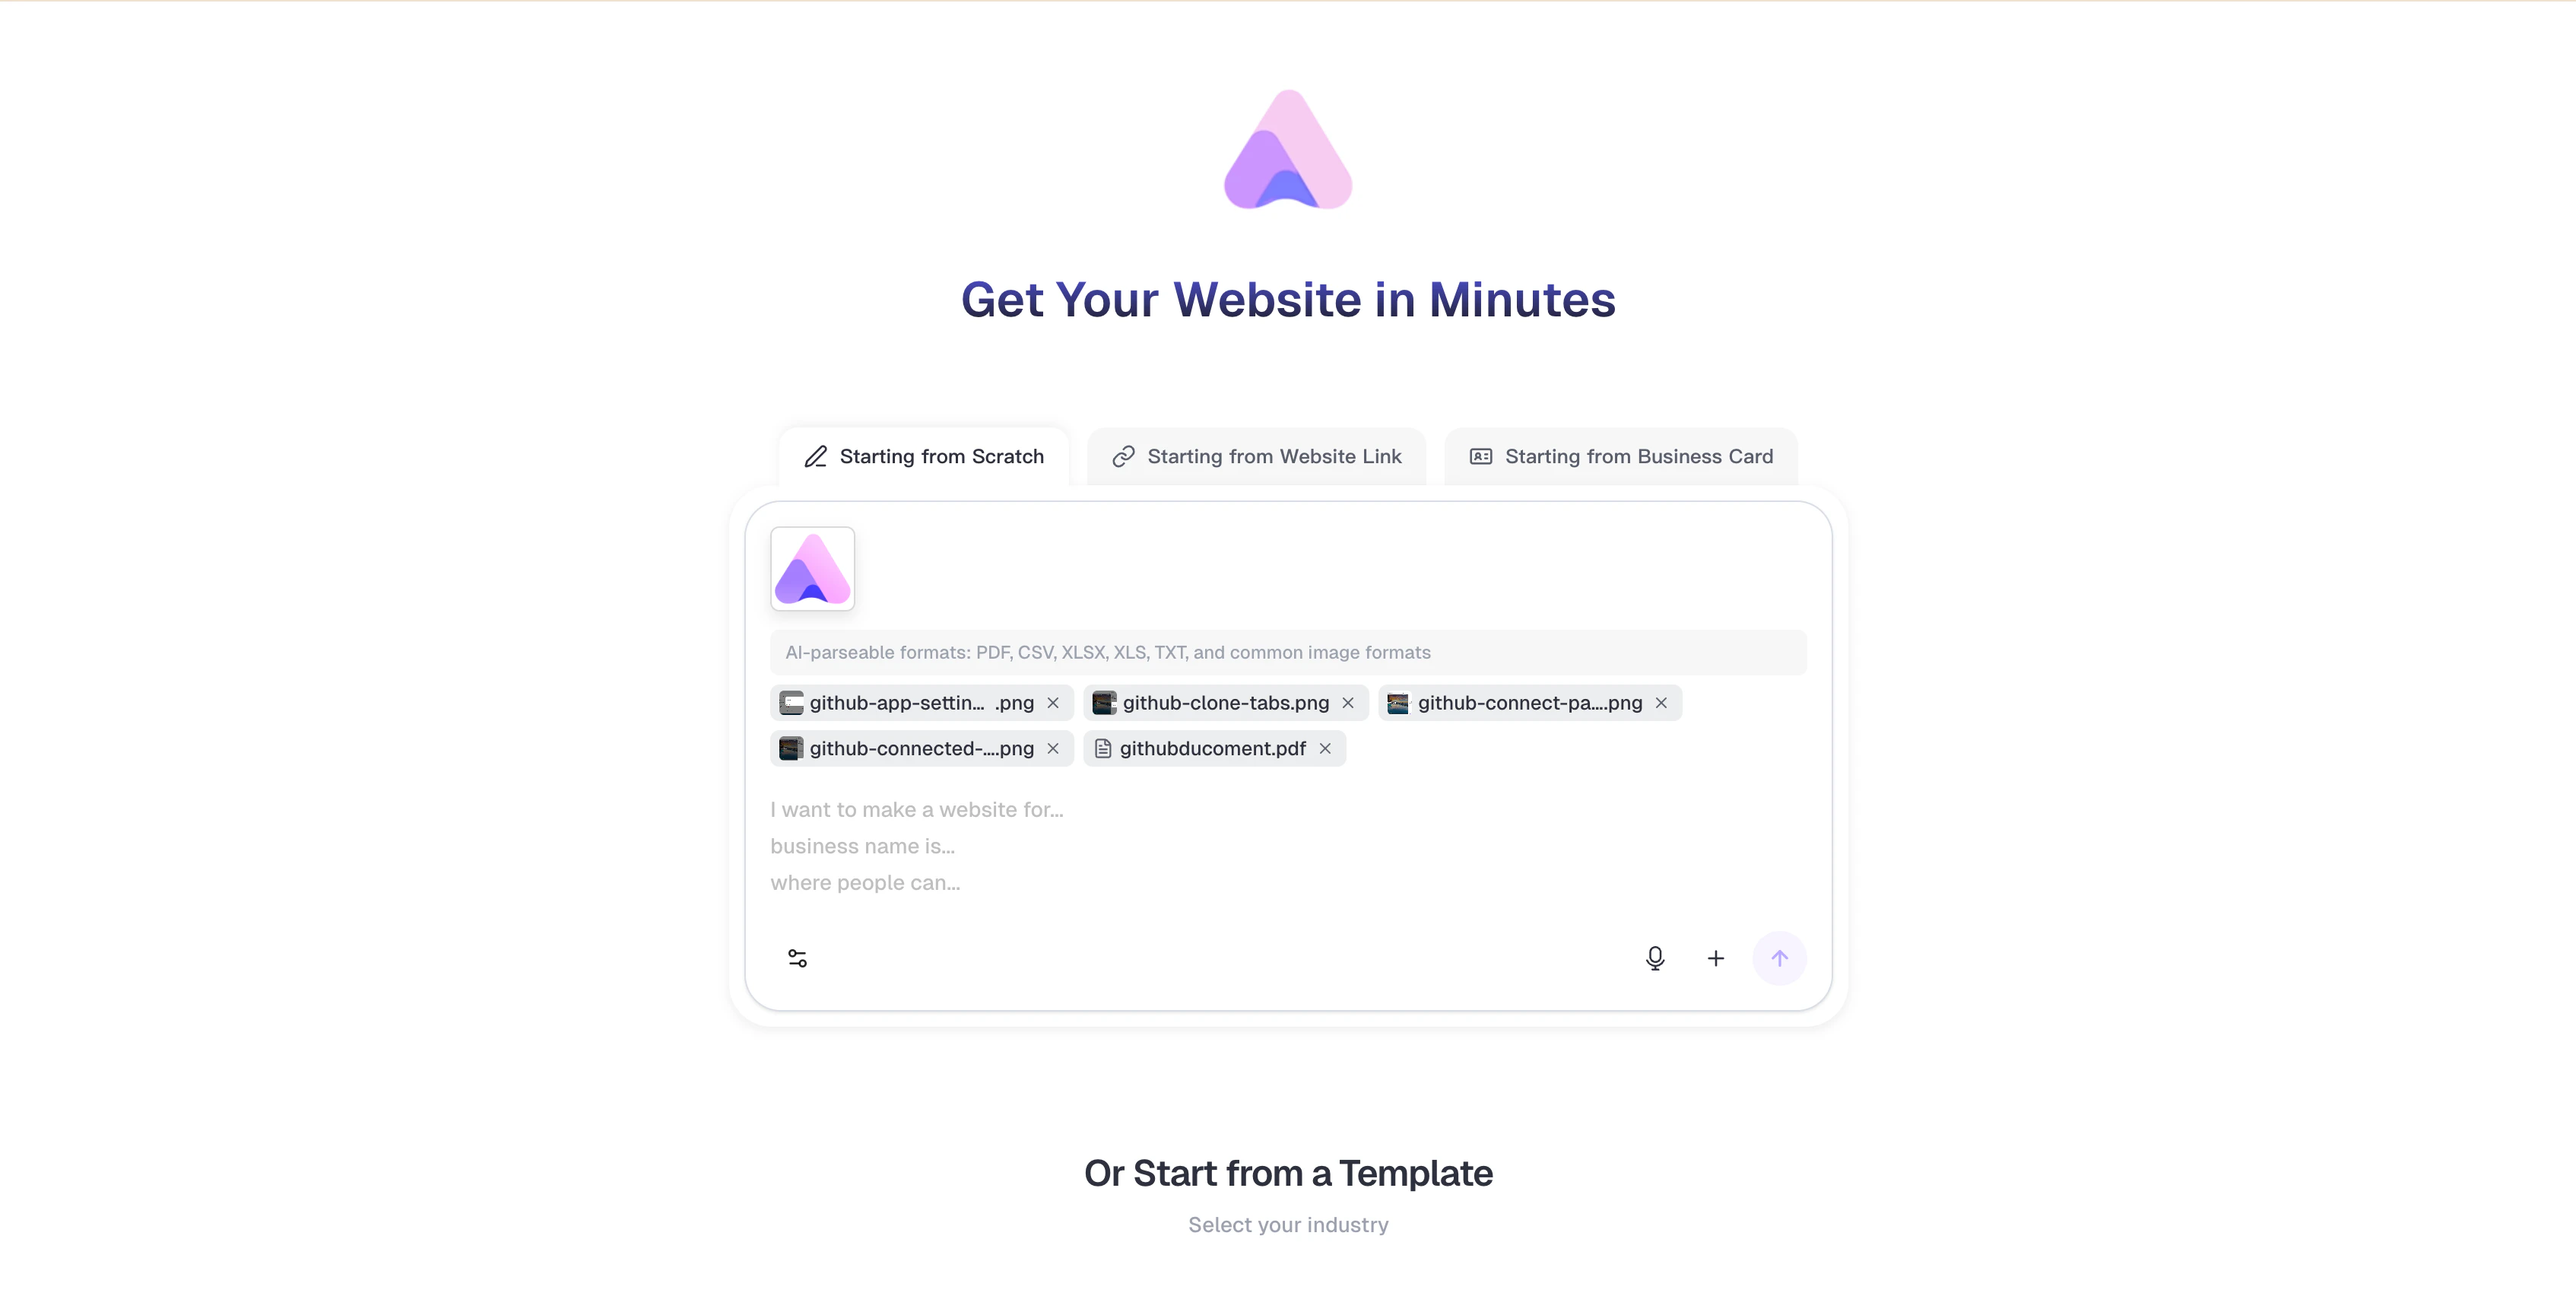
File Attachments
Saved to your project’s Files storage and counted toward your storage quota.
- Use ”+” -> “Upload Files”, drag and drop, or “Browse Files”
- Add up to 10 file attachments per message
- Displayed as file chips in the input area
Reference Images
Used as visual guidance for Readdy and not saved to the Files library.
- Use ”+” -> “Reference Image”, or paste with “Ctrl/Cmd + V”
- Add up to 5 reference images at a time
- Displayed as image thumbnails in the input area
How It Works
1
Open the Attach Menu
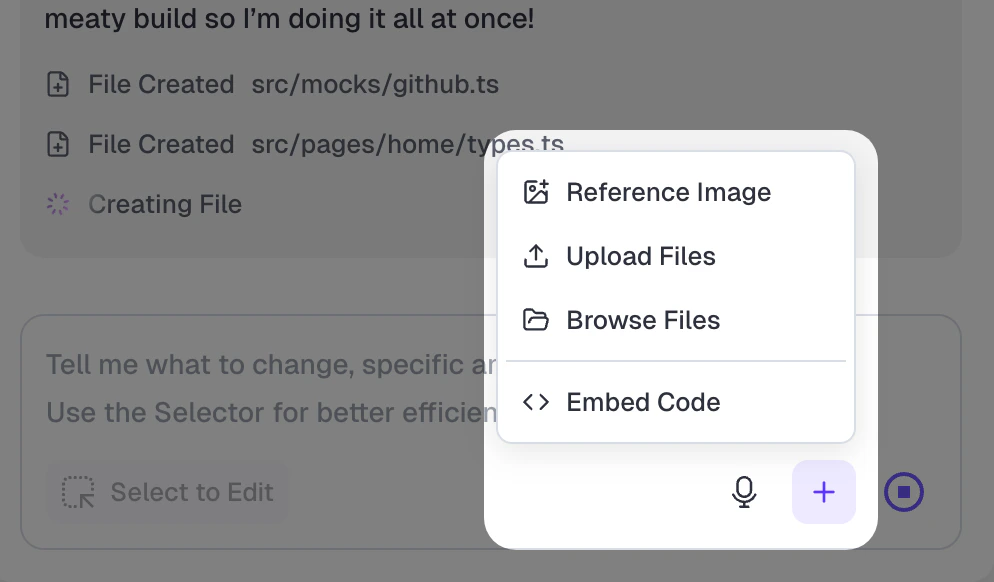
Click the ”+” button in the input area.In a new project, the menu includes “Reference Image” and “Upload Files”.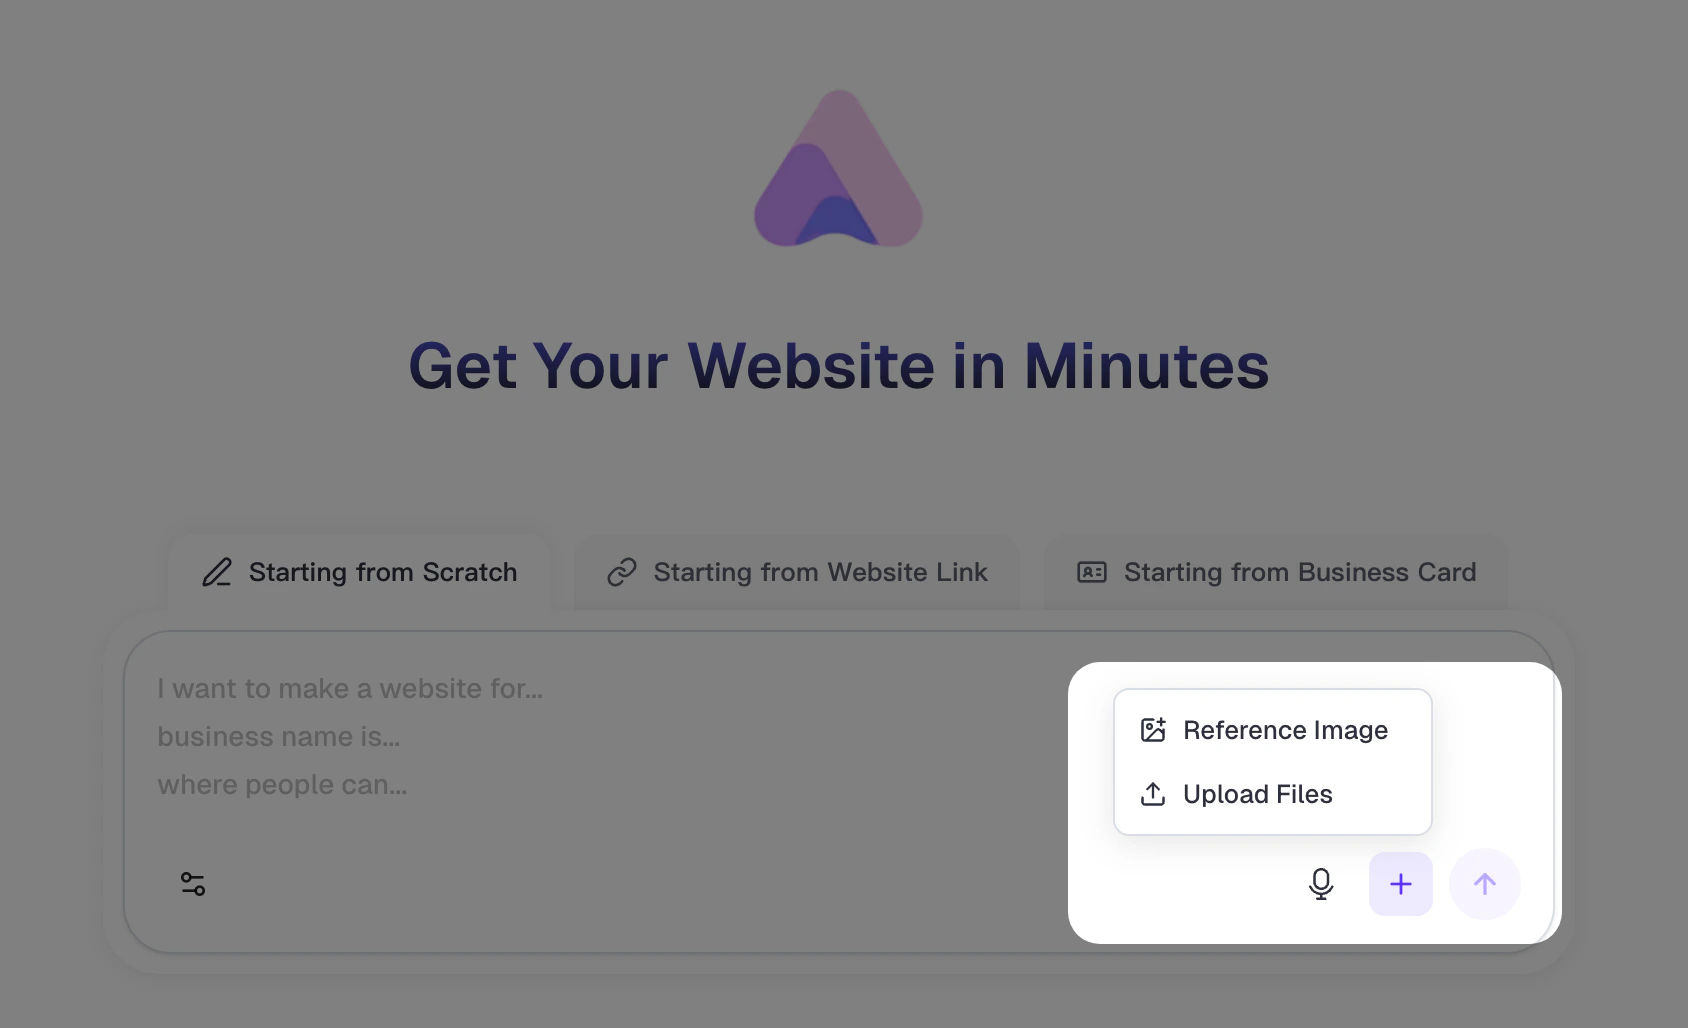
2
Choose How to Add Files
Select the input type that matches what you want Readdy to do.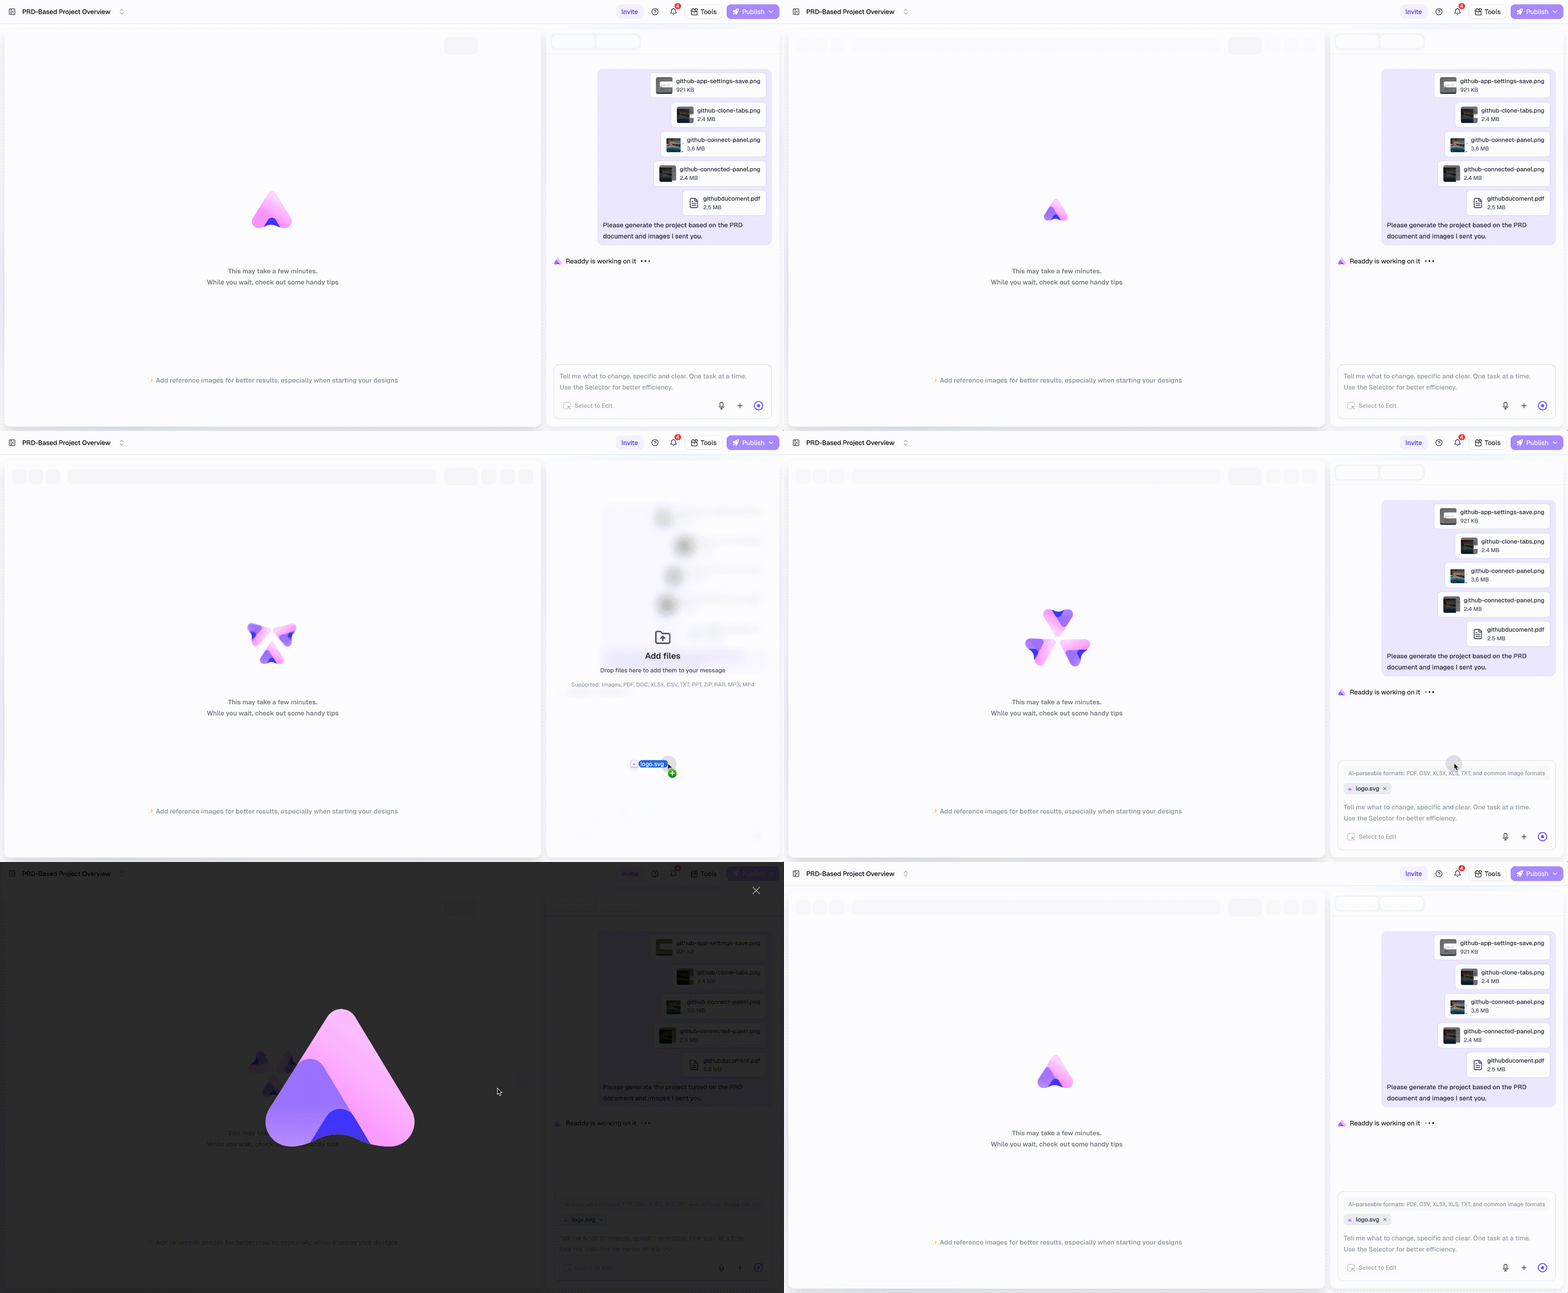
- Use “Upload Files” for documents, spreadsheets, images, media, archives, and other project resources.
- Use “Browse Files” in an existing project to reuse files already stored in Files.
- Use “Reference Image” when you want Readdy to follow a visual style, layout, or screenshot.
- Drag files into the input area when you want to add them as file attachments.
3
Wait for Uploads to Finish
Keep the files in the input area until their upload or processing state finishes.In a new project, selected file attachments are kept in your browser until you send the prompt, then uploaded during project creation. In an existing project, files upload to Files as soon as you select them.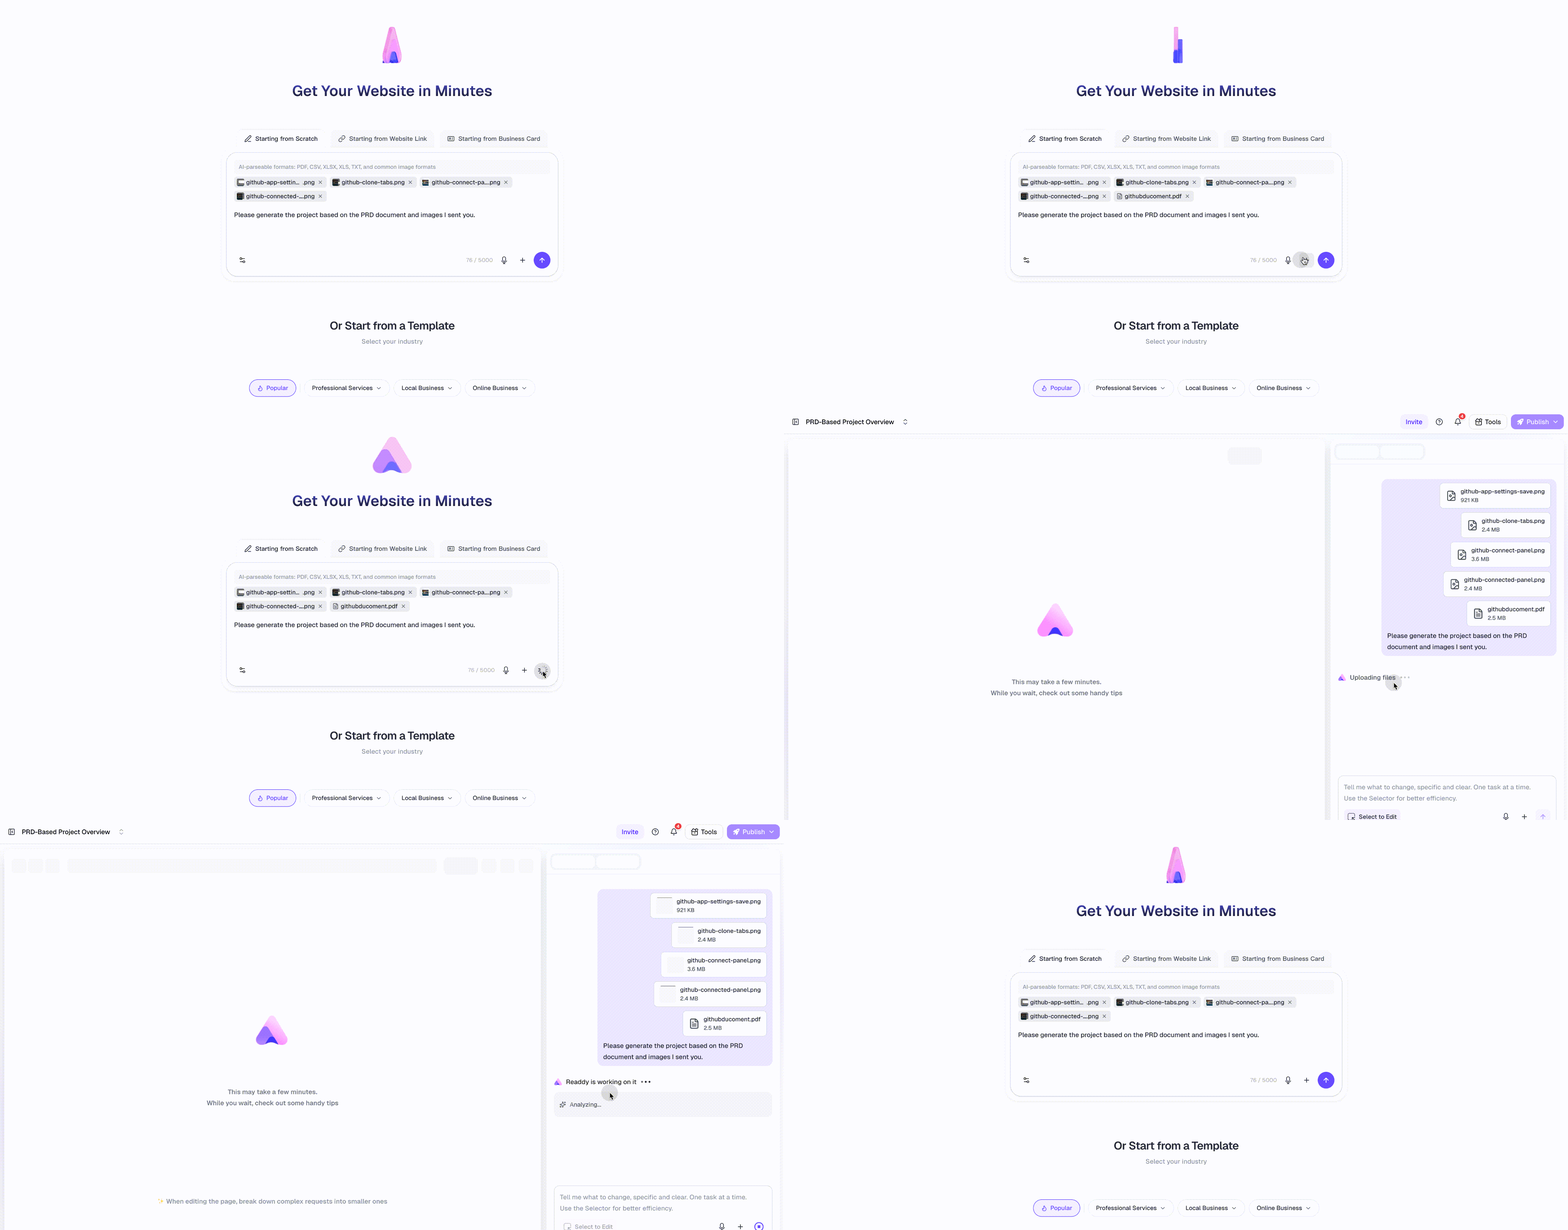
4
Send Clear Instructions
Tell Readdy exactly how to use each file.For example:
- “Read the PDF and generate the landing page copy from it.”
- “Use the CSV as the product list and create pricing cards.”
- “Use logo.svg as the site logo.”
- “Replace the hero image with intro-video.mp4.”
- “Use the reference image for layout and visual style.”
What Uploaded Files Can Do
Uploaded files give Readdy resources to use while generating or editing a project.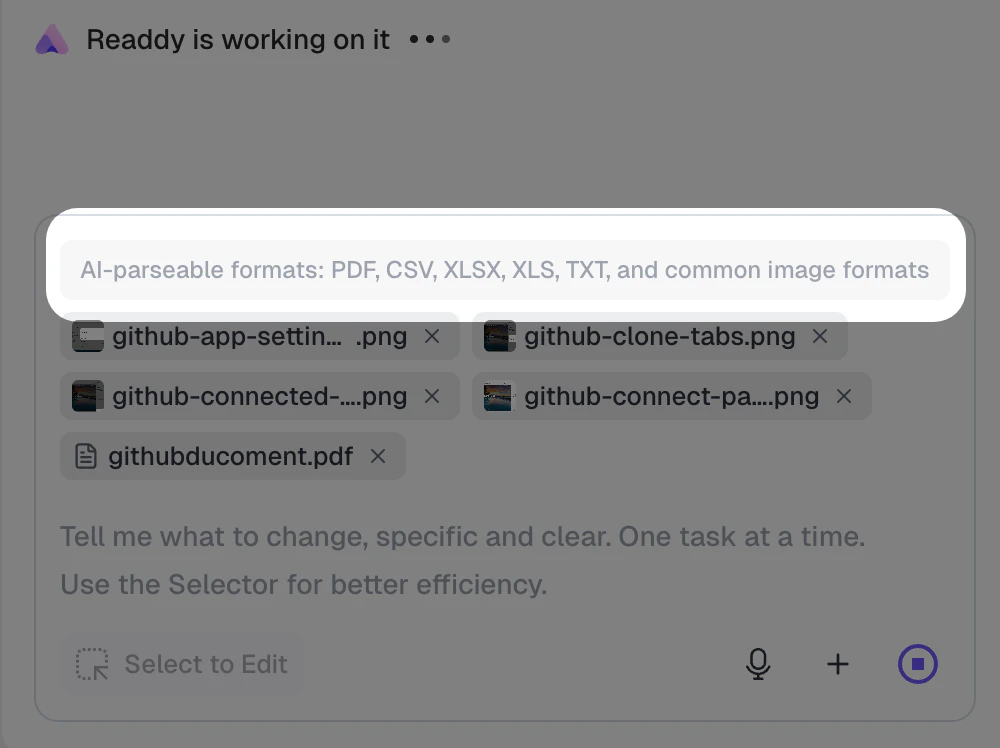
What Parseable Files Can Do
Parseable files are files Readdy can read as text or structured data when your prompt asks it to use the content.Supported Files and Limits
Best Practices
- Separate content from assets: Use PDF, TXT, CSV, or XLSX when Readdy should read content. Use image and media files when Readdy should place assets in the site.
- Name files clearly: Names like
logo.svg,product-list.csv, andhomepage-copy.pdfmake your prompt easier to follow. - Be explicit in the prompt: Write “use the CSV as the product list” or “use the image as the hero background” instead of “use these files.”
- Name the target when using video: Write “replace the hero image with
intro-video.mp4” or select the element you want to change before sending the video attachment. - Convert unsupported documents before parsing: Export DOC, DOCX, PPT, PPTX, or XLS files to PDF, TXT, CSV, or XLSX when Readdy needs to read them.
- Clean up unused Files: File attachments remain in the project Files library. Delete unused assets if you are close to the storage limit.
Troubleshooting
Upload is blocked because the file type is unsupported
Upload is blocked because the file type is unsupported
Symptom: Readdy shows an unsupported file type error.Cause: The file extension or MIME type is not in the supported upload list.How to fix:
- Use one of the supported upload formats listed above.
- Export documents or presentations to PDF if Readdy needs to read the content.
- Export older spreadsheets to CSV or XLSX if Readdy needs to parse rows and columns.
Upload is blocked because the file is too large
Upload is blocked because the file is too large
Symptom: Readdy shows a file size or parsing size limit error.Cause: General uploads can be up to 50 MB, but images and parseable files have smaller limits.How to fix:
- Keep image files under 5 MB.
- Keep parseable PDFs under 10 MB.
- Keep CSV, XLSX, and TXT files under 5 MB.
- Split large documents or datasets into smaller files.
Readdy uploaded my file but did not read its content
Readdy uploaded my file but did not read its content
Symptom: The file appears in the input area, but the generated result does not use its text or data.Cause: The file may be uploadable but not parseable, or your prompt may not have asked Readdy to read it.How to fix:
- Make sure the file is PDF, CSV, XLSX, or TXT.
- Add a direct instruction like “read this PDF” or “use the rows in this spreadsheet.”
- Convert DOC, DOCX, XLS, PPT, or PPTX files to a parseable format before sending.
I cannot see Upload Files or Browse Files
I cannot see Upload Files or Browse Files
Symptom: The ”+” menu does not show “Upload Files” or “Browse Files” in an existing project.Cause: You may not have permission to upload assets in that project, or file uploads may be temporarily blocked while another file upload task is running.How to fix:
- Ask the project owner to give you asset upload permission.
- Wait for the current upload task to finish, then open the ”+” menu again.
Storage limit exceeded
Storage limit exceeded
Symptom: Readdy says there is not enough storage to upload the selected files.Cause: File attachments count toward your project Files storage limit.How to fix:
- Open the project’s Files library.
- Delete unused files.
- Upload fewer or smaller files.
- Upgrade the plan if you need more storage.
My reference image was not accepted
My reference image was not accepted
Symptom: Readdy rejects the image or stops you from adding more reference images.Cause: Reference images support JPG, JPEG, PNG, WebP, and SVG files up to 5 MB each, with a limit of 5 images.How to fix:
- Use a supported reference image format.
- Compress the image below 5 MB.
- Remove one of the existing reference images before adding another.