What is Resend?
Resend is a powerful email API platform that makes it easy to send transactional emails at scale. By integrating Resend with your Readdy website, you can:- Send appointment confirmation emails
- Deliver booking notifications
- Automate customer communication
- Ensure reliable email delivery
1. Basic Configuration
1
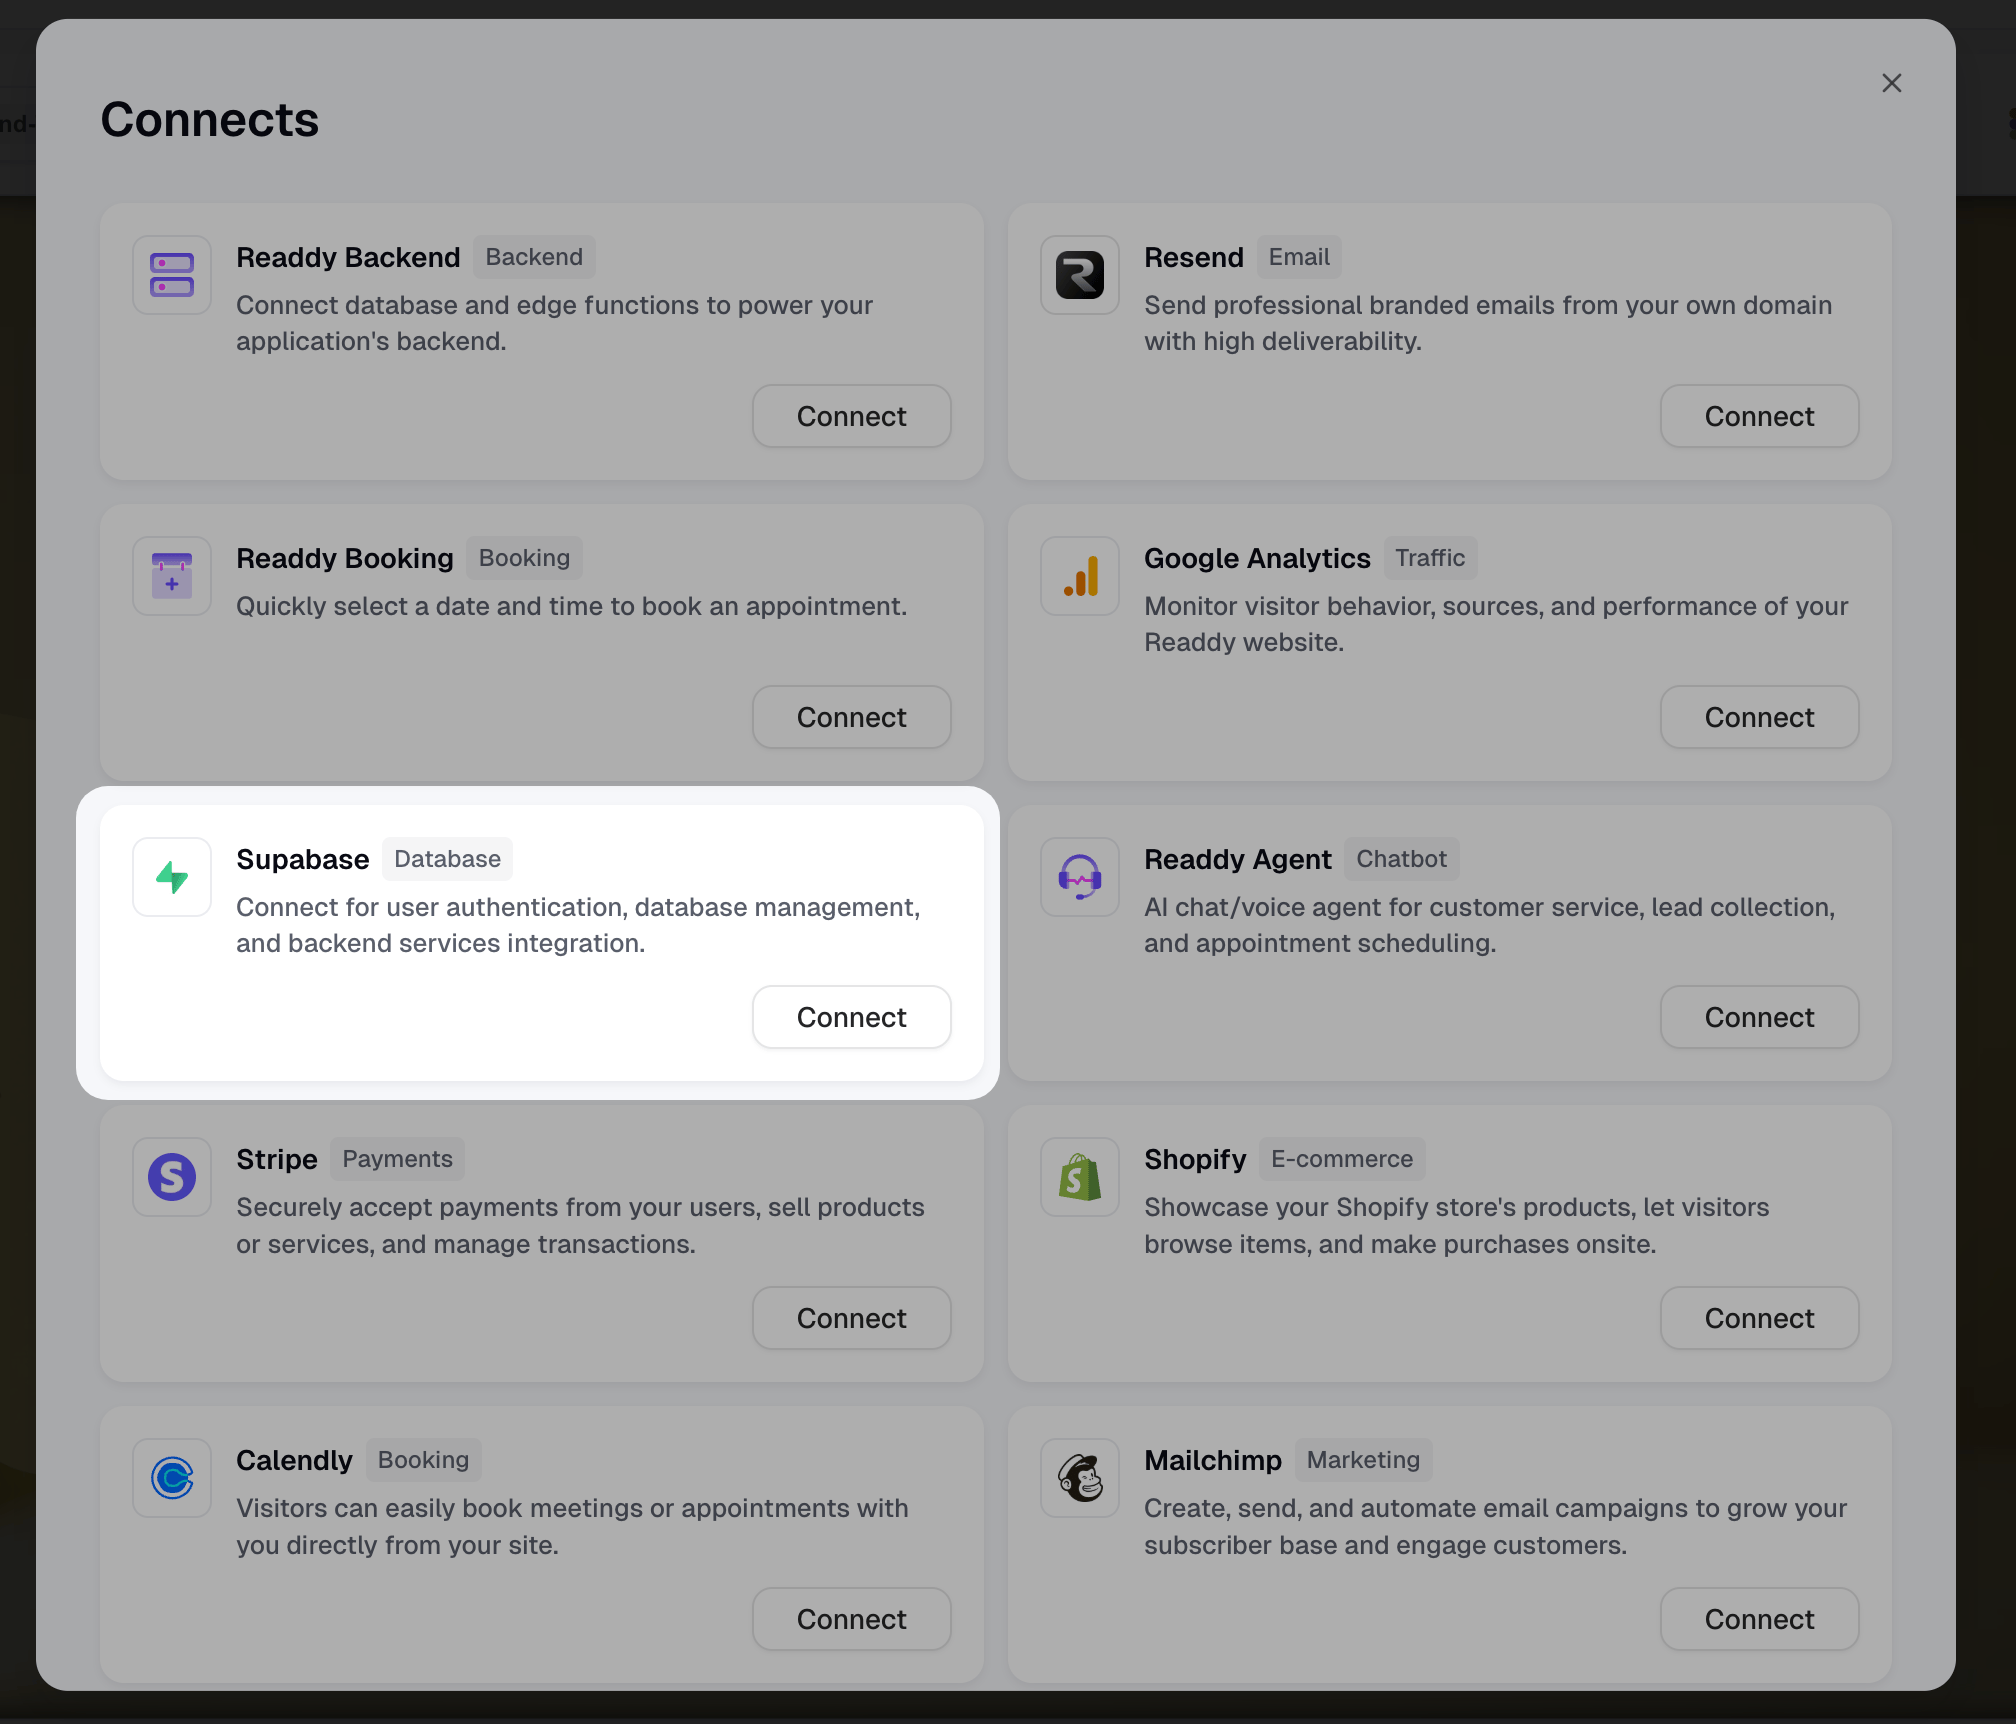
Step 1: Connect Supabase Database
Connect your Supabase database to your Readdy project. This database will store booking records and user information.Click the Connects button at the top, then select Supabase to connect.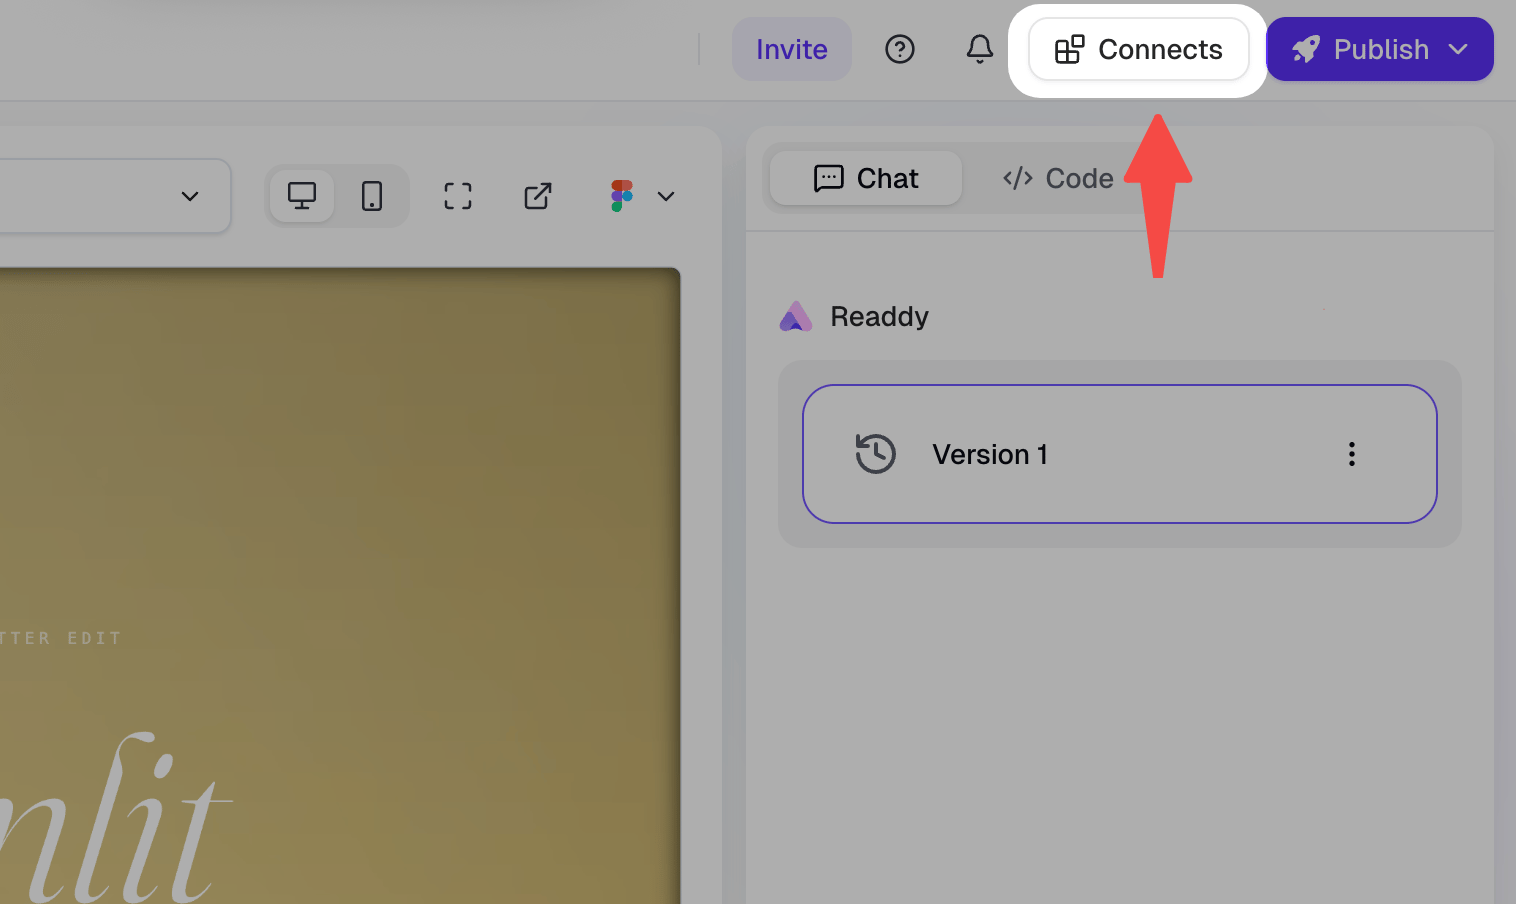
2
Step 2: Sign Up for Resend
Go to https://resend.com and create your account. Complete the registration process and log in to your dashboard.
3
Step 3: Get Your Resend API Key
In your Resend dashboard, navigate to API Keys section.Click Create API Key to generate a new key. Choose appropriate permissions for your use case.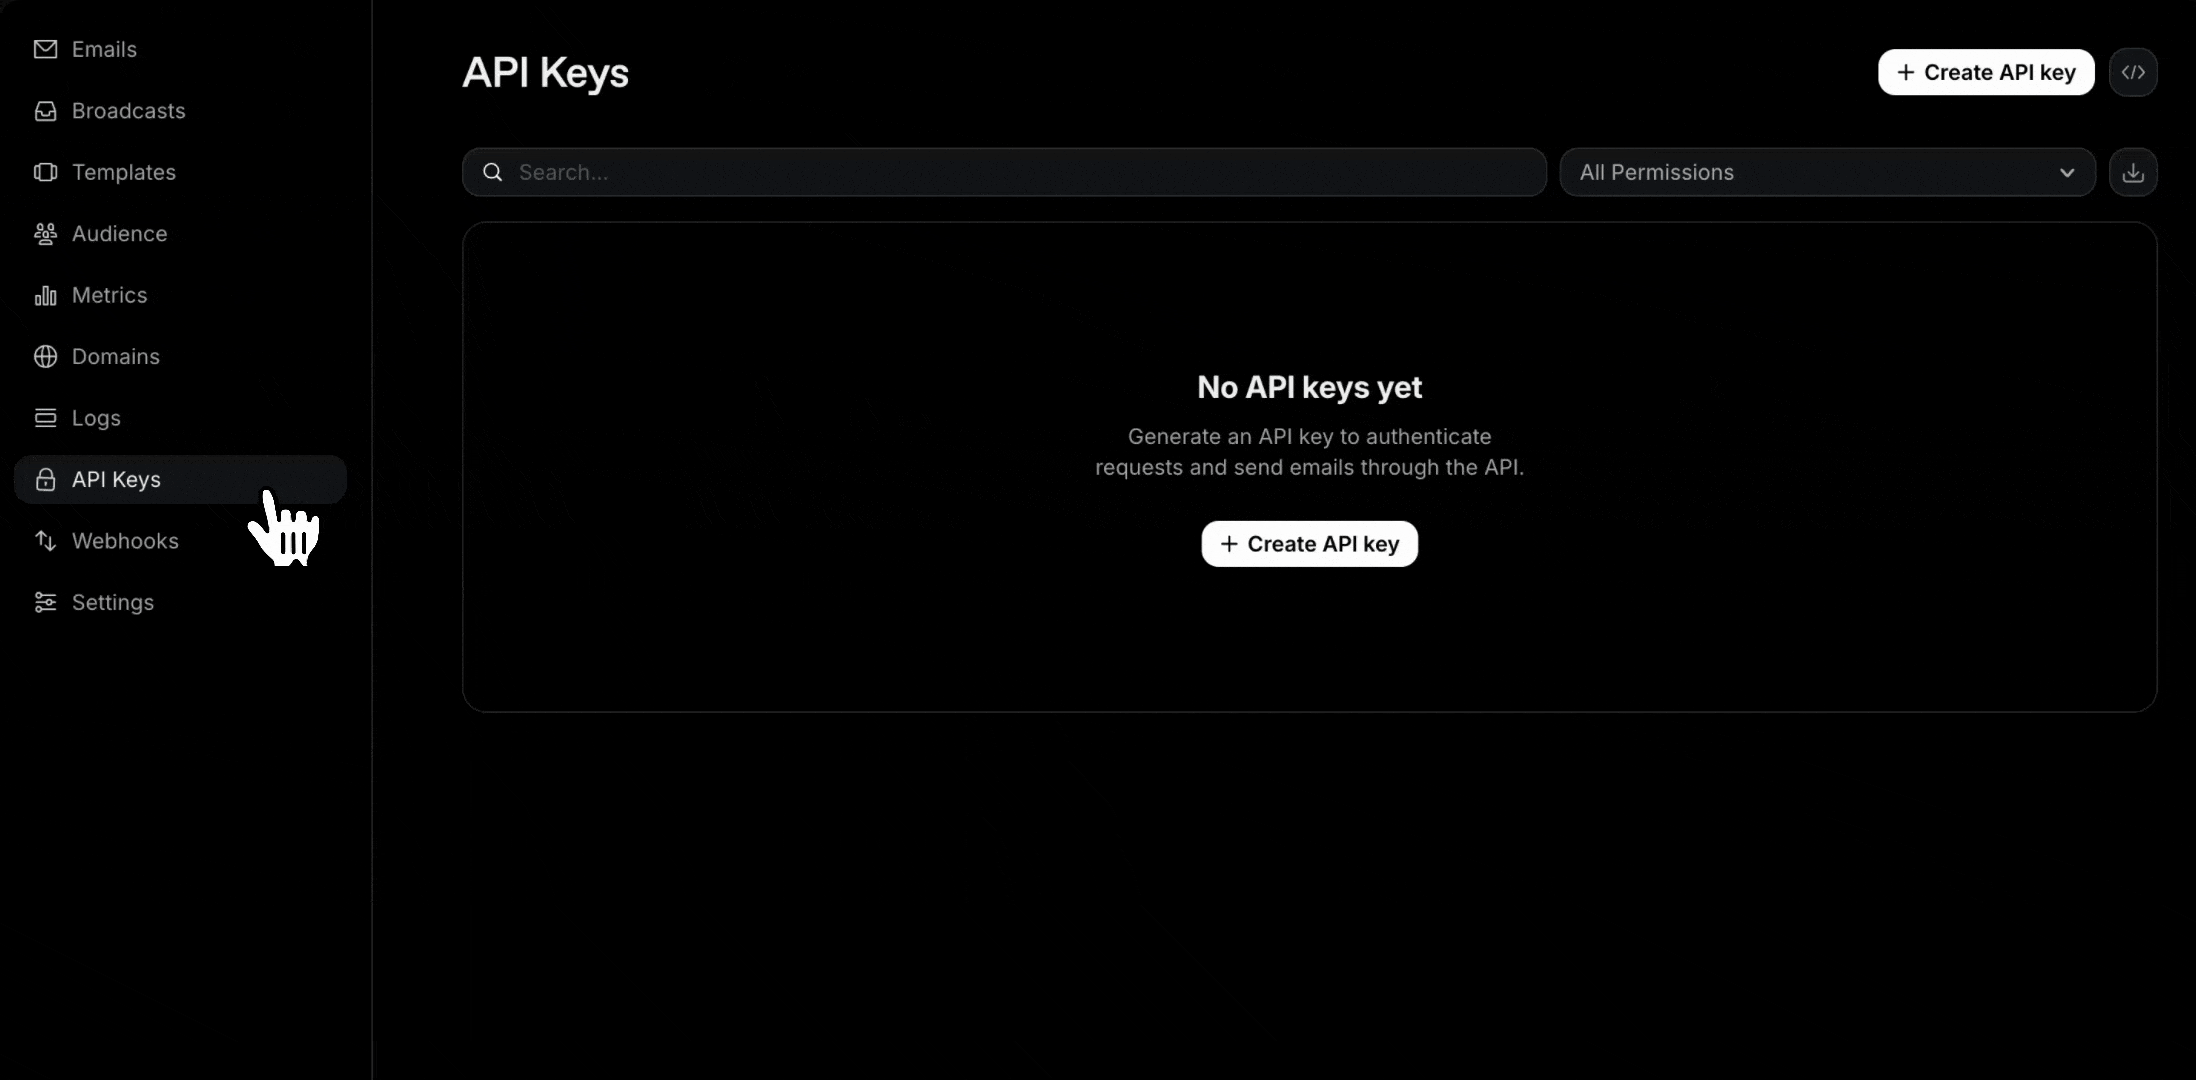
4
Step 4: Configure Resend in Readdy
Tell Readdy AI that you want to configure Resend for your website and ask it to help you update the Supabase Edge Function.You can use this prompt:
5
Step 5: Add Resend API Key to Supabase
After Readdy AI updates the Edge Function, you need to manually add your Resend API key to Supabase Secrets.Follow these steps: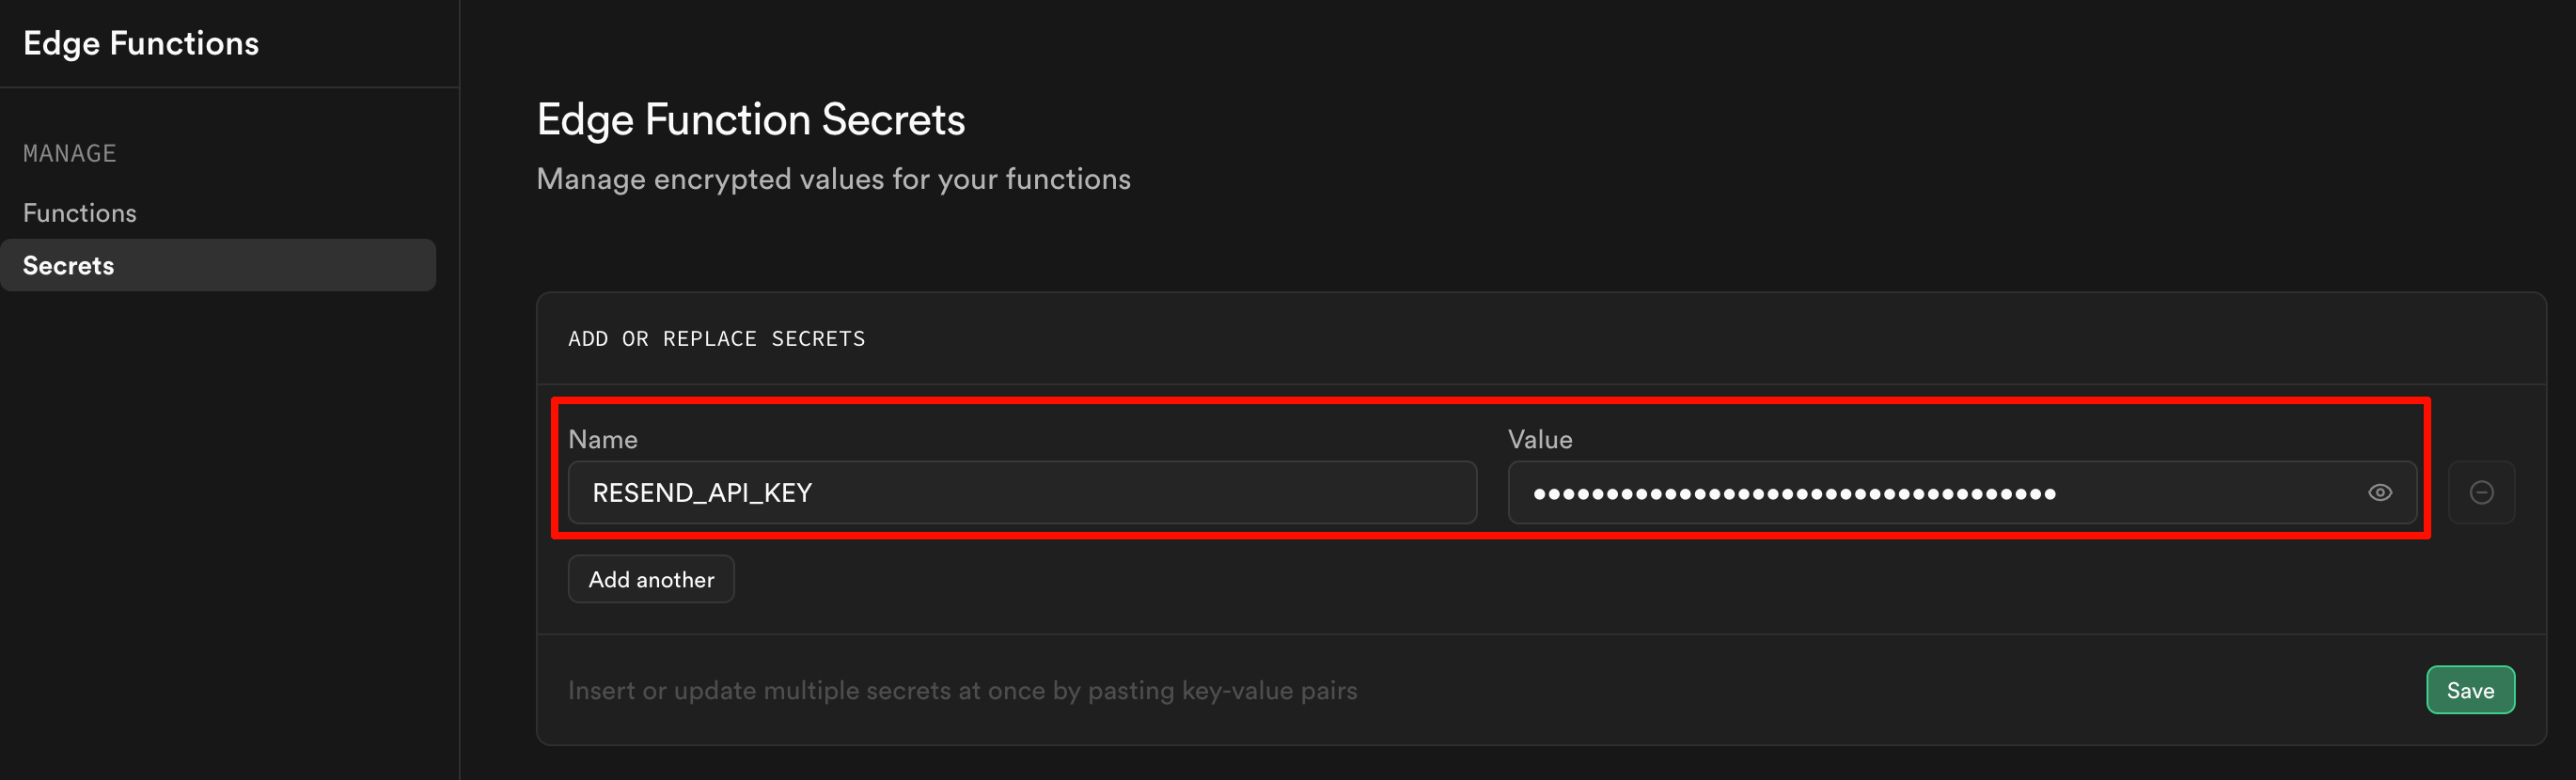
- Open your project in the Supabase Dashboard
- Navigate to Edge Functions in the left sidebar
- Click Secrets to manage environment variables
- In the Name field, enter:
RESEND_API_KEY - In the Value field, paste your Resend API key from Step 3
- Click Save to save the secret
2. Testing and Verification
After connecting Resend, you’ll need to test the email sending functionality to verify everything is working correctly.1
Step 1: Test Email Sending
In the preview interface, trigger an email send (e.g., fill out and submit a form that sends an email) to verify email sending works correctly.
2
Step 2: Verify Email Delivery
Check your email inbox to confirm you received the test email.
The email will be sent from Resend’s default domain
@resend.dev. Later, you can configure a custom domain to send emails from your own domain (e.g., noreply@yourdomain.com).3
Step 3: Check Database Records (Optional)
If your email trigger involves storing data (e.g., form submissions), check your Supabase dashboard to verify that the records were successfully stored in the database.
3. Branding Setup
To send emails from your own domain (e.g.,reservation@yourdomain.com) instead of Resend’s default domain (@resend.dev), you’ll need to verify your domain with Resend.
Choose the scenario that matches your situation:
I Already Have a Domain
I Already Have a Domain
If you already own a domain (e.g., from GoDaddy, Cloudflare, or another provider), follow these steps to configure it for Resend:
1
Step 1: Add Your Domain in Resend
In your Resend dashboard, go to Domains and click Add Domain.Enter your existing domain name and click Add.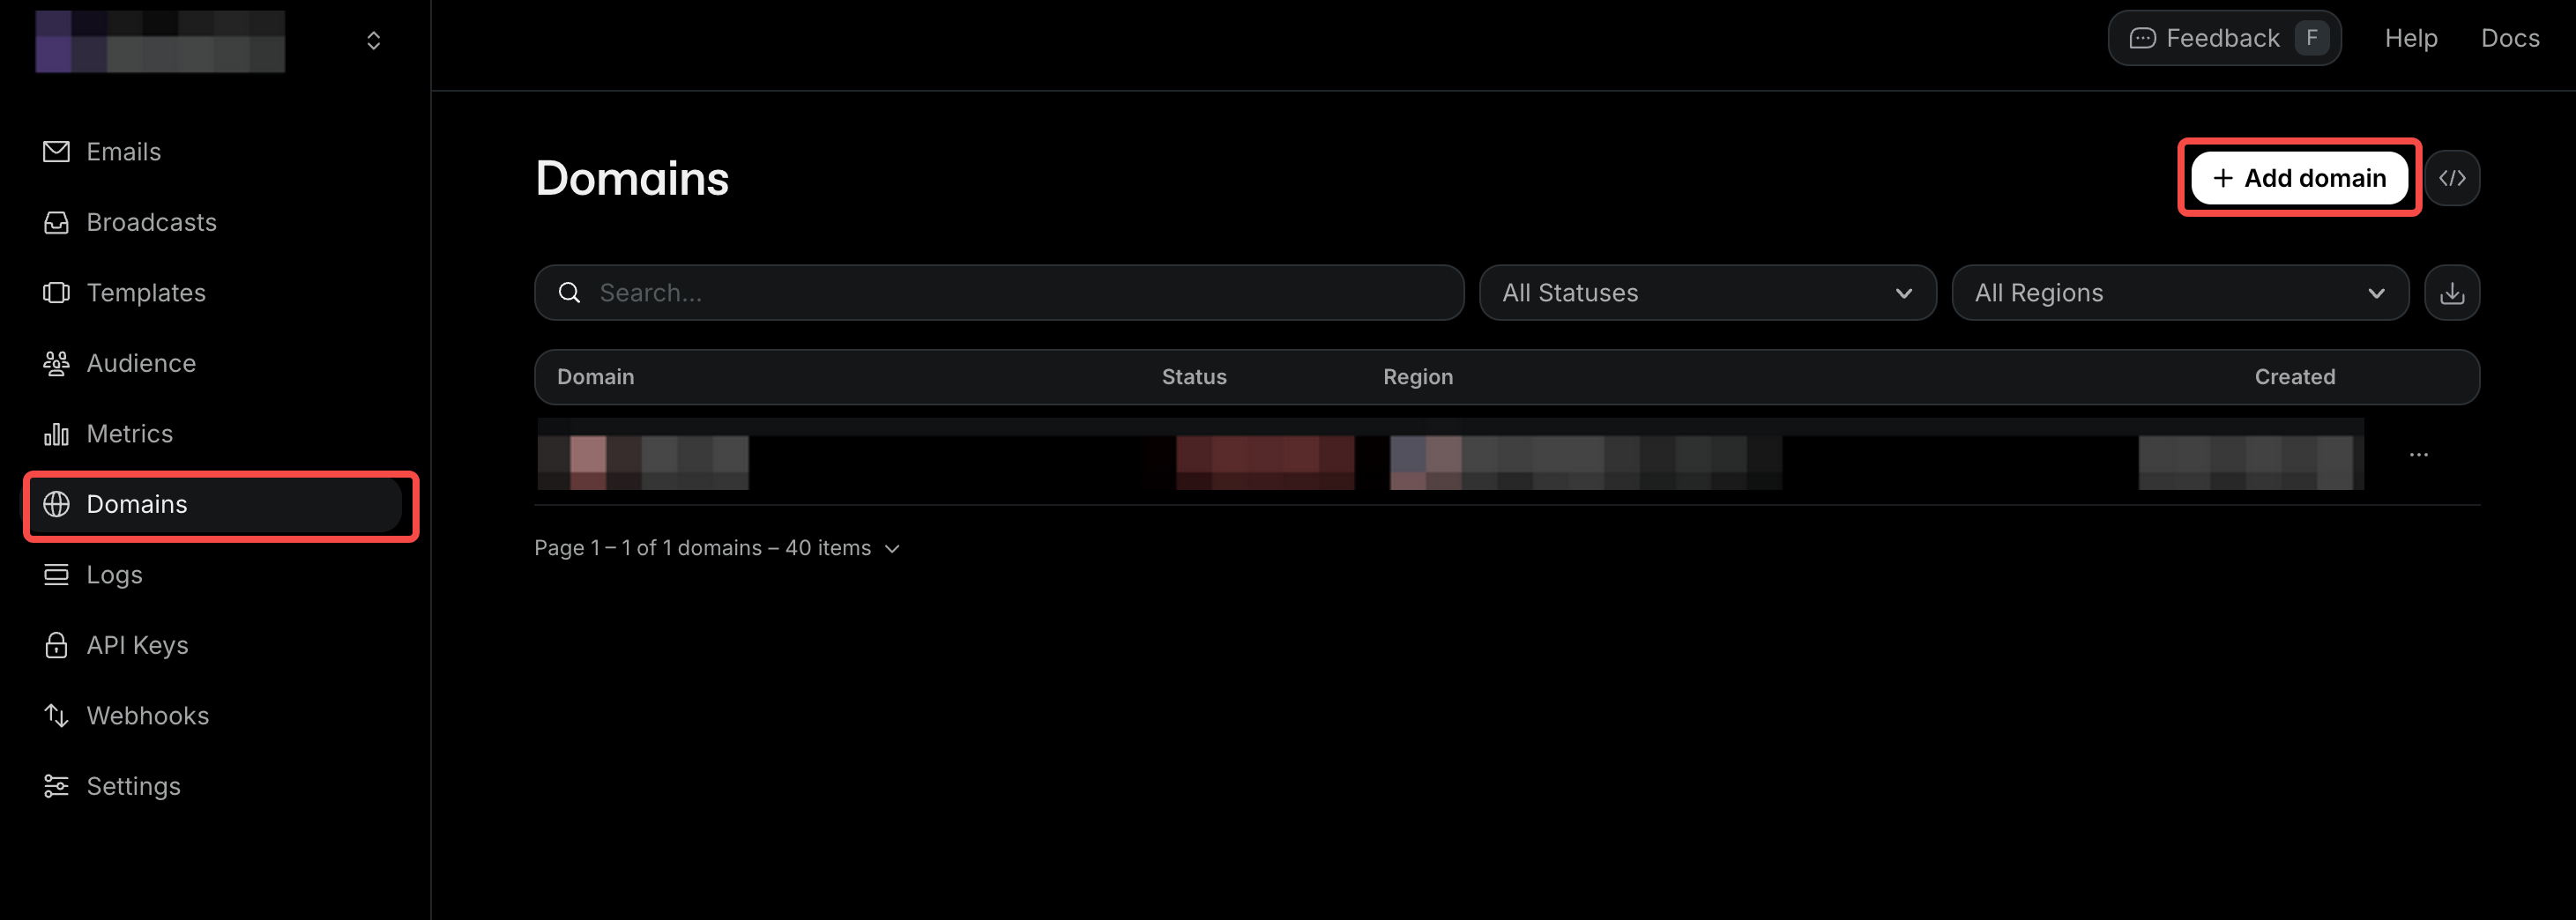
2
Step 2: Copy DNS Records from Resend
Resend will display the DNS records you need to configure. Copy these records.You’ll need to add the following records:
- MX records (2) for email sending and receiving
- TXT record for SPF authentication
- TXT record for DKIM authentication
- TXT record for DMARC (optional)
3
Step 3: Configure DNS at Your Domain Provider
Log in to your domain provider account and navigate to DNS Management for your domain.Add the following DNS records from Resend:
Type | Name | Value | Priority | Purpose |
|---|---|---|---|---|
| MX | send | feedback-smtp.us-east-1.amazonses.com | 10 | Enable Sending |
| MX | @ | inbound-smtp.us-east-1.amazonses.com | 10 | Enable Receiving |
| TXT | send | v=spf1 include:amazonses.com ~all | - | SPF Authentication |
| TXT | resend._domainkey | p=your-dkim-key-value | - | DKIM Authentication |
| TXT | _dmarc | v=DMARC1; p=none; | - | DMARC (Optional) |
4
Step 4: Verify Domain in Resend
Return to Resend and click Verify Domain.Once verified, you can now send emails from your custom domain.
DNS propagation typically takes 5-30 minutes, but can take up to 48 hours in some cases. If verification doesn’t work immediately, wait a few minutes and try again.
5
Step 5: Update Email Sender in Readdy
Tell Readdy to update the email sender address to use your verified custom domain:
I Don't Have a Domain
I Don't Have a Domain
If you don’t have a domain yet, we recommend purchasing one first. You can buy a domain from a domain provider like GoDaddy, Cloudflare, or Namecheap, then follow the steps in “I Already Have a Domain” above.Alternatively, you can purchase your domain directly through Readdy and use it for both your website and email branding:
1
Step 1: Purchase Domain in Readdy
In your Readdy project, click Publish and select Purchase a new domain.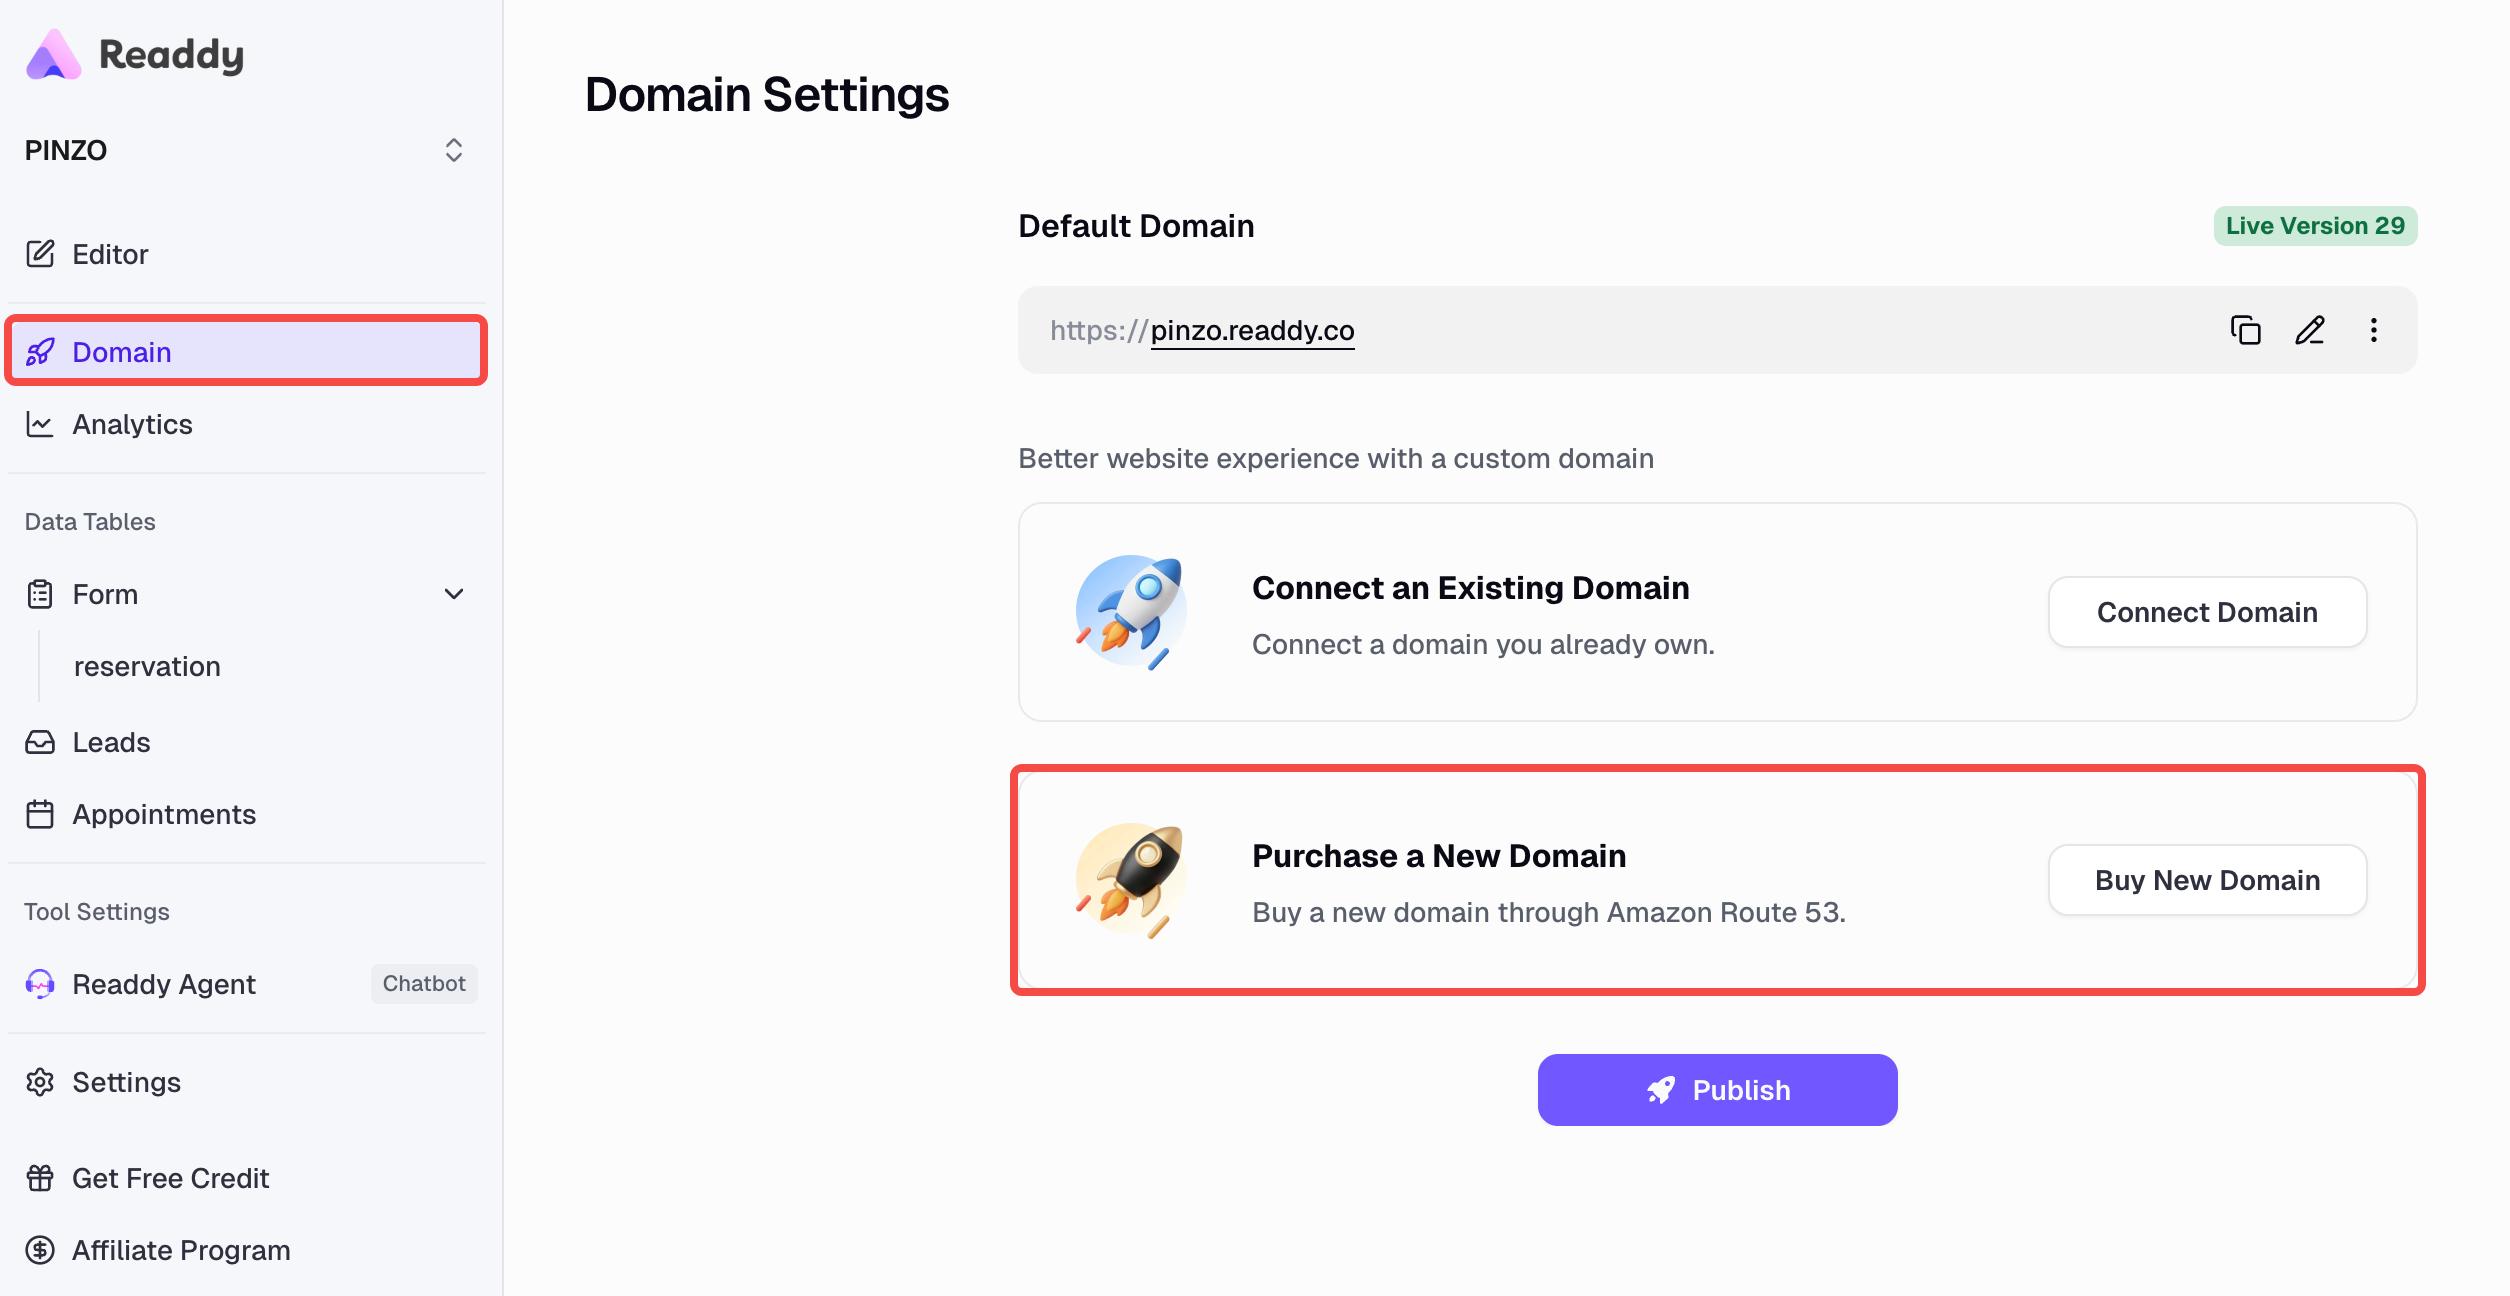
2
Step 2: Add Domain in Resend
After purchasing, follow the steps in “I Already Have a Domain” above:
- Add your domain in Resend dashboard
- Copy the DNS records provided by Resend (MX x2, TXT SPF, TXT DKIM, TXT DMARC)
3
Step 3: Configure DNS Records
Since your domain is managed by Readdy, you can configure DNS records through your Readdy project settings.Add the following records provided by Resend:
- MX records (2) for email sending and receiving
- TXT record for SPF authentication
- TXT record for DKIM authentication
- TXT record for DMARC (optional)
4
Step 4: Verify and Update
- Verify your domain in Resend (wait 5-30 minutes for DNS propagation)
- Tell Readdy to update the email sender to use your custom domain
Troubleshooting
Email Not Sending
If emails are not being sent:- Check your Resend API key - Ensure it’s valid and hasn’t been revoked
- Verify domain status - If using a custom domain, make sure it’s verified
- Check Supabase connection - Ensure database is properly connected
- Review Resend logs - Check your Resend dashboard for error messages
Email Not Arriving
If the API call succeeds but emails don’t arrive:- Check spam folder - The email might be in the recipient’s spam folder
- Verify email address - Ensure the recipient email address is correct
- Check sending limits - Verify you haven’t exceeded your Resend quota
- Review DNS settings - If using a custom domain, ensure DNS records are correct
Database Not Recording Bookings
If booking data isn’t being saved, ask Readdy AI to help check the database configuration and set up data storage for you.Need Help?
Contact Support
- Ask AI: Available in your project
- Readdy Support: Submit a support ticket