- Bring key sections to life: Add entrance motion to hero headlines, feature cards, images, and icons.
- Preview before saving: Try an animation on the selected element before you apply it.
- Target nested elements more precisely: Use “Select Parent” when you need to move up to the right layer.
Before You Start
Animate works after you turn on “Select to Edit” and select an element in Preview. If you are new to this workflow, start with Select to Edit & Quick Edit.
How It Works
Select an Object
Turn on “Select to Edit”, then click the element you want to animate. When the edit toolbar appears, click “Animate”.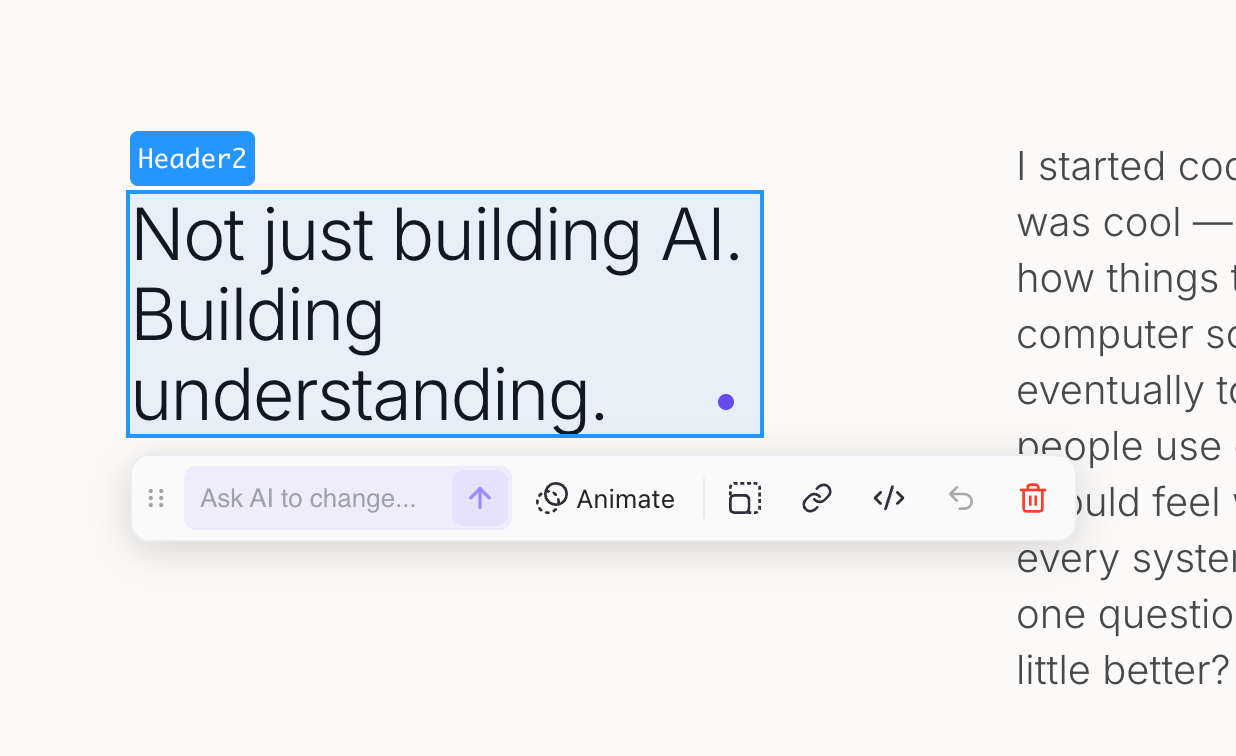
Preview an Animation
Click an animation in the panel. The selected object animates in Preview so you can see how the effect looks on the page.Preview is temporary. The animation is not saved until you click “Apply”.
Common Use Cases
| Use Case | How Animate Helps |
|---|---|
| Hero headline | Add entrance motion to the main message on a page |
| CTA button | Add subtle movement to draw attention to the next action |
| Feature cards | Make landing page sections feel more polished |
| Images | Add light motion to supporting visuals |
| Icons | Highlight key points without changing the layout |
Tips
- Use motion sparingly so the page still feels calm and easy to scan.
- Preview each animation before applying it.
- Keep effects subtle on buttons, cards, and text.
- Match the animation style to the page: smoother for professional pages, bolder for creative pages.
- For nested elements, use “Select Parent” if the animation targets the wrong layer.
Troubleshooting
I don't see the Animate button
I don't see the Animate button
The animation panel didn't open
The animation panel didn't open
Reselect the object and click “Animate” again. If the panel still does not open, reload the project and try again.
I clicked an animation but nothing changed
I clicked an animation but nothing changed
Preview does not save the effect. Click “Apply” after choosing an animation to add it to the selected element.
The animation was applied to the wrong element
The animation was applied to the wrong element
Select the correct layer and apply the animation again. For nested sections or stacked elements, use “Select Parent” to target the right wrapper.
How do I remove an animation?
How do I remove an animation?
Select the element and ask Chat to remove the animation, or open “Code” and edit the element styles directly.