Google Analytics provides valuable insights that can help you improve your website’s performance and better understand your audience.
Why Use Google Analytics?
- Track visitor behavior: See which pages are most popular
- Understand your audience: Learn about visitor demographics and interests
- Monitor traffic sources: Discover how visitors find your website
- Measure conversions: Track goals and important user actions
- Free and comprehensive: Industry-standard analytics at no cost
If you’re new to Google Analytics (GA)
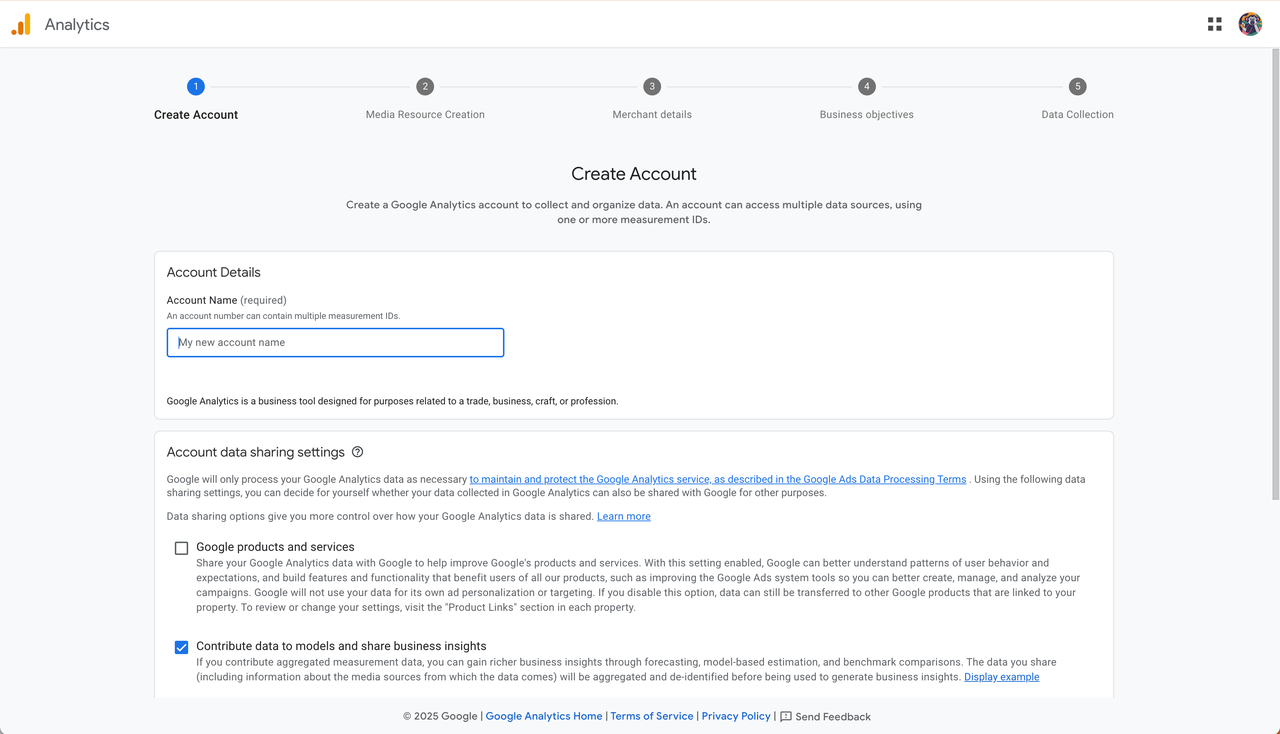
Step 1: Start Setup
Go to the Google Analytics platform and click “Start measuring” to begin setup.
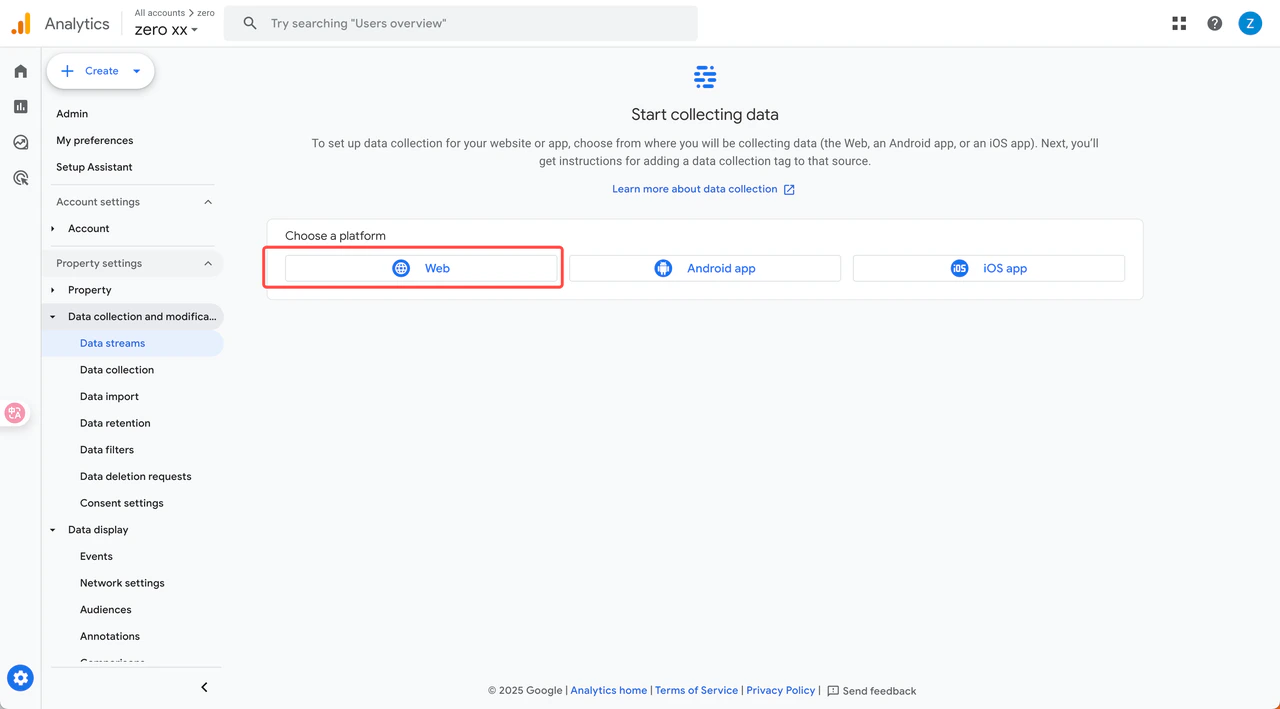
Step 3: Select Platform
When you reach “Data Collection”, select “Web” as your platform type.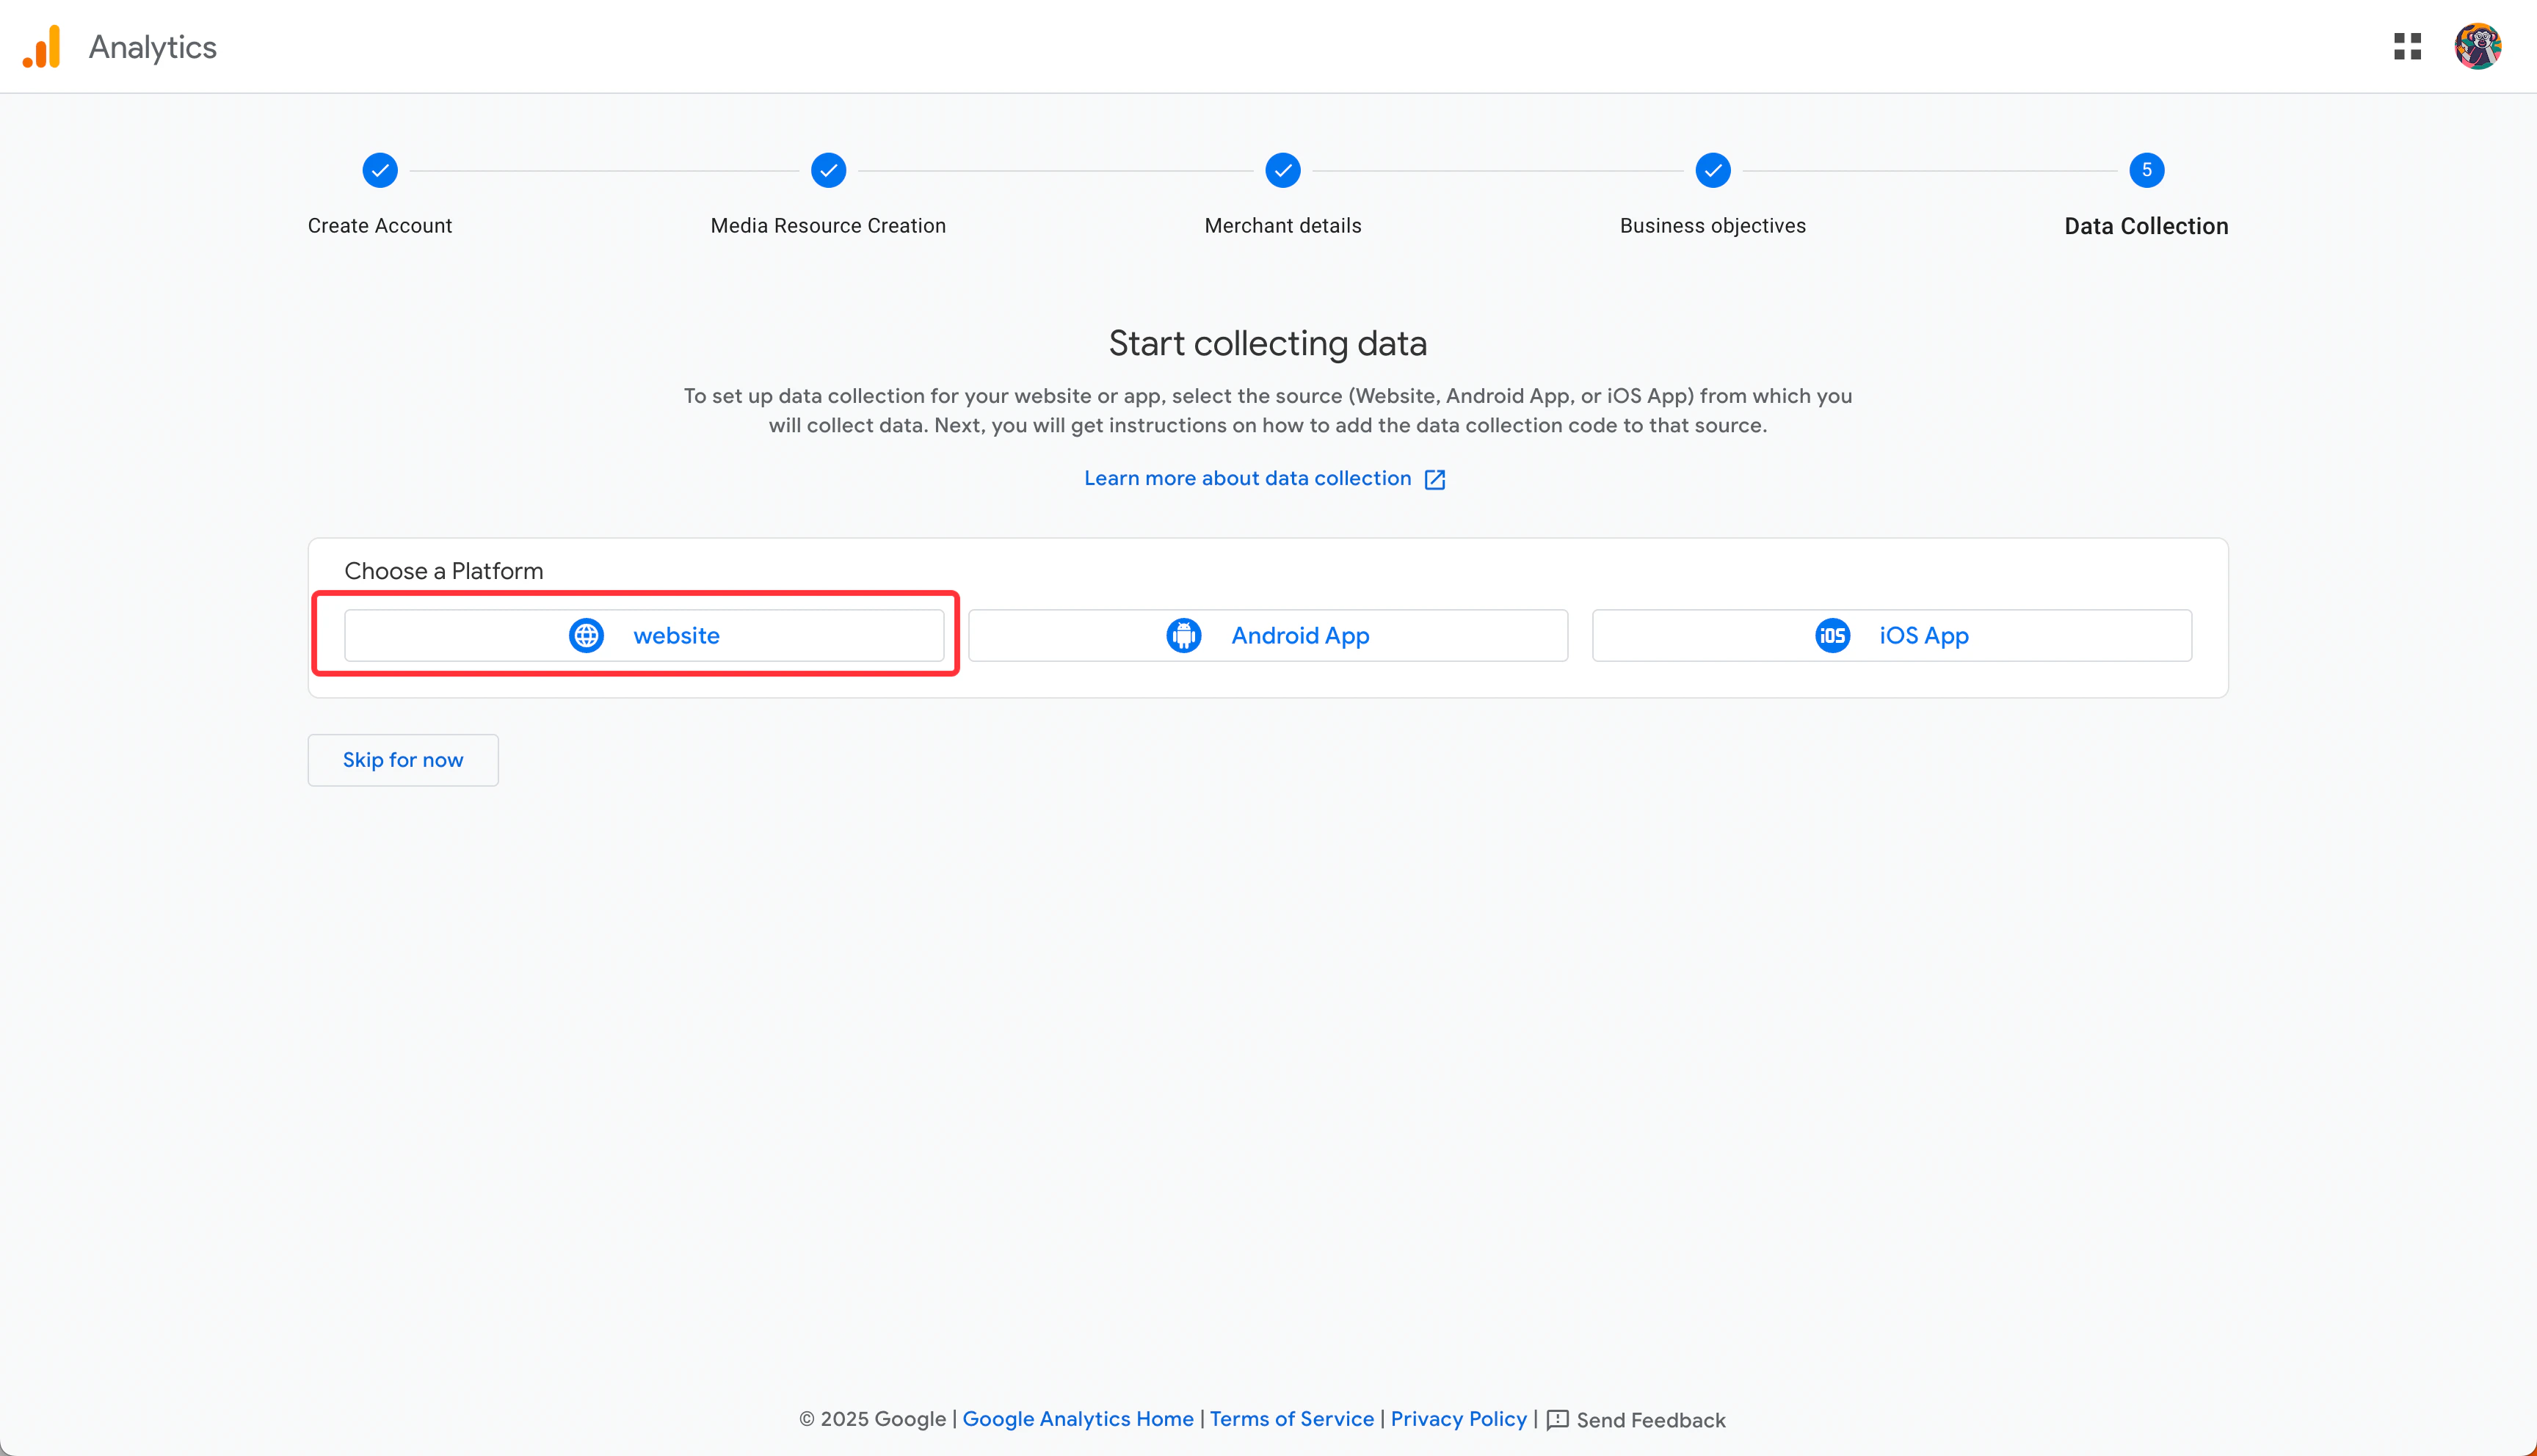
Note: Readdy currently only supports website projects.
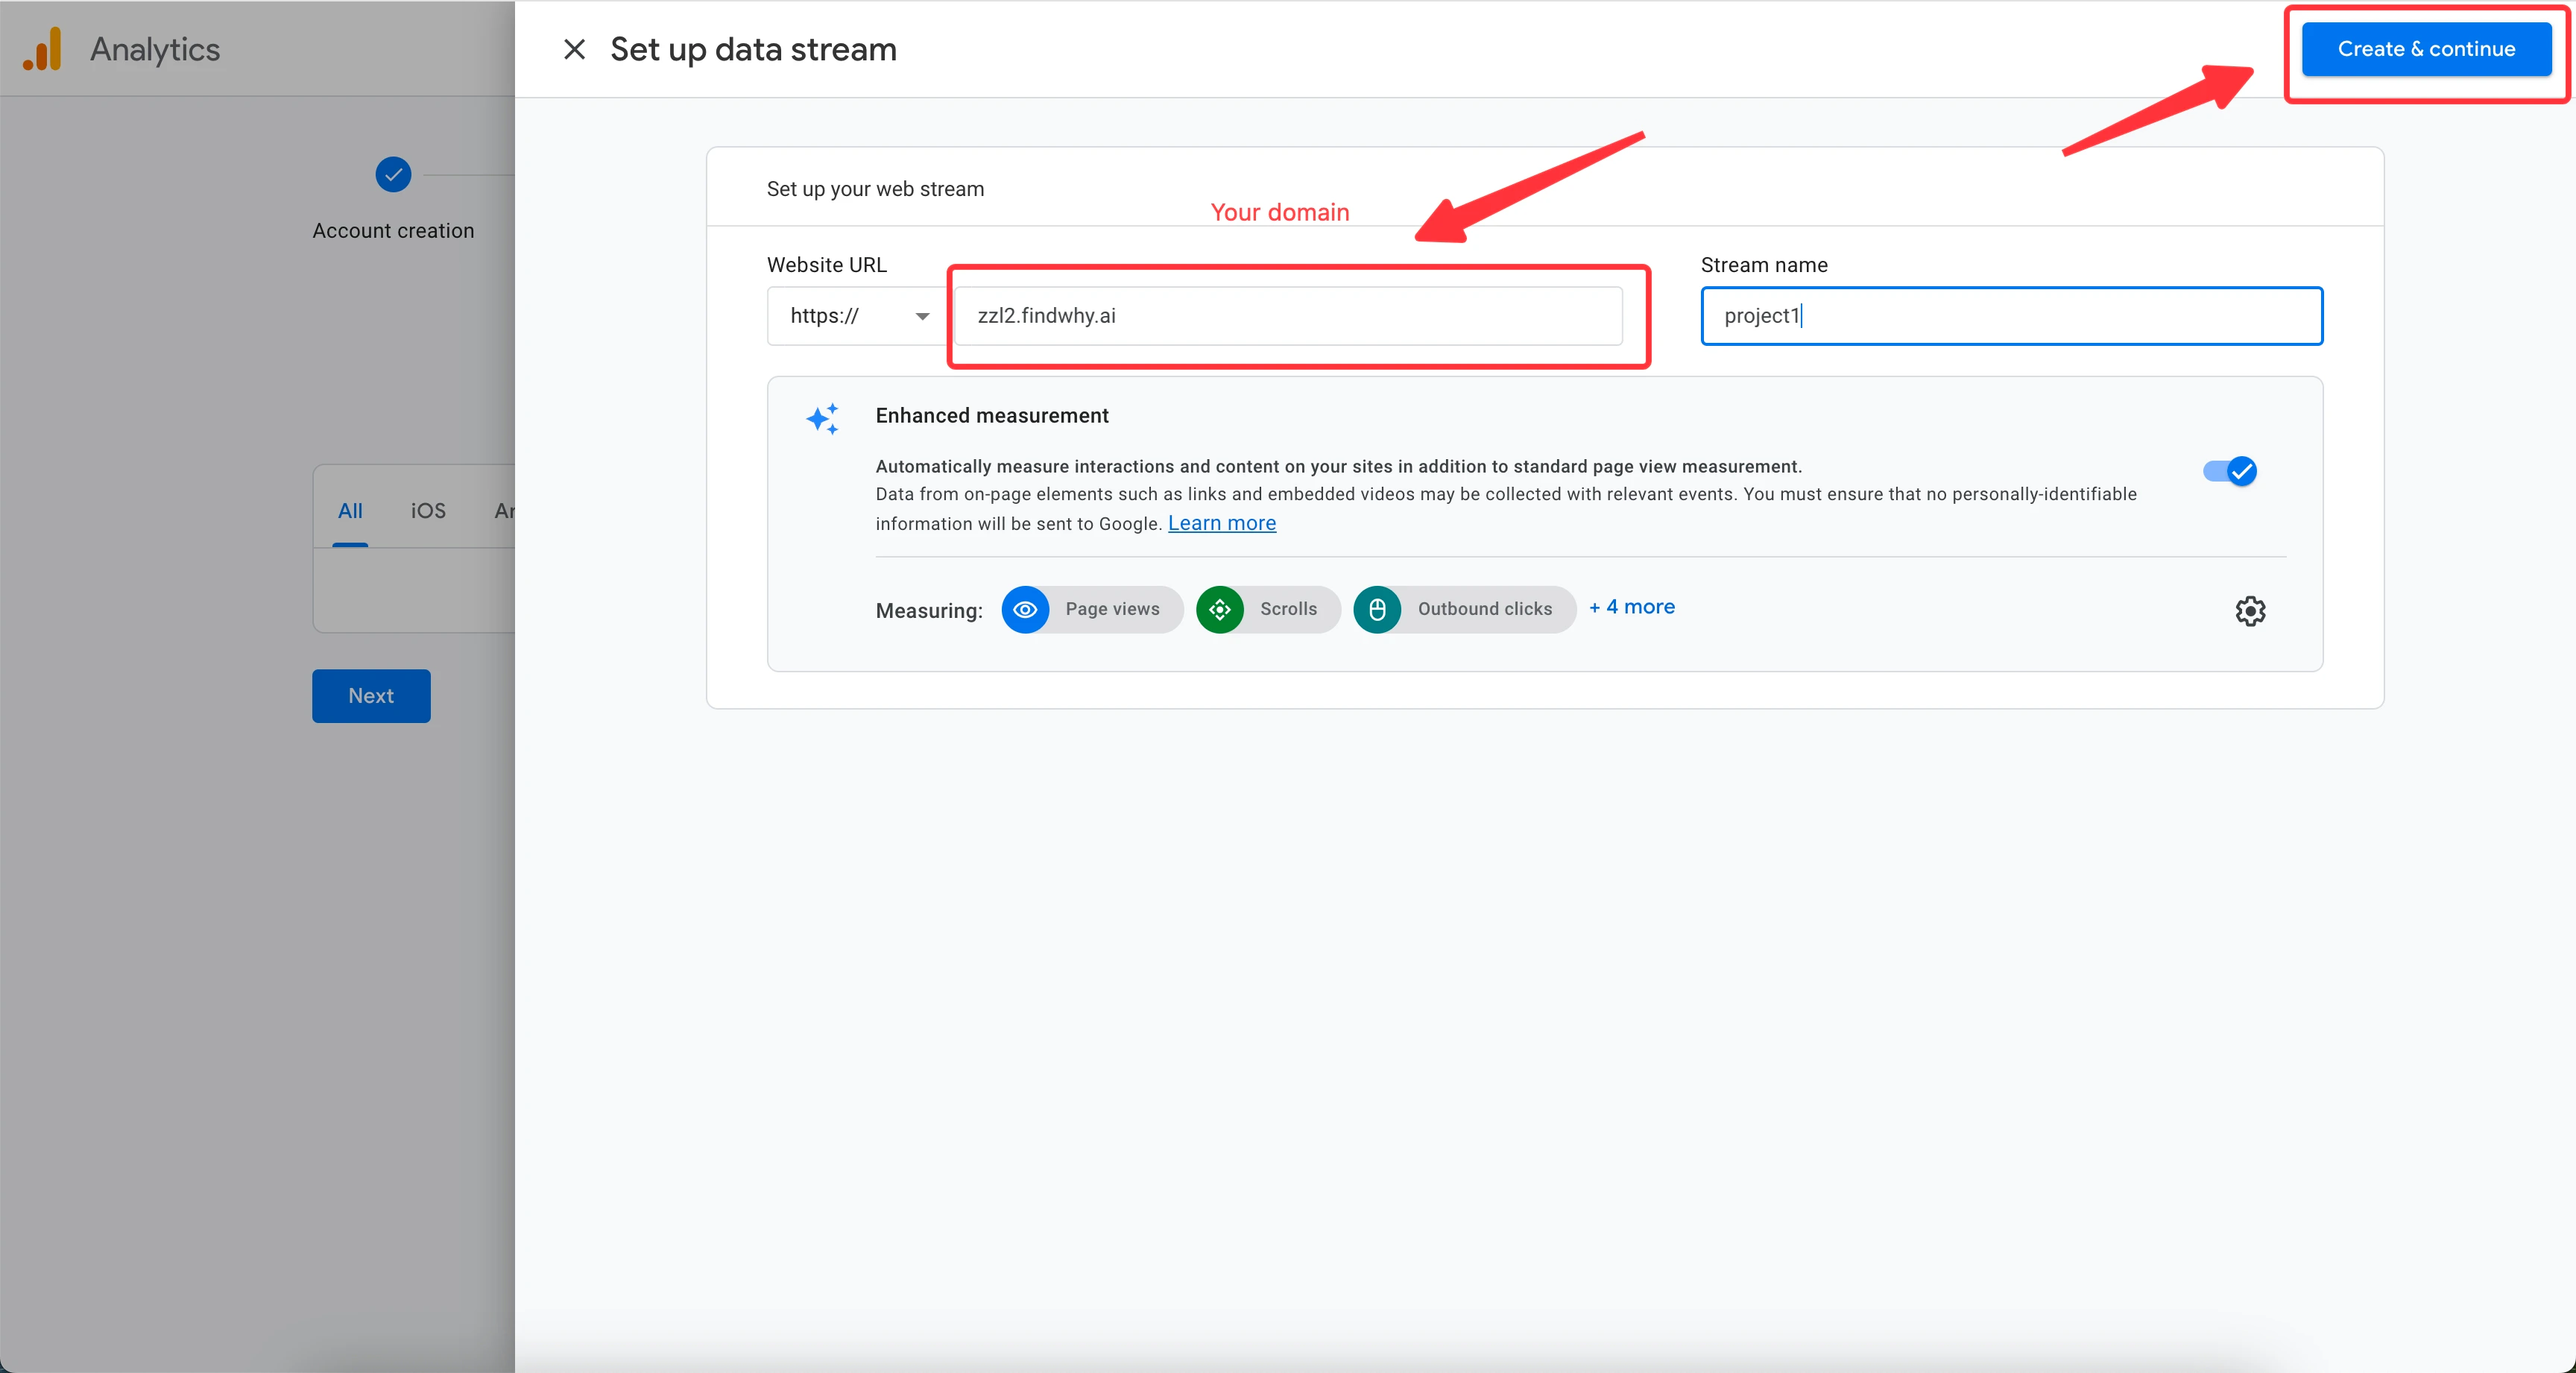
Step 4: Set Up Data Stream
Enter your published domain and give your Data Stream a name. Then click “Create and Continue”.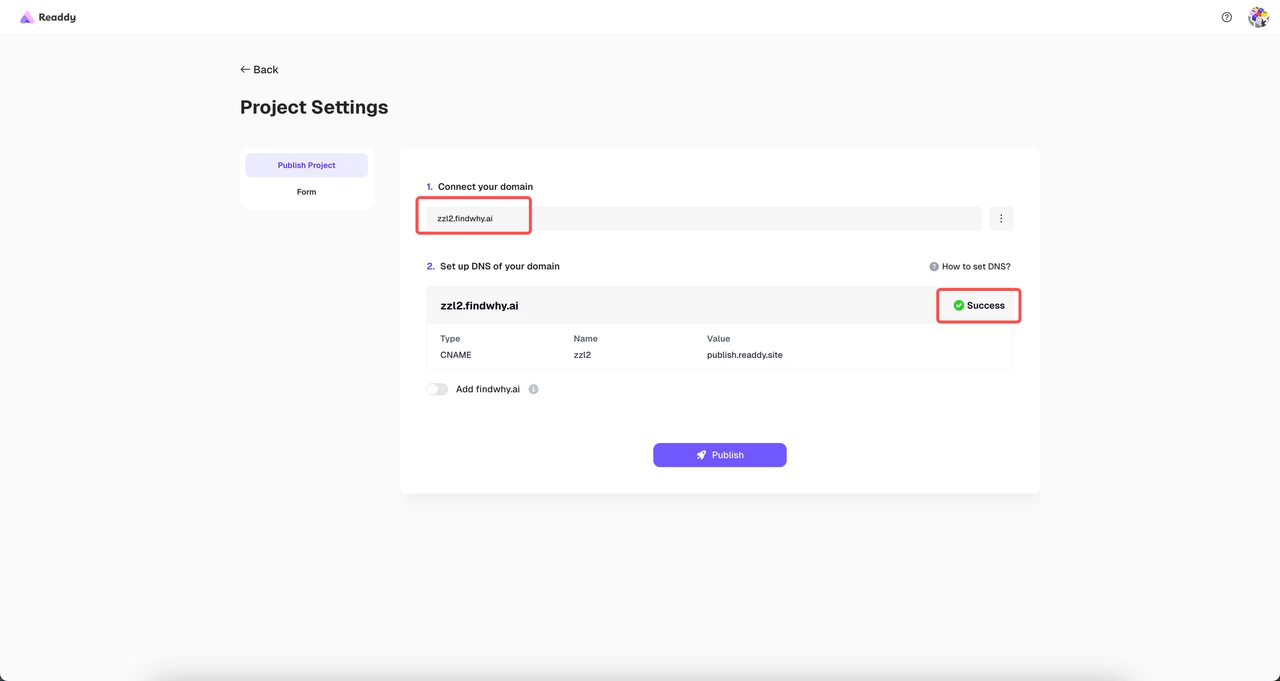
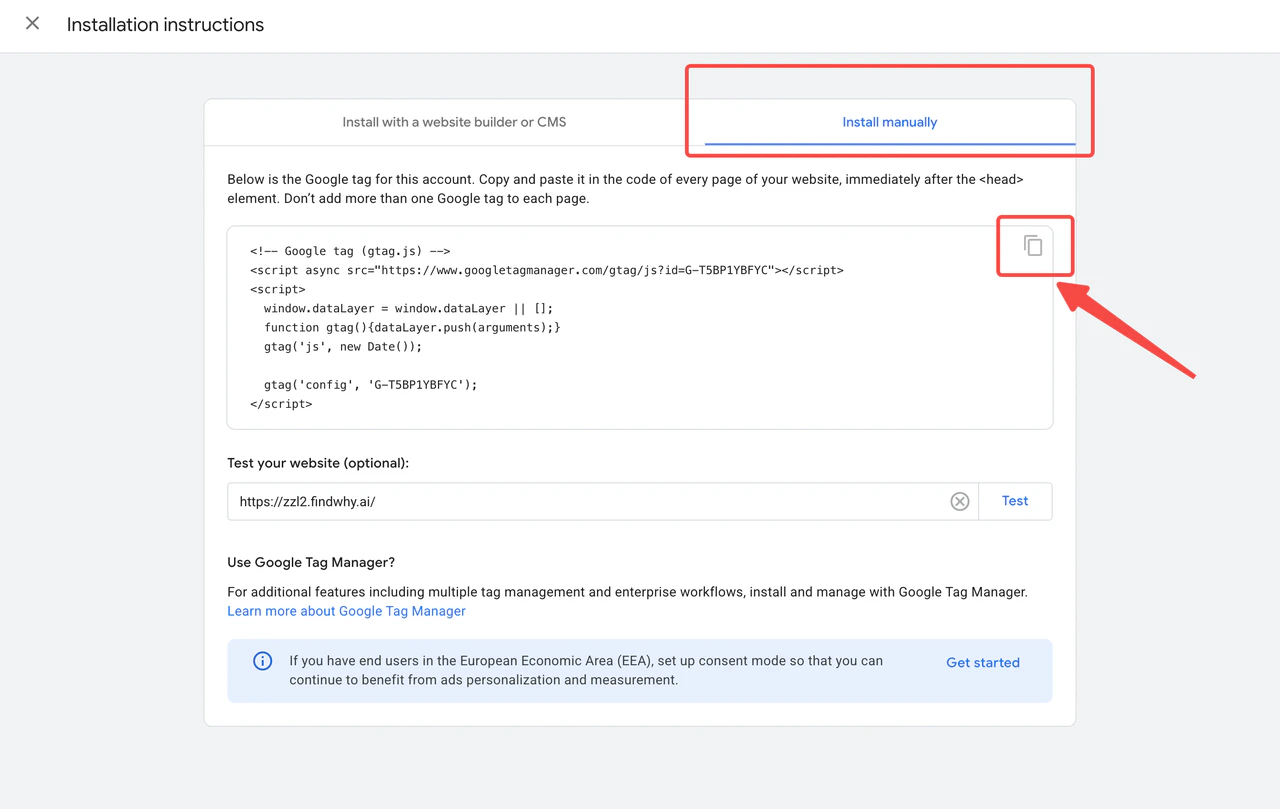
Step 5: Connect to Readdy
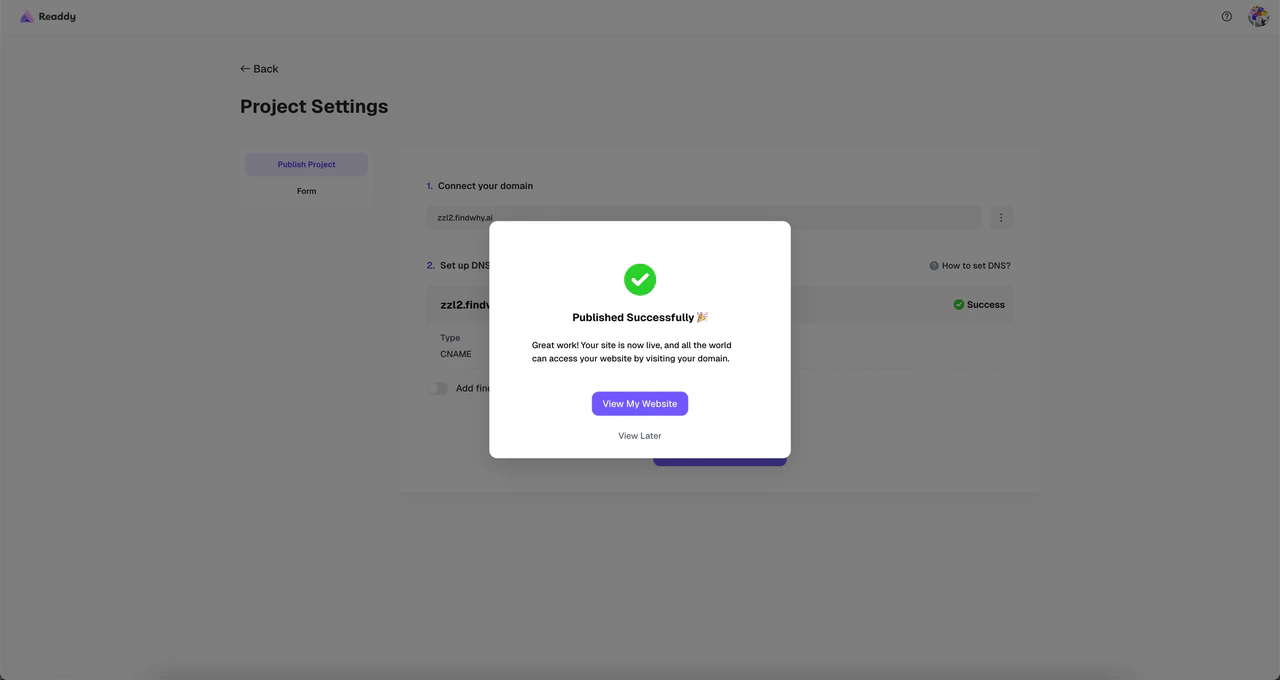
A popup will appear with your Google tag. Copy the code and paste it into the input field in Readdy. Click “Connect” to generate a new version. Don’t forget to re-publish your domain afterwards.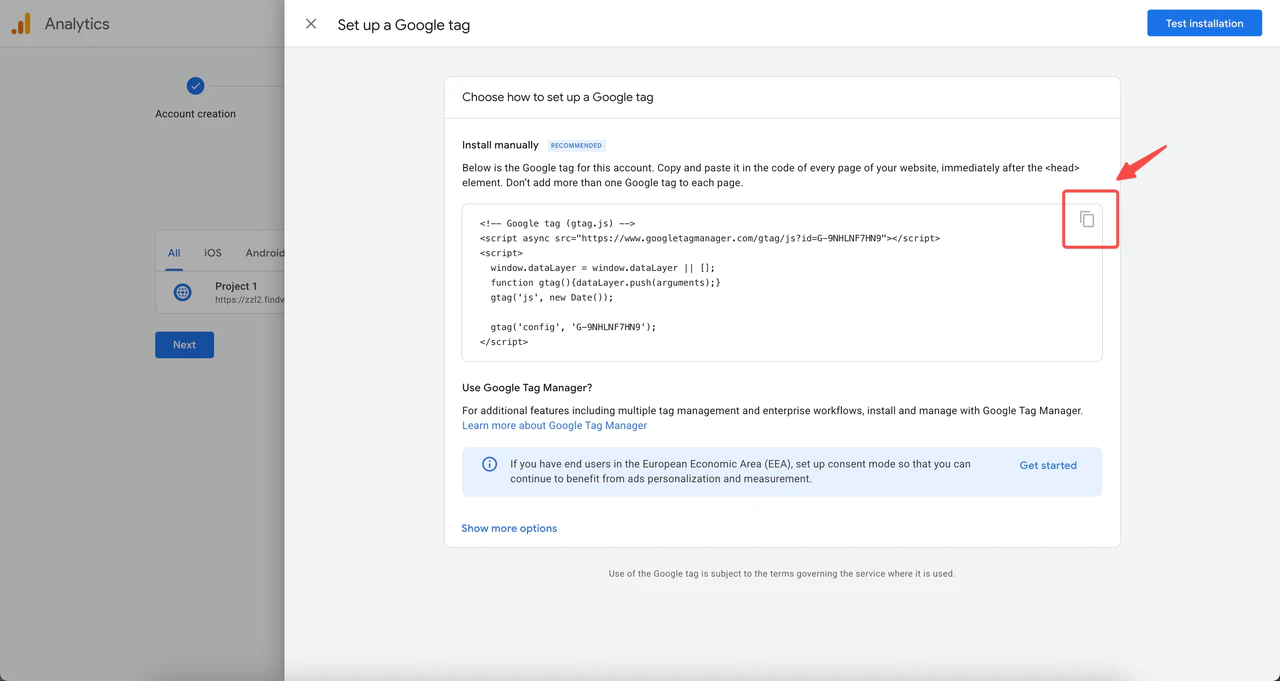

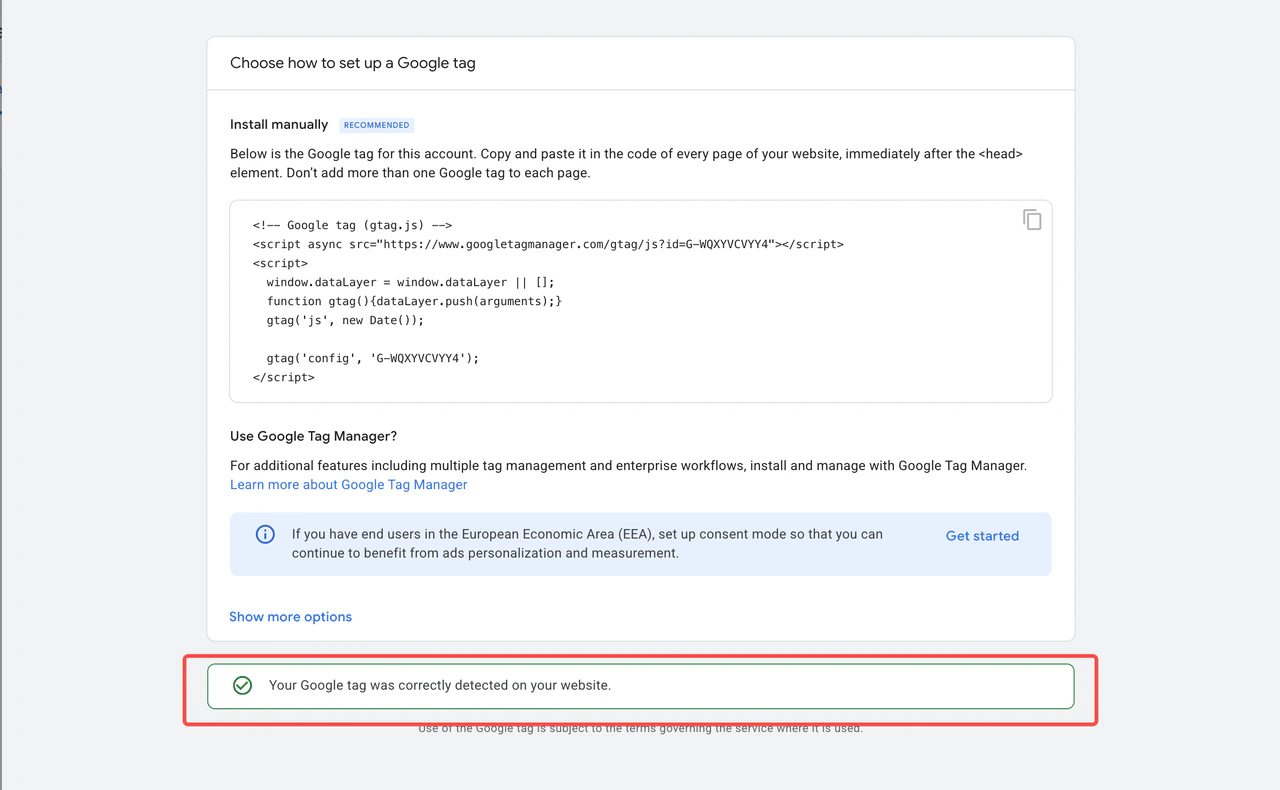
Step 6: Test Connection
Back in GA, click “Test installation” to check if the connection is working.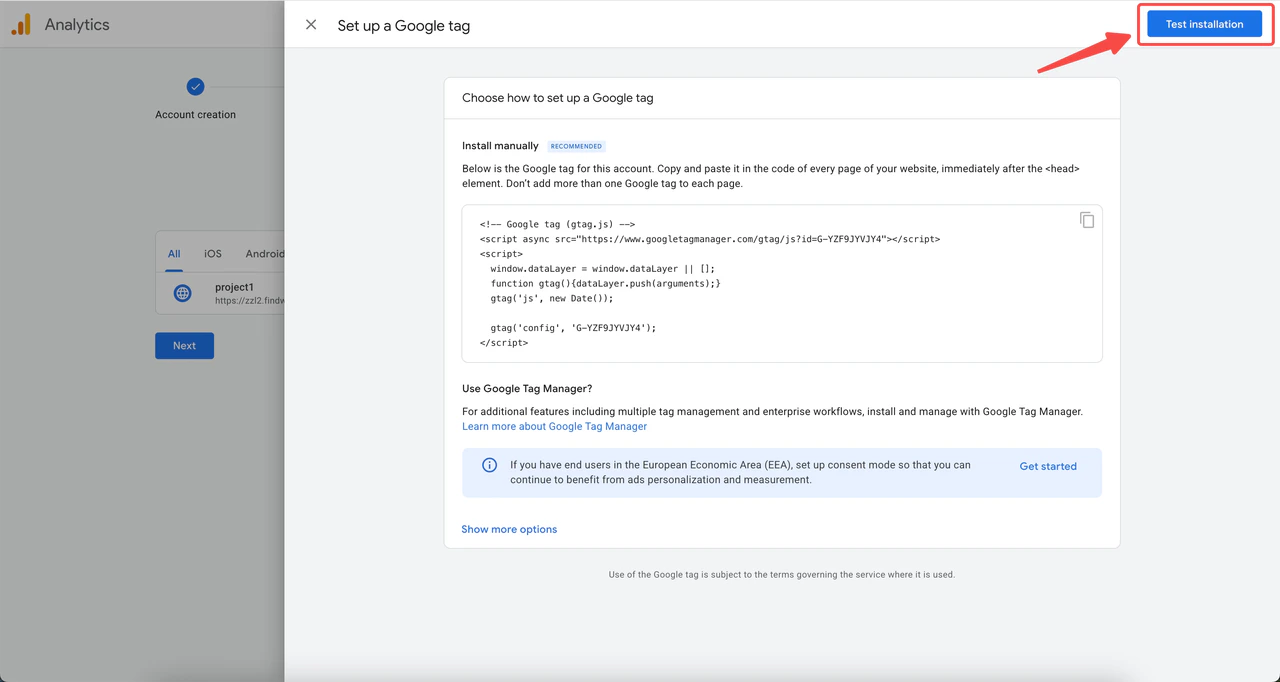
If you already have a Data Stream in GA
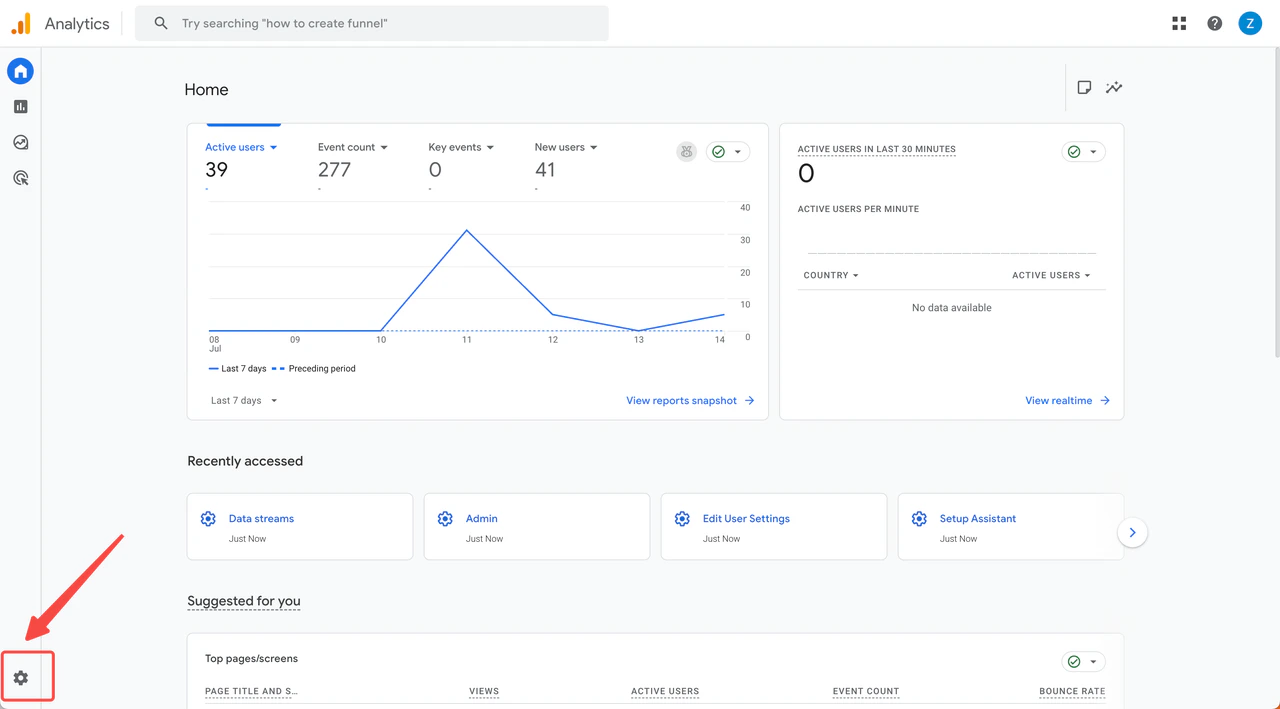
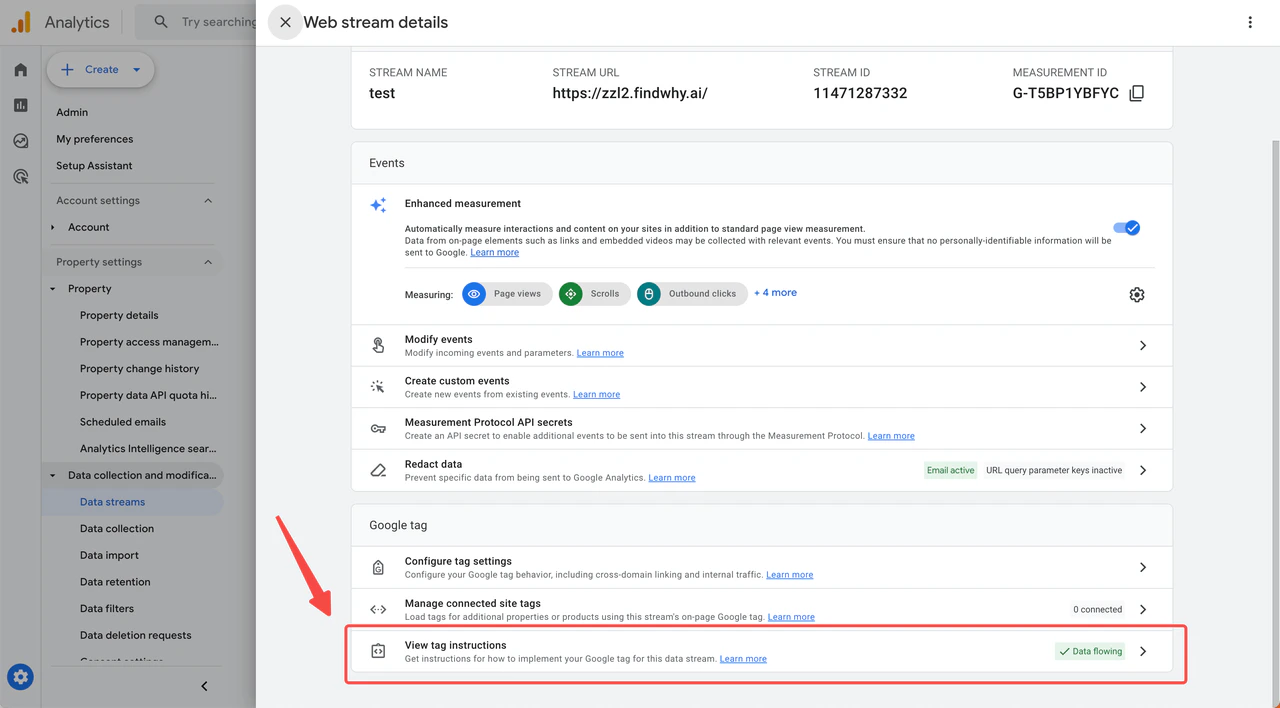
Step 2: Navigate to Data Streams
Under Property Settings > Data collection and modification, select “Data Streams”.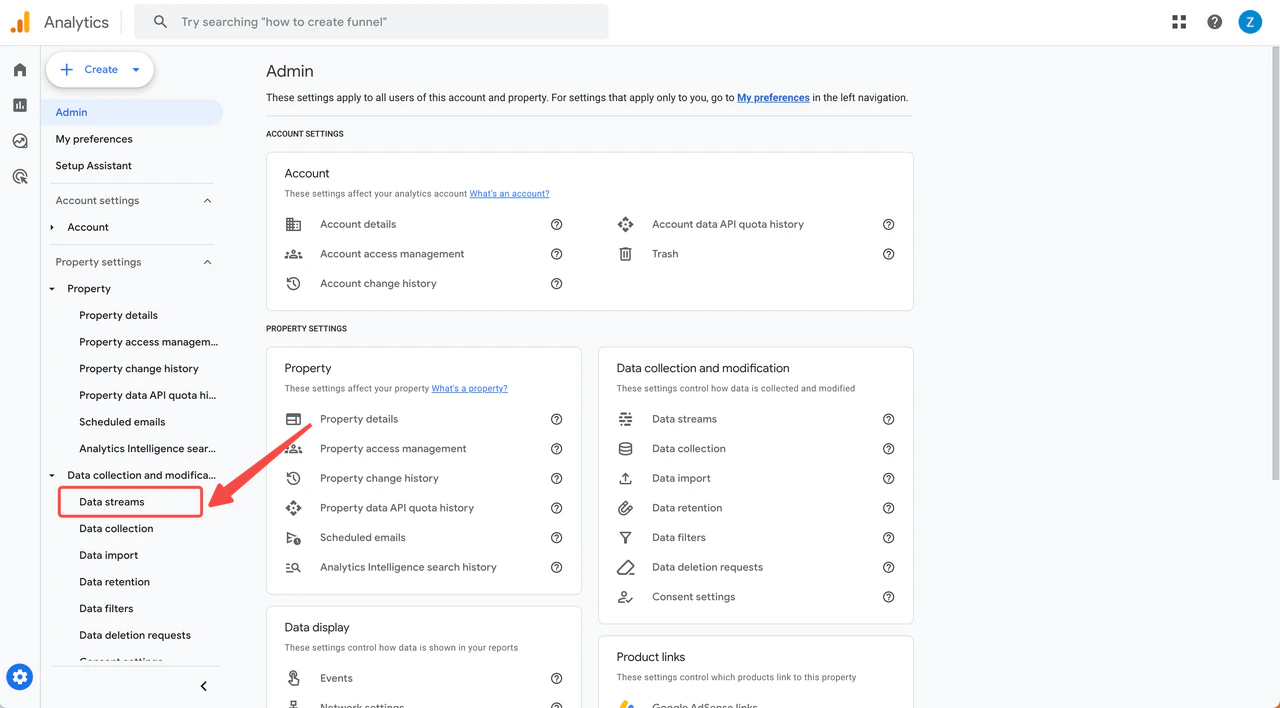
Step 3: Choose Data Stream
If you already have a Web Data Stream, select it.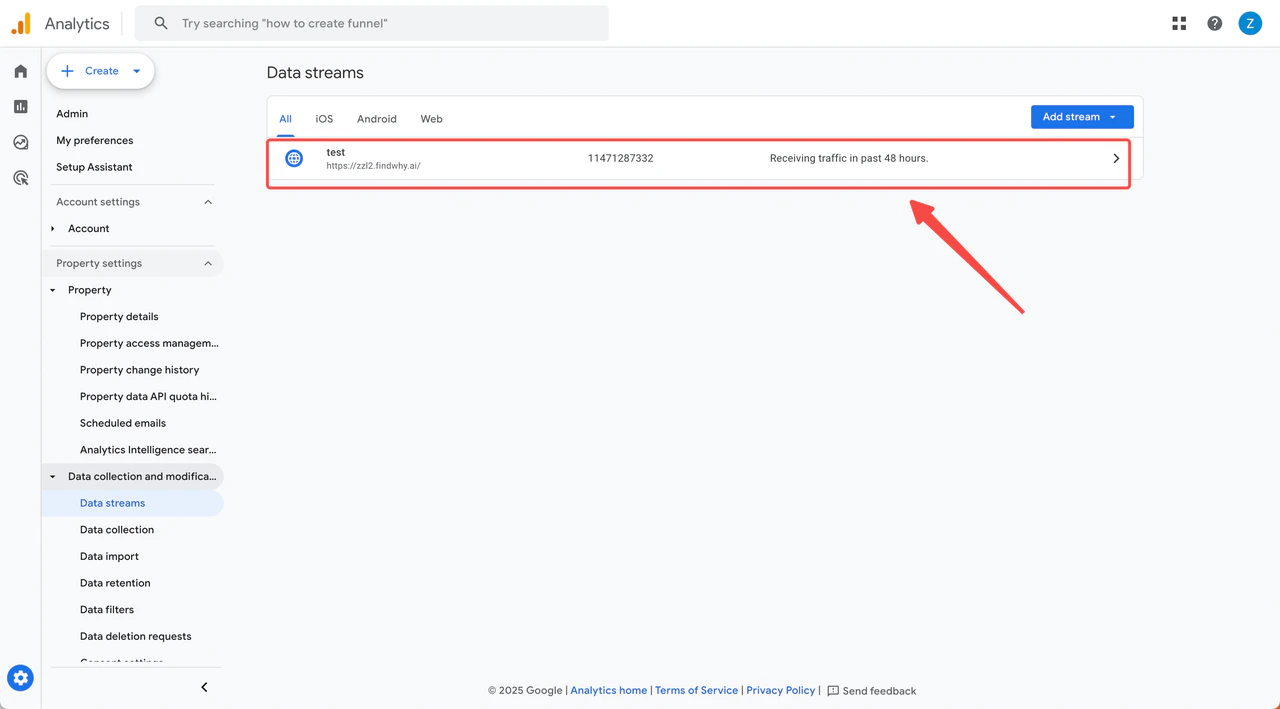

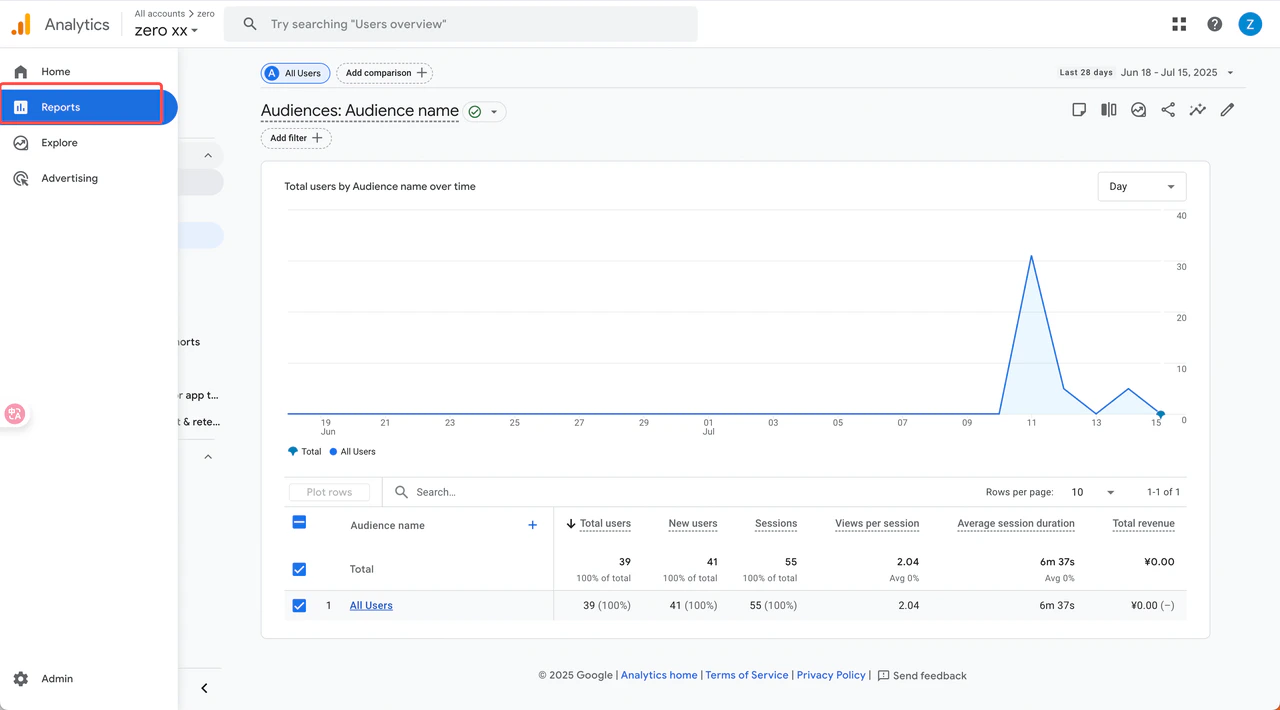
After Integration
Viewing Your Analytics Data
What You Can Track
- Real-time visitors: See who’s on your site right now
- Page views: Most and least popular pages
- User demographics: Age, location, and interests
- Traffic sources: Search engines, social media, direct visits
- User behavior: How visitors navigate through your site
Troubleshooting
Analytics Not Working?
Analytics Not Working?
Common solutions:
- Check if you republished: Analytics won’t work until you republish your site after connecting
- Verify the code: Make sure you copied the complete Google tag code
- Wait for data: It can take 24-48 hours for data to appear in GA
- Test installation: Use the “Test installation” feature in Google Analytics
- Check domain: Ensure your domain is correctly published and accessible
Multiple Websites Setup
Multiple Websites Setup
If you have multiple websites, you can:
- Create separate data streams for each domain in the same GA property
- Use different GA properties for completely separate tracking
- Set up cross-domain tracking if the sites are related