How to Integrate PayPal Payment in Your Readdy Website
PayPal is a leading global payment platform supporting 200+ countries and regions, allowing customers to pay securely using their PayPal account or credit card. Quick Overview With Readdy AI, you can integrate PayPal payments in just a few simple steps:| Step | Action | Time |
|---|---|---|
| 1 | Connect Supabase | 2 minutes |
| 2 | Configure PayPal with AI | 2 minutes |
| 3 | Add credentials to Supabase | 3 minutes |
| 4 | Add payment button | 5 minutes |
| 5 | Test payment | 5 minutes |
| Total | ~17 minutes |
Prerequisites
Before You Begin Ensure you have:- PayPal Account - Create free account (Business account recommended for live payments)
- Readdy Website Project - Already created in Readdy
- React or Next.js Project - Only these project types are currently supported
- Checkout Page or Product Cards - Your website has product displays or checkout page
Why Choose PayPal?
- Global Reach: Accept payments from customers in 200+ countries
- Flexible Payment Options: Customers can pay with credit/debit cards without a PayPal account
- Wide Accessibility: Easy to use in Asia, Latin America, and other regions
- Boost Conversion: Offer multiple payment options to increase sales by 15-30%
Get PayPal API Credentials
Log in to PayPal Developer Dashboard
- Visit https://developer.paypal.com/dashboard/
- Sign in with your PayPal account
Create REST API App
- In the left menu, click Apps & Credentials
- Click the Create App button
- Enter an app name (e.g., “My Readdy Website”)
- Click Create App
Integration Steps
1. Connect Supabase
PayPal integration requires Supabase for secure credential storage and backend support. Follow the Supabase integration guide to connect your project.2. Configure PayPal with AI
Tell AI to configure PayPal for you:- ✅ Configure PayPal integration
- ✅ Set up secure credential storage
- ✅ Handle all backend setup
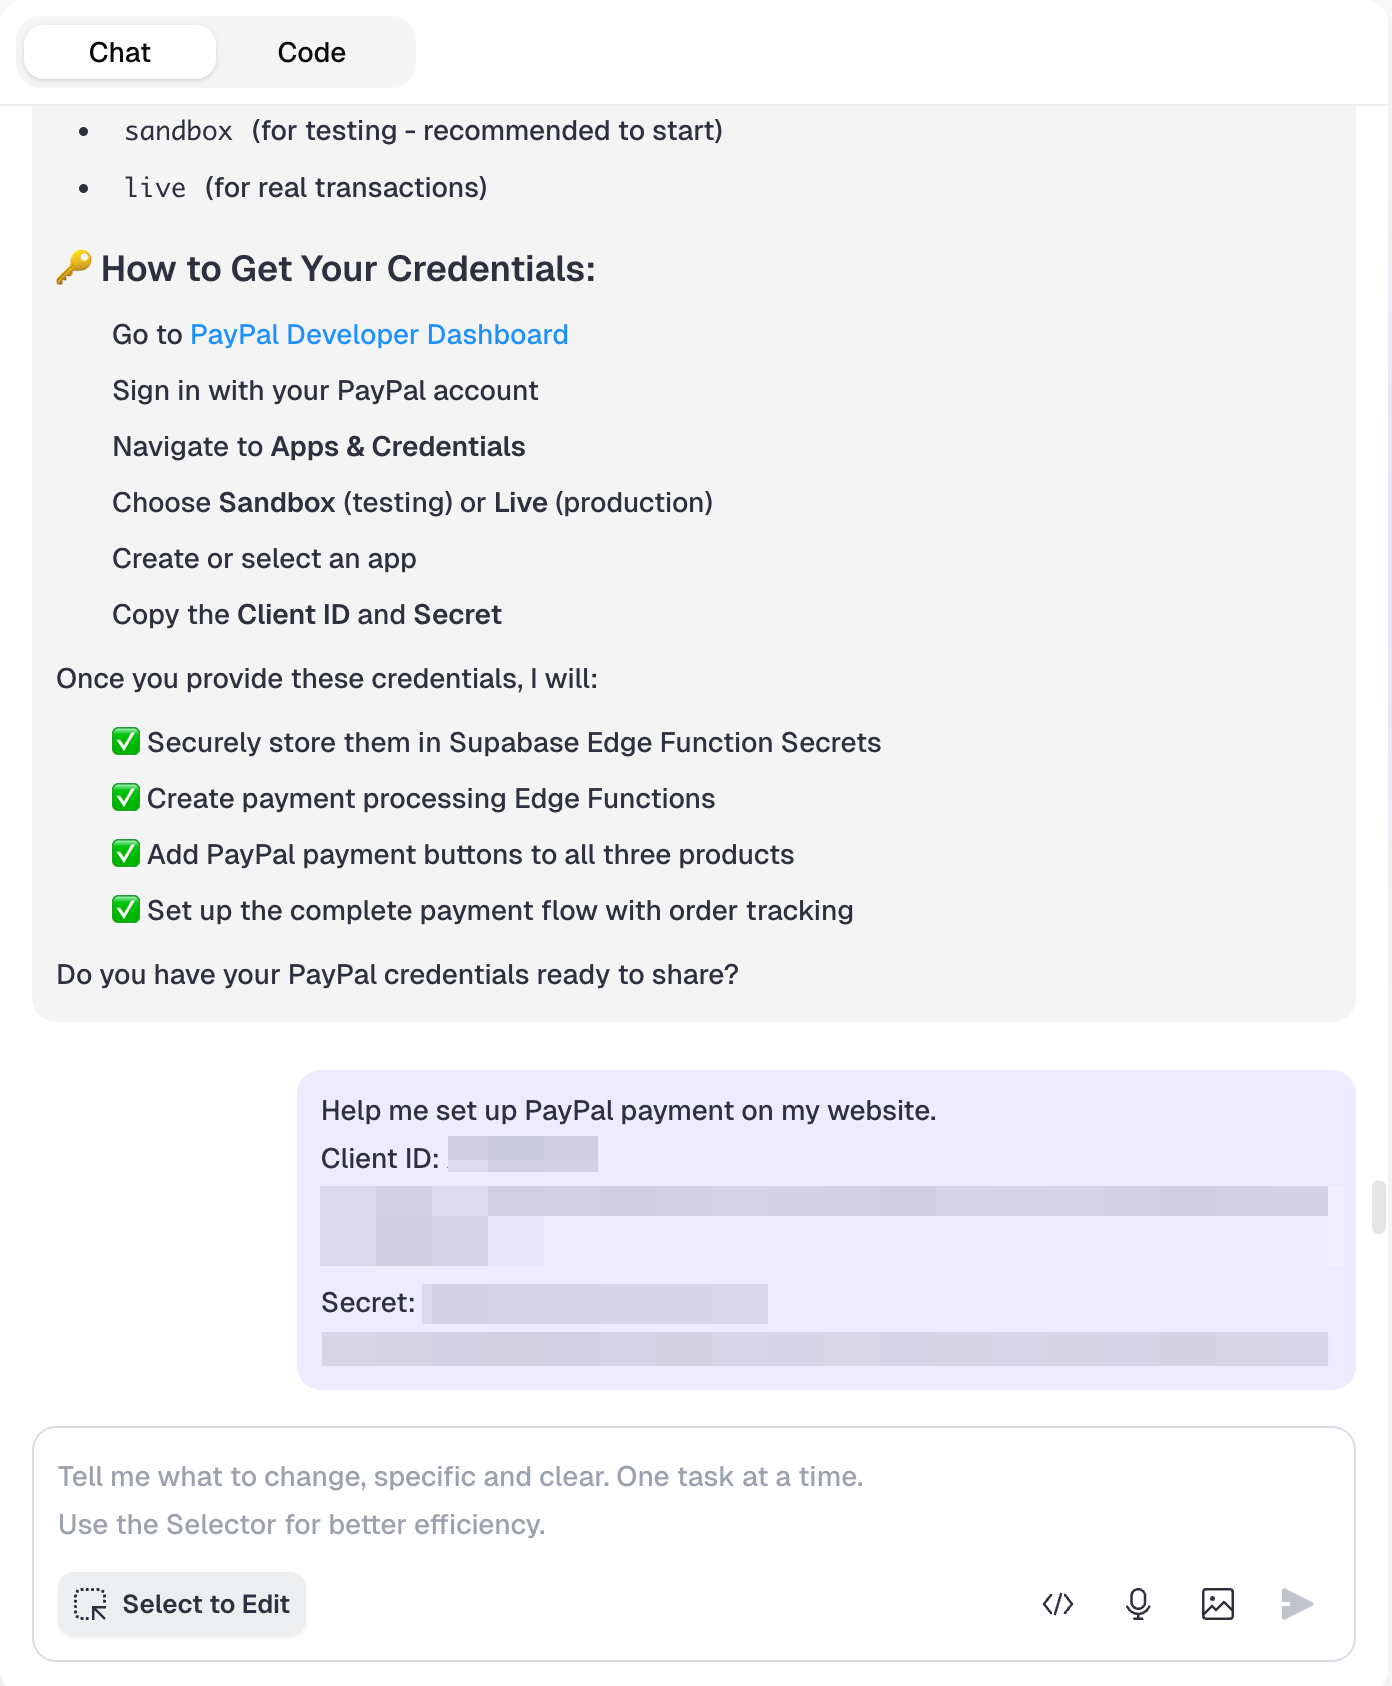
3. Add PayPal Credentials to Supabase
After AI configures the integration, you need to manually add your PayPal credentials to Supabase:- Log in to Supabase Dashboard
- Select your project
- Go to Edge Functions → Secrets
-
Click Add New Secret and add the following three secrets:
-
Name:
PAYPAL_CLIENT_IDValue: Your PayPal Client ID -
Name:
PAYPAL_SECRETValue: Your PayPal Client Secret -
Name:
PAYPAL_MODEValue:sandbox(for testing) orlive(for production)
-
Name:
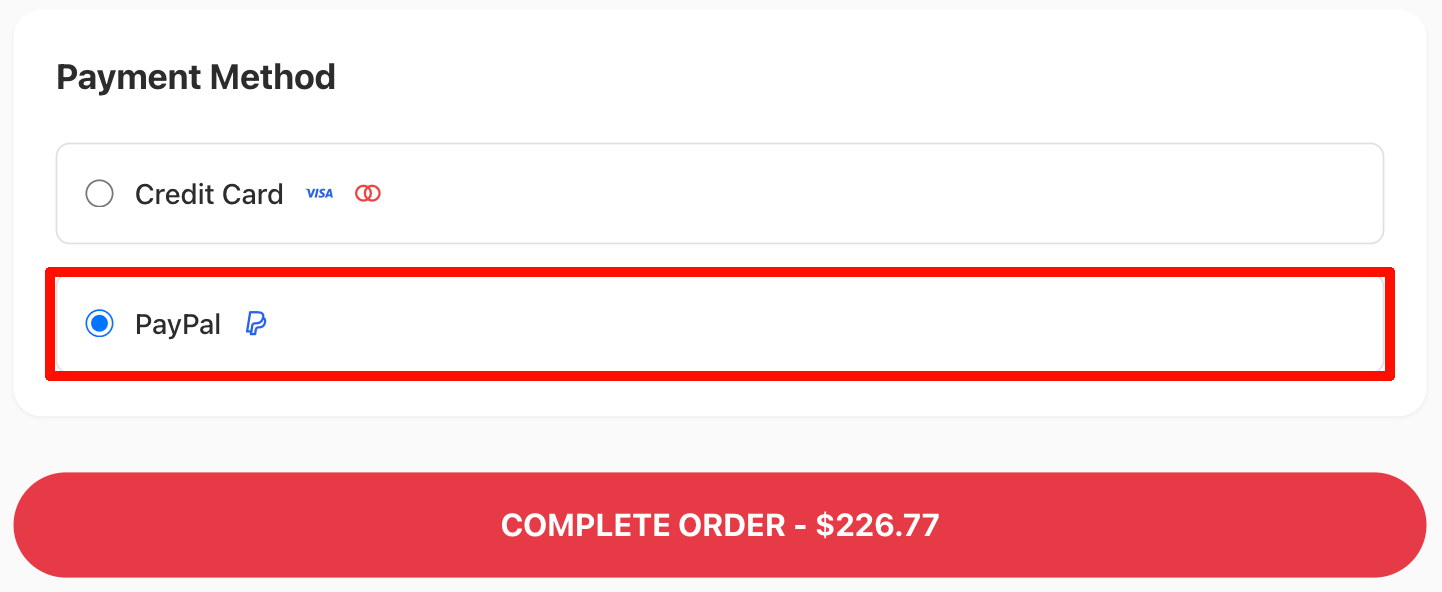
4. Add PayPal Payment Button
Simply tell AI what you need: Example 1: Single Product- ✅ Add PayPal button to your products
- ✅ Handle payment processing
- ✅ Set up success/confirmation pages
5. Test Your Payment
Ready to Test? You can test PayPal payment directly in the Readdy Preview Frame:- Click the PayPal button on your product/page
- Complete the payment
- Verify everything works correctly
FAQ
Can I Use PayPal and Stripe Together?
Can I Use PayPal and Stripe Together?
Yes! We recommend using both to let customers choose their payment method.This can increase conversion by 15-30%.
What If Payment Fails?
What If Payment Fails?
Follow these troubleshooting steps:
-
Verify Your PayPal Credentials
- Confirm your Client ID and Secret are correct
-
Check Supabase Configuration
- Review the three PayPal secrets in Supabase (Step 3 above)
- Check for extra spaces or typos in the values
- Ensure
PAYPAL_MODEmatches your credential type (sandbox/live)
-
Ask Readdy AI for Help
- Describe the issue in the chat
- AI can help diagnose and fix configuration problems
-
Contact Support
- Submit a support ticket if the issue persists
Do Customers Need a PayPal Account?
Do Customers Need a PayPal Account?
No!Customers can choose:
- Pay with PayPal account
- Pay with credit/debit card (no PayPal registration required)
What's the Difference Between Personal and Business PayPal Accounts for API Access?
What's the Difference Between Personal and Business PayPal Accounts for API Access?
You need a Business PayPal account to accept real payments on your website. Sign up for free.Personal vs Business Accounts:
- Personal accounts can only access the Sandbox (test environment)
- Business accounts can access both Sandbox and Live production environments
Need Help?
Contact Support
- 💬 Ask AI: Available in your project
- 📧 Readdy Support: Submit a support ticket
PayPal Resources
- 🔧 PayPal Developer Support: Contact Support
Good luck with your PayPal integration! 🎉