> ## Documentation Index
> Fetch the complete documentation index at: https://docs.readdy.ai/llms.txt
> Use this file to discover all available pages before exploring further.
# White Label
> Deliver Readdy to clients under your own brand with custom branding, white-label domains, and branded emails
White Label helps agencies turn Readdy into an AI-powered growth engine for their own brand. It lets you deliver the full client-facing experience under your own identity, with branded login, dashboard URLs, published site domains, and outgoing white-label emails.
White Label is available on **Agency Pro** plans and above. If your current subscription does not include White Label, editing stays locked until you upgrade to a plan that supports White Label.
 ## What White Label lets you customize
| Setting | What clients see | Value for agencies |
| ------------------- | ----------------------------------------------------------------------------------------- | ------------------------------------------------------------------------------- |
| **Custom Branding** | The brand name, logo, favicon, and browser tab title shown on the login and project pages | Present a consistent agency brand across the client login and editor experience |
| **Platform Domain** | The URL clients use to sign in and access their dashboard or editor | Move client access from a Readdy URL to your own domain |
| **Site Domain** | The subdomain pattern used for client-published websites | Publish client sites under a branded domain structure |
| **Custom Email** | The sender domain, sender name, and subject line used for white-label emails | Send invitations and notifications from your own branded email identity |
## Before you start
Before you configure White Label, make sure you have:
* A plan that includes White Label
* Access to the DNS provider for every domain you want to use
* A platform subdomain such as `app.example.com` or `editor.example.com`
* A site subdomain such as `sites.example.com` if you want client-published sites on your own domain
* A verified Resend account and sending domain if you want branded email delivery
* A test client email address so you can validate the full white-label flow before going live
## Recommended setup order
1. Prepare your brand assets and domains, then go to **Workspace → White Label** to start setup.
## What White Label lets you customize
| Setting | What clients see | Value for agencies |
| ------------------- | ----------------------------------------------------------------------------------------- | ------------------------------------------------------------------------------- |
| **Custom Branding** | The brand name, logo, favicon, and browser tab title shown on the login and project pages | Present a consistent agency brand across the client login and editor experience |
| **Platform Domain** | The URL clients use to sign in and access their dashboard or editor | Move client access from a Readdy URL to your own domain |
| **Site Domain** | The subdomain pattern used for client-published websites | Publish client sites under a branded domain structure |
| **Custom Email** | The sender domain, sender name, and subject line used for white-label emails | Send invitations and notifications from your own branded email identity |
## Before you start
Before you configure White Label, make sure you have:
* A plan that includes White Label
* Access to the DNS provider for every domain you want to use
* A platform subdomain such as `app.example.com` or `editor.example.com`
* A site subdomain such as `sites.example.com` if you want client-published sites on your own domain
* A verified Resend account and sending domain if you want branded email delivery
* A test client email address so you can validate the full white-label flow before going live
## Recommended setup order
1. Prepare your brand assets and domains, then go to **Workspace → White Label** to start setup.
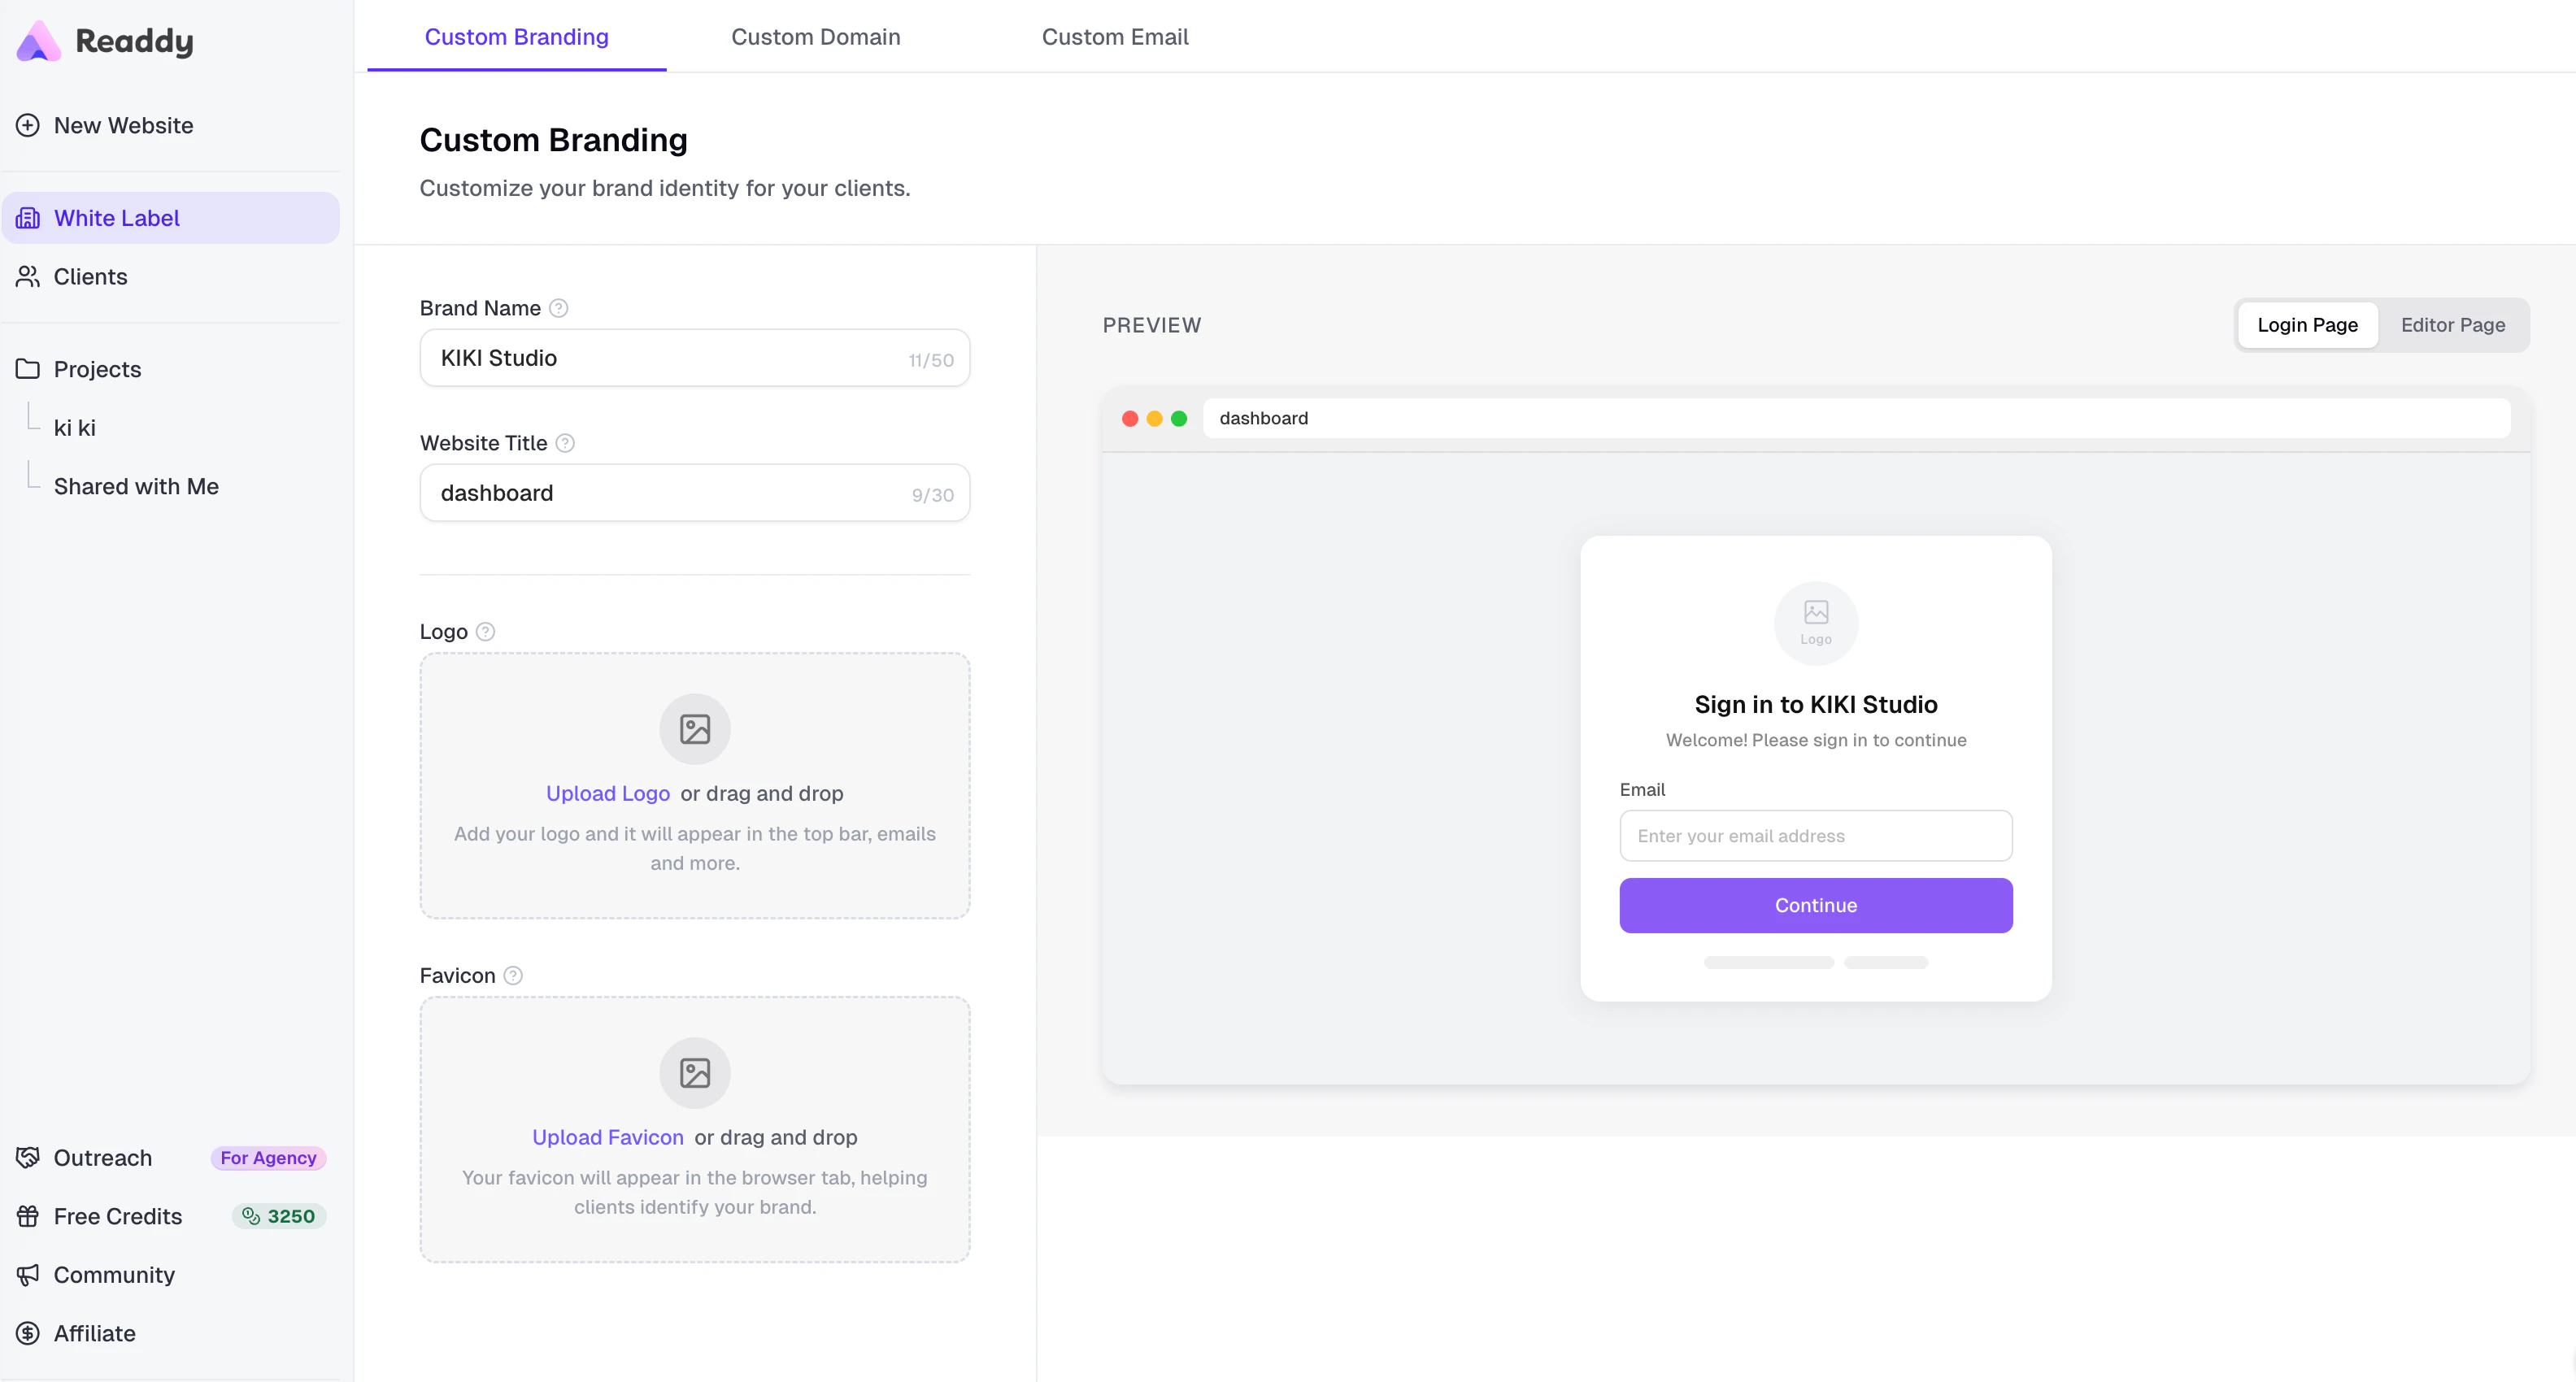 2. Configure **Custom Branding**, including your brand name, browser tab title, logo, and favicon.
 3. Configure **Platform Domain** and confirm the final client login URL.
 4. Configure **Site Domain** and choose how it should apply to existing published sites.
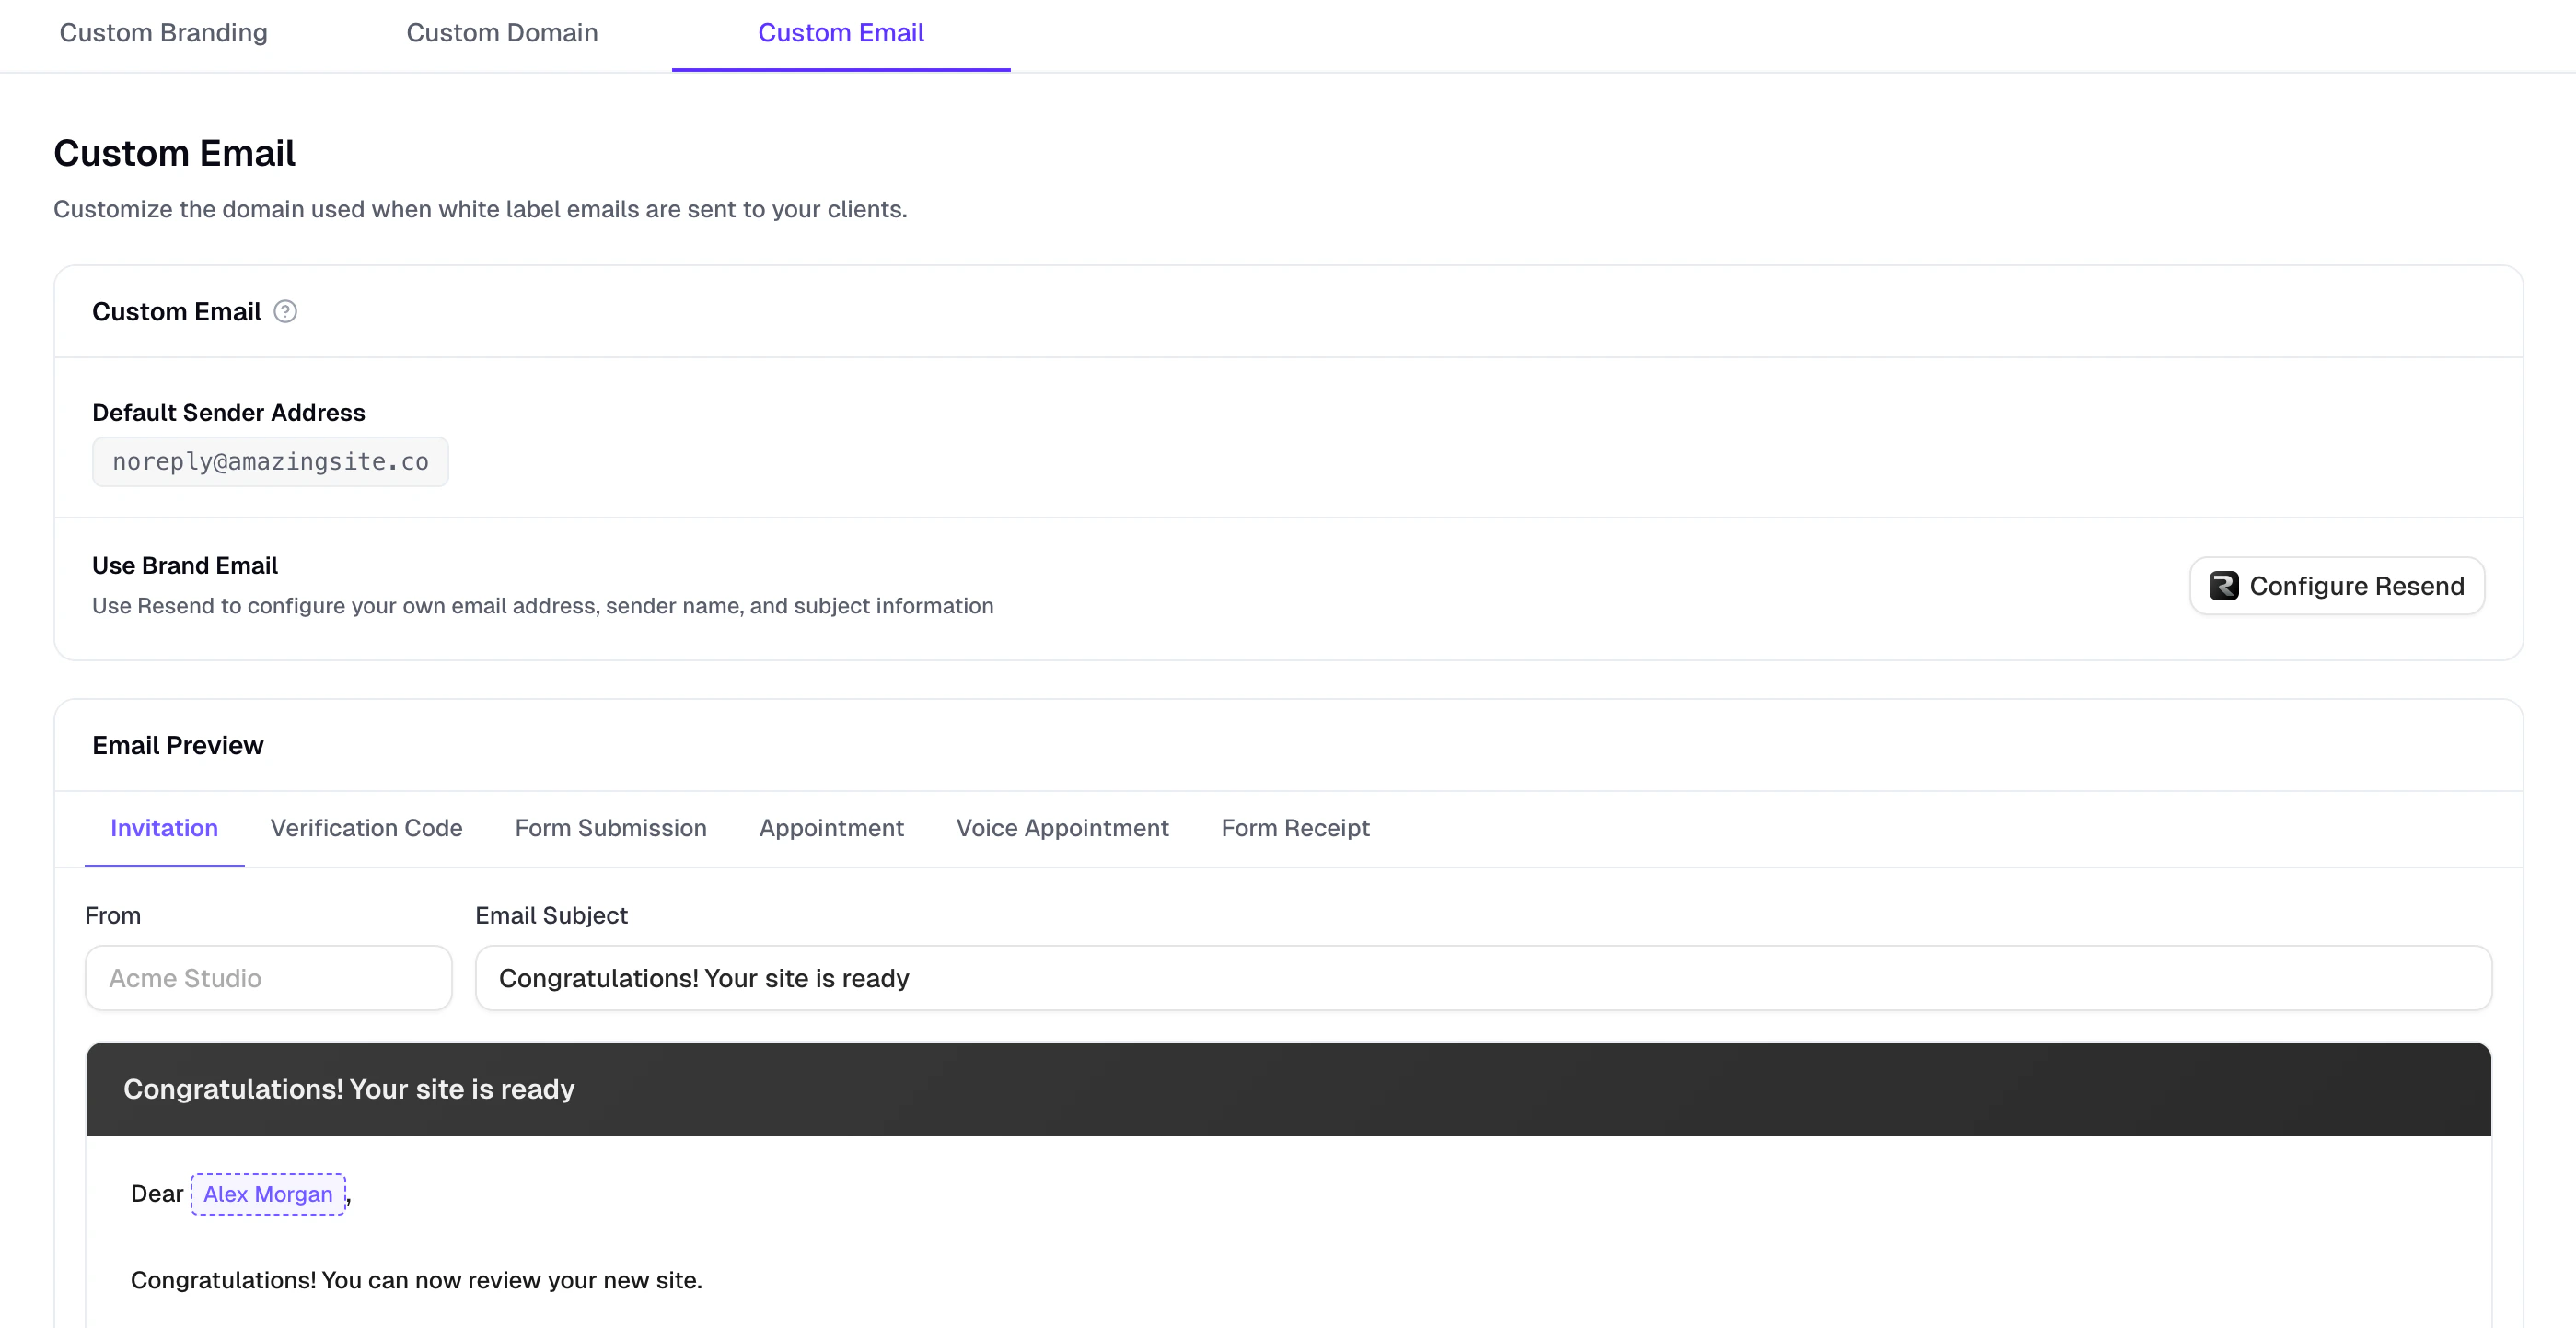
 5. Configure **Custom Email**, confirm the email address, sender name, and subject, then send a test message.
 6. Use Readdy to build each client's website.
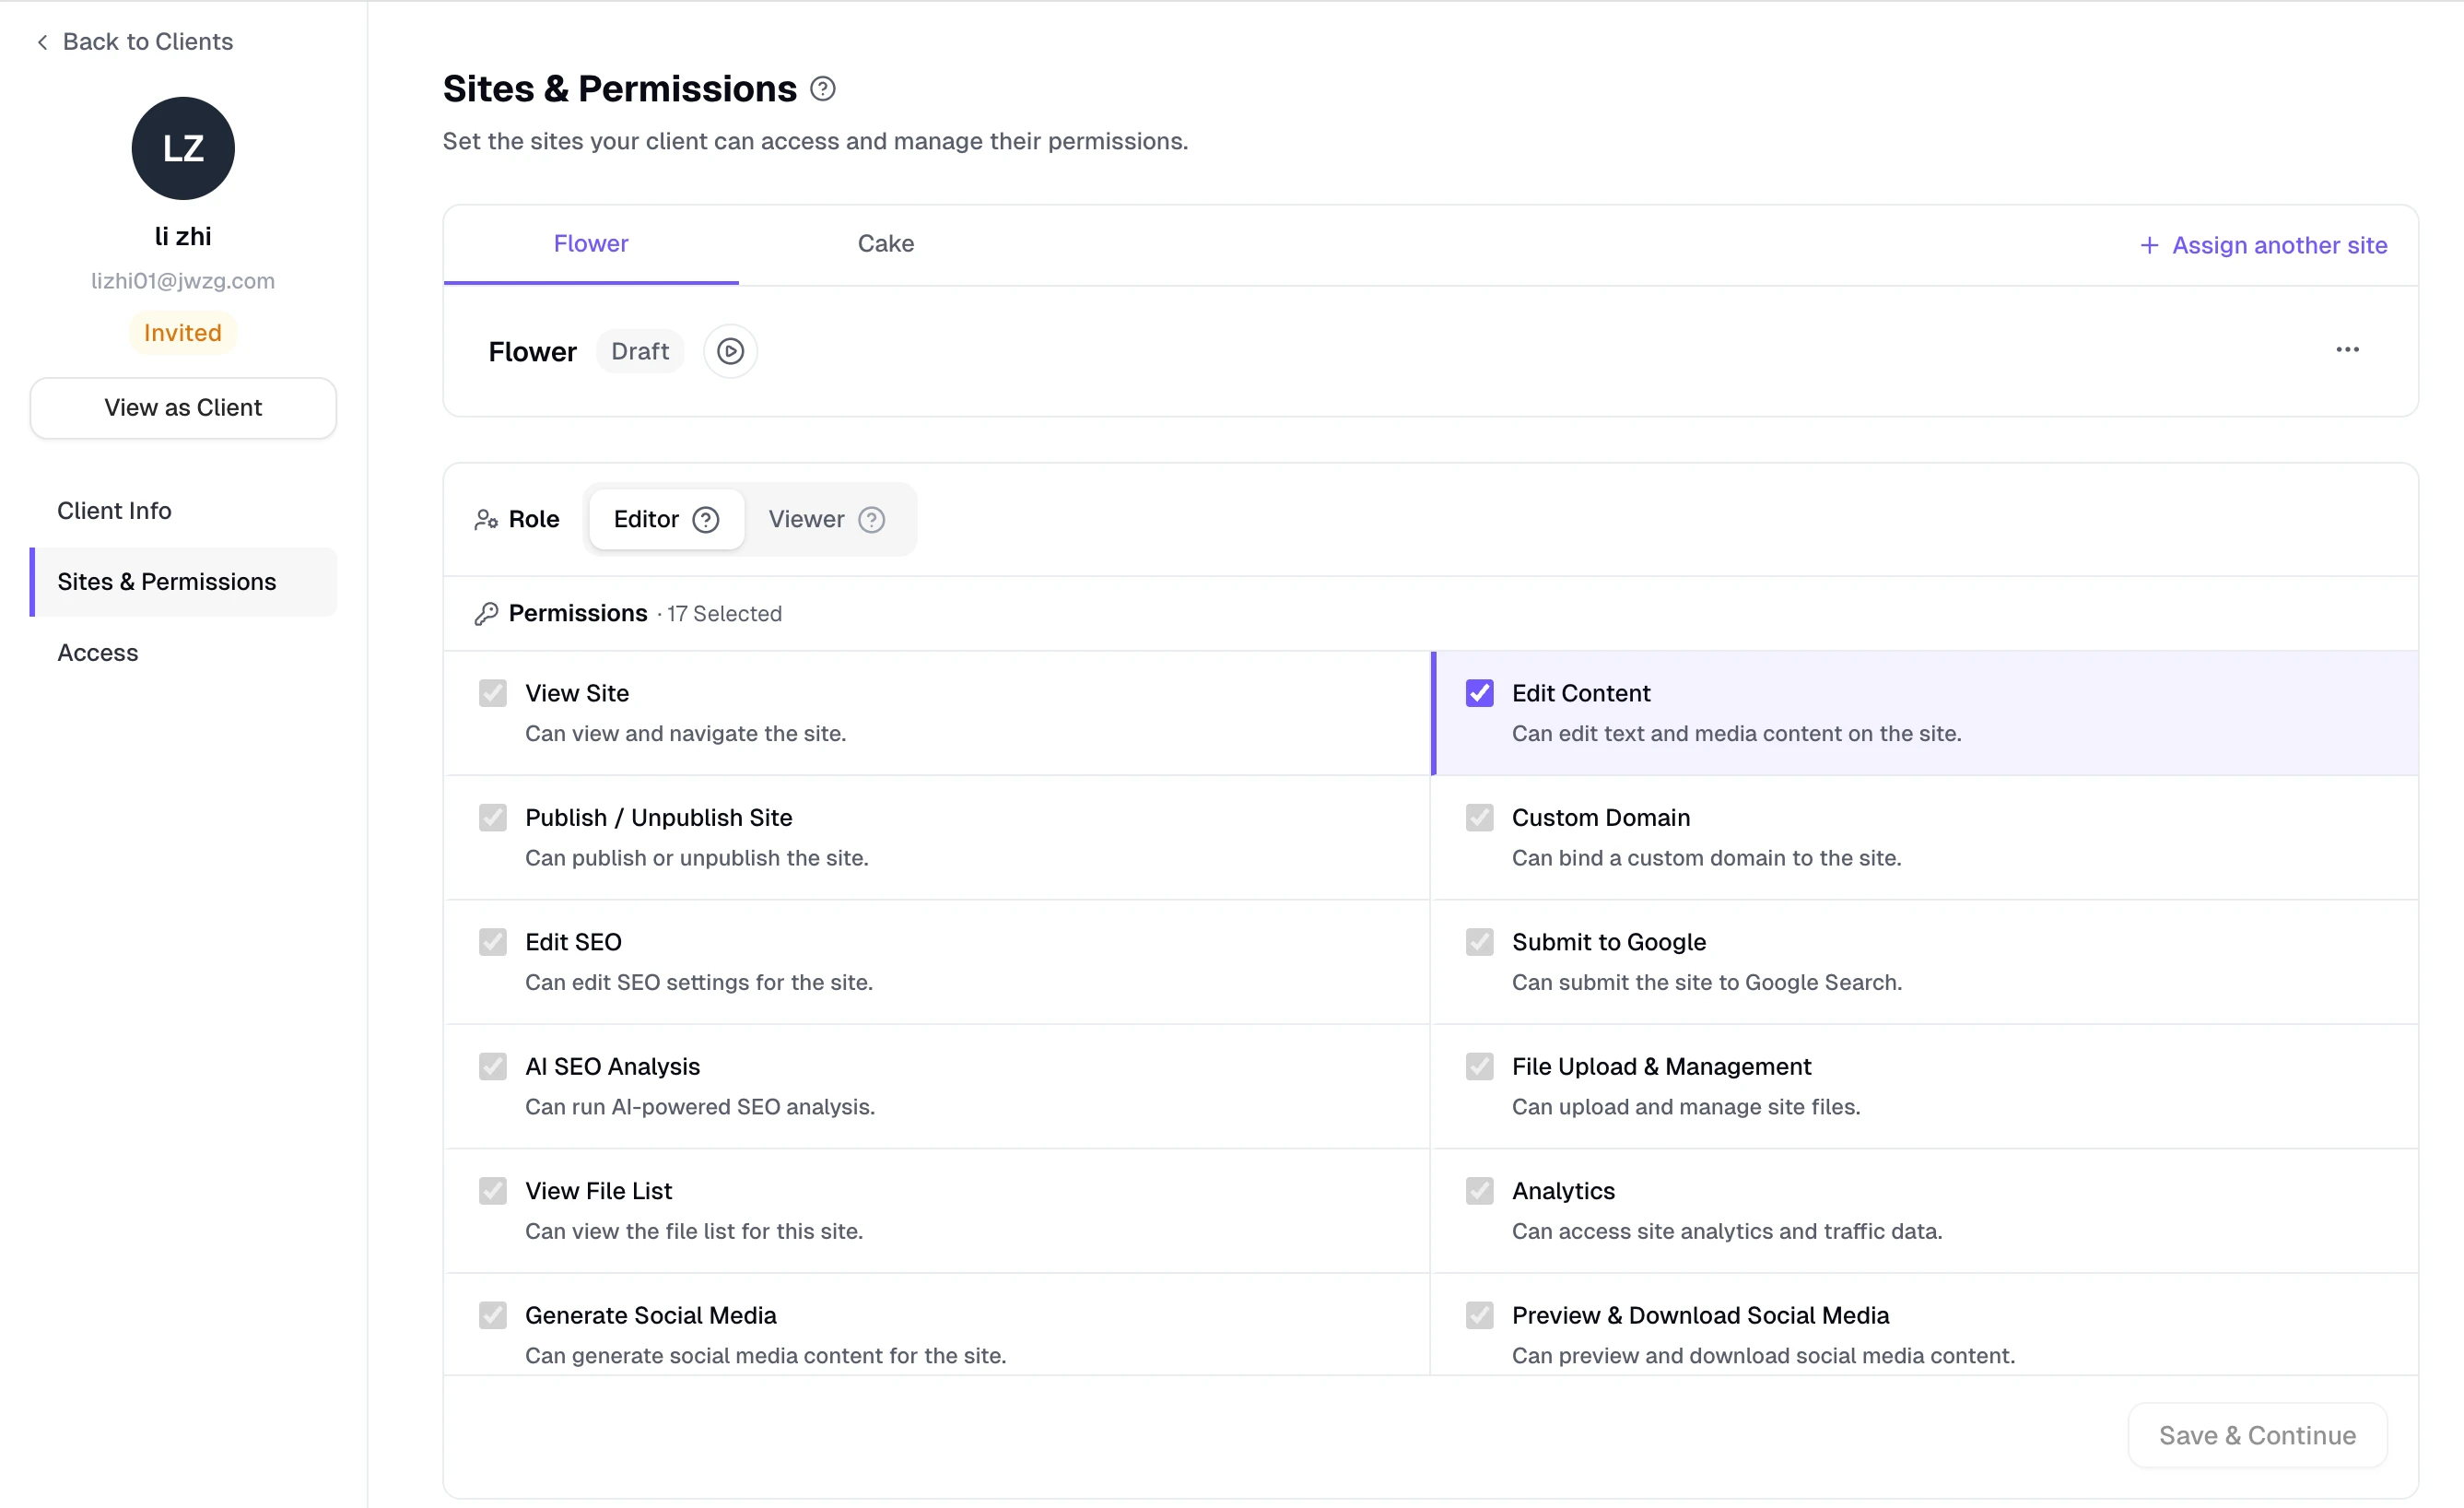
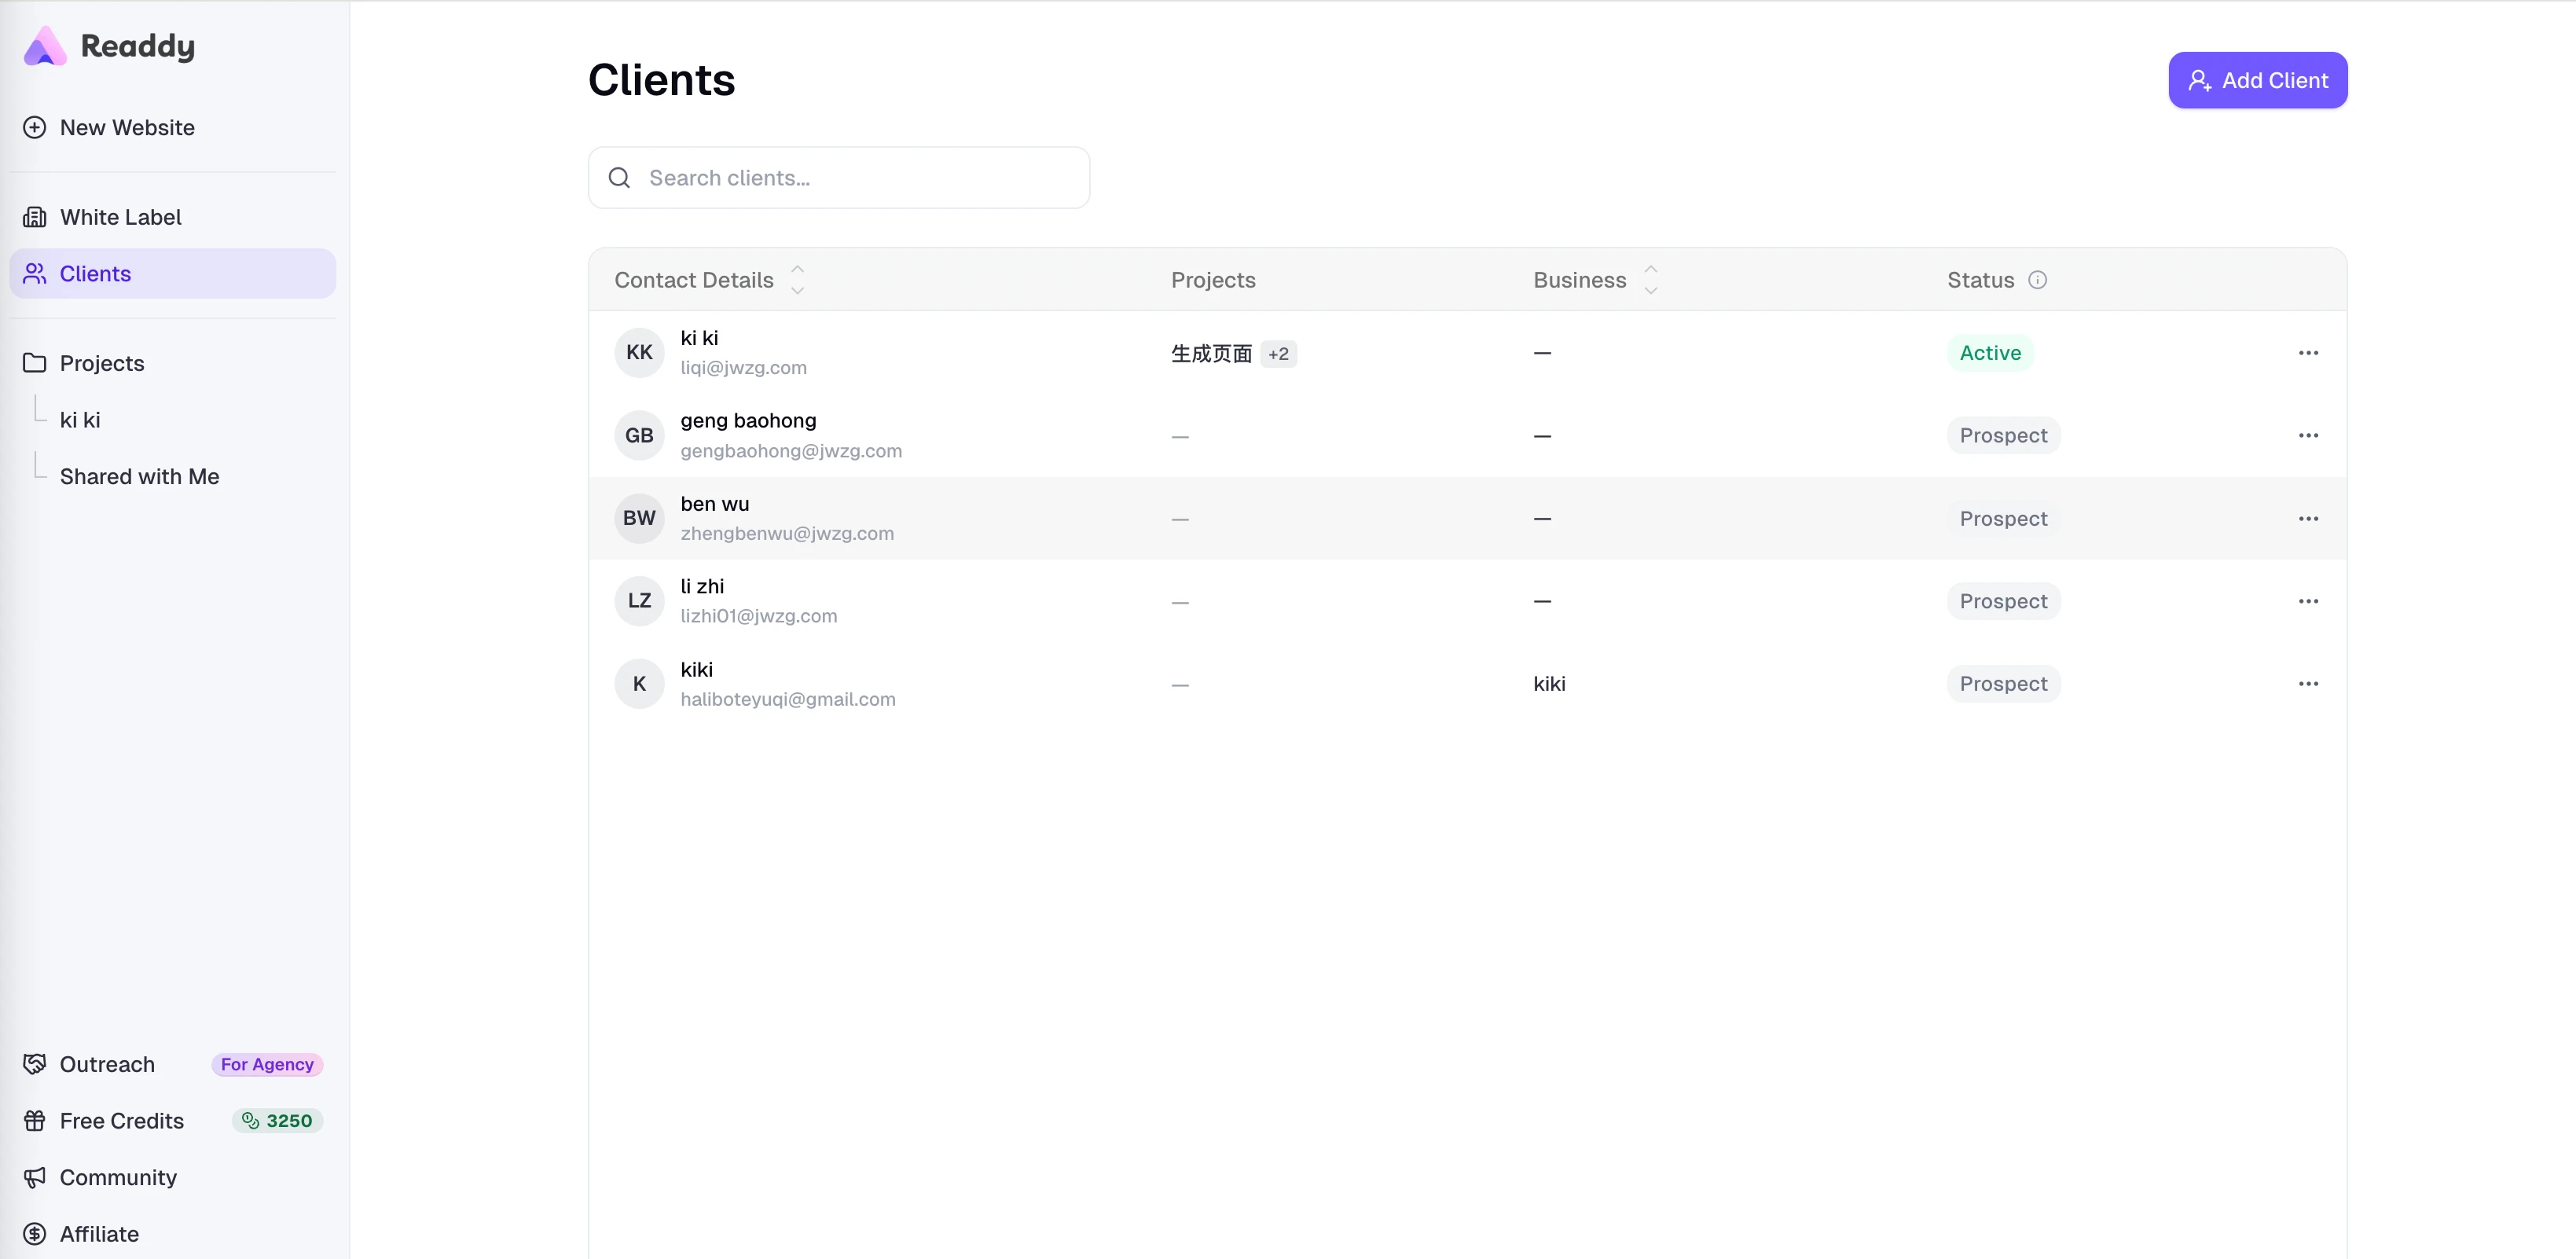
7. In **Workspace**, add your clients and assign the corresponding website to each client.
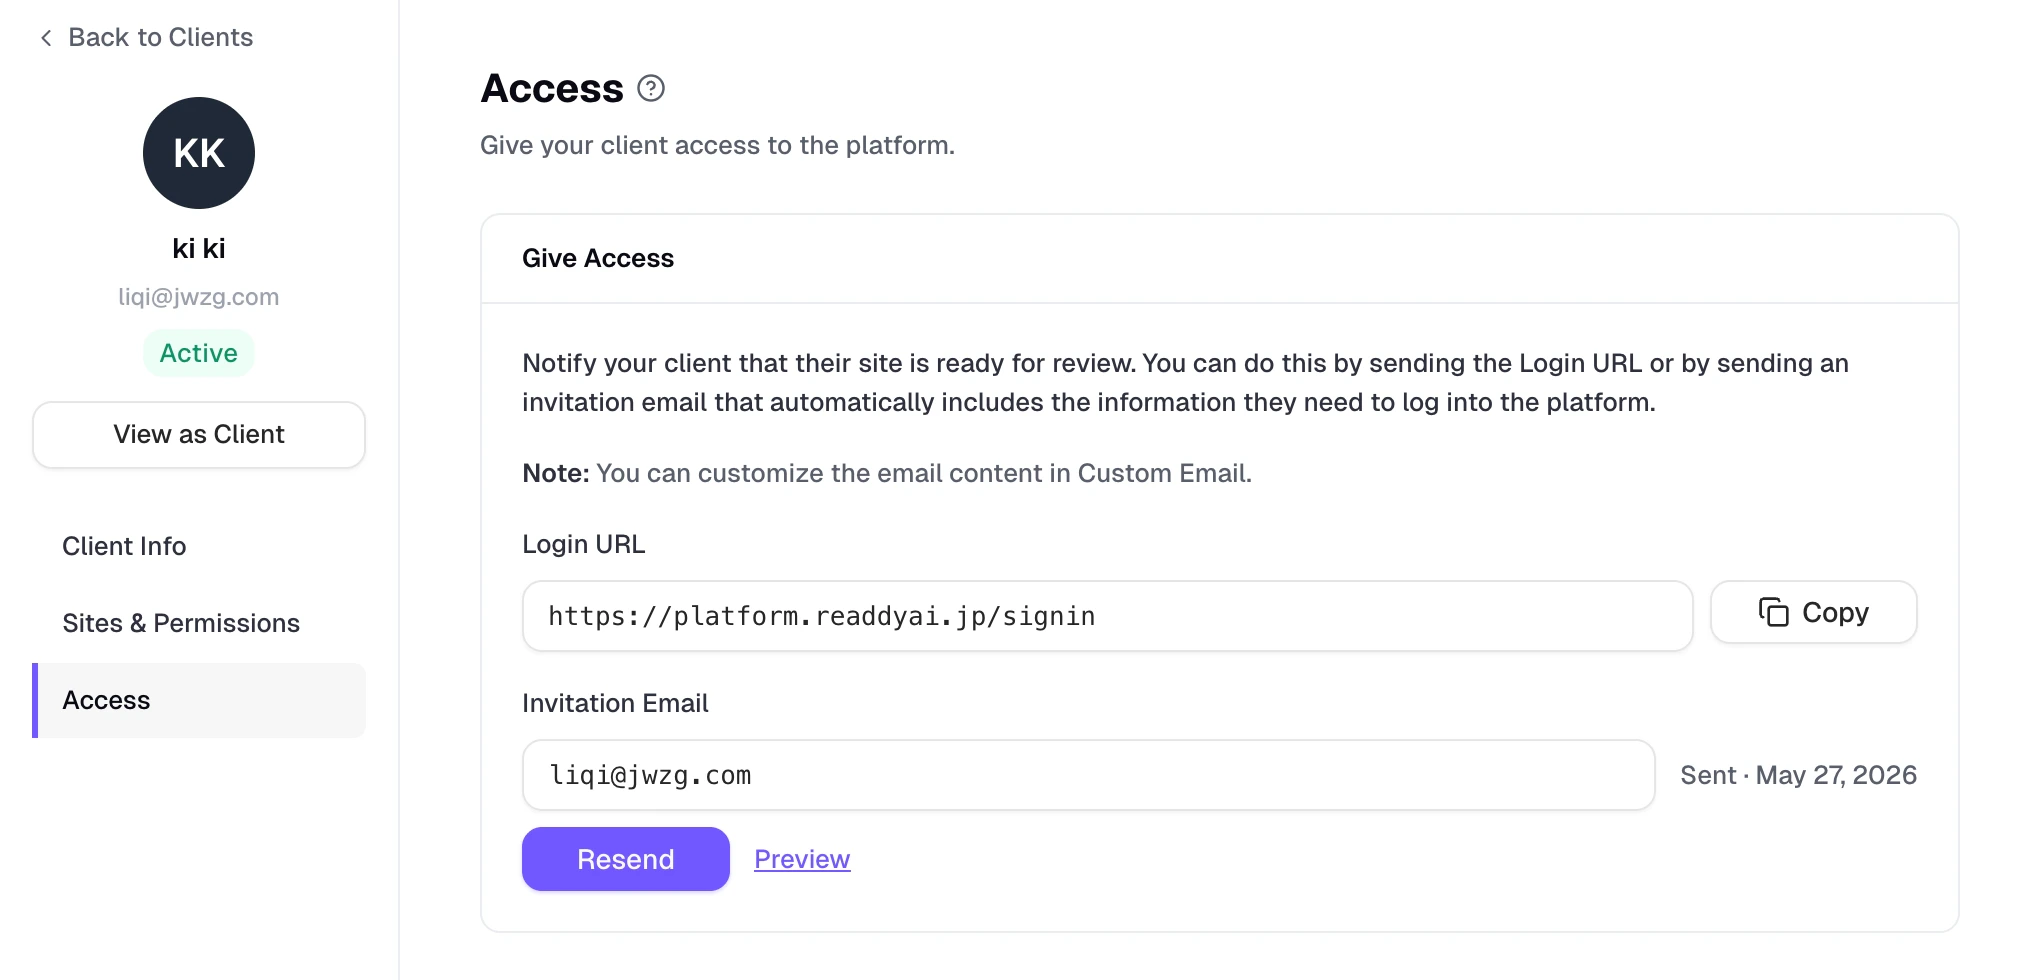
8. In each client's **Access** settings, send the invitation they will use to sign in to their dashboard.
6. Use Readdy to build each client's website.
7. In **Workspace**, add your clients and assign the corresponding website to each client.
8. In each client's **Access** settings, send the invitation they will use to sign in to their dashboard.
 ## Custom Branding
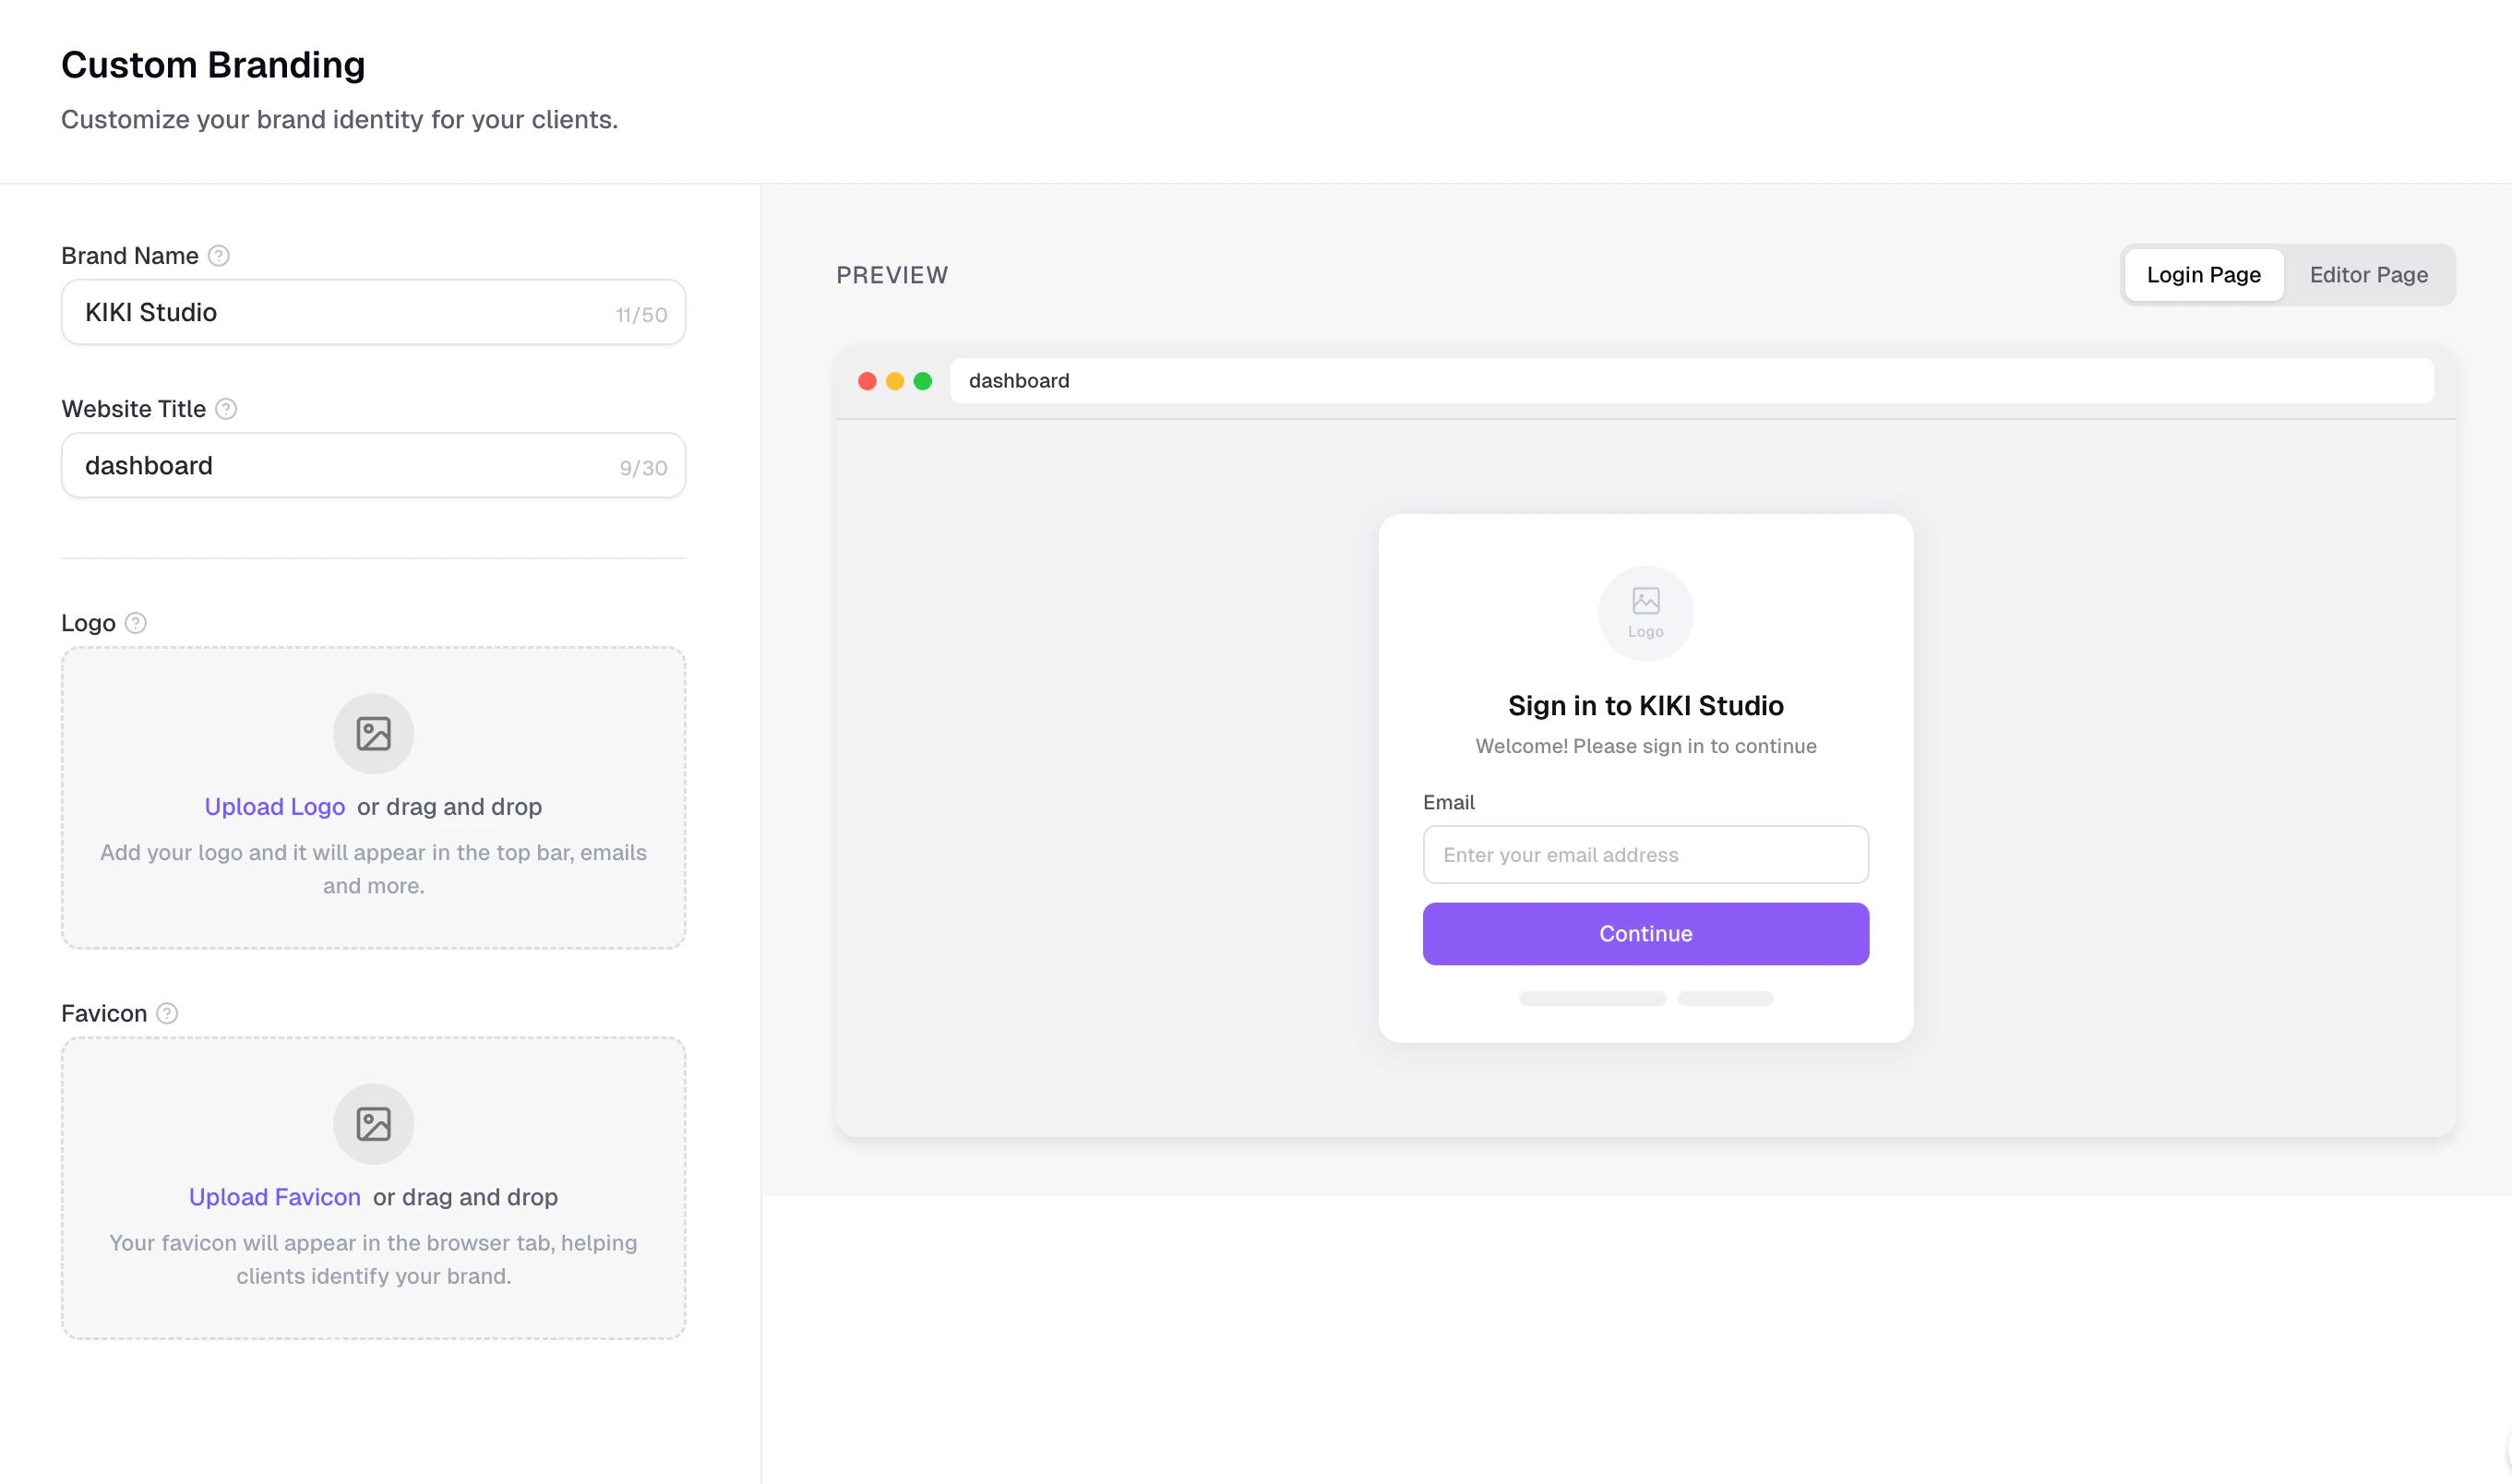
Use **Custom Branding** to control the visual identity clients see across the white-label experience.
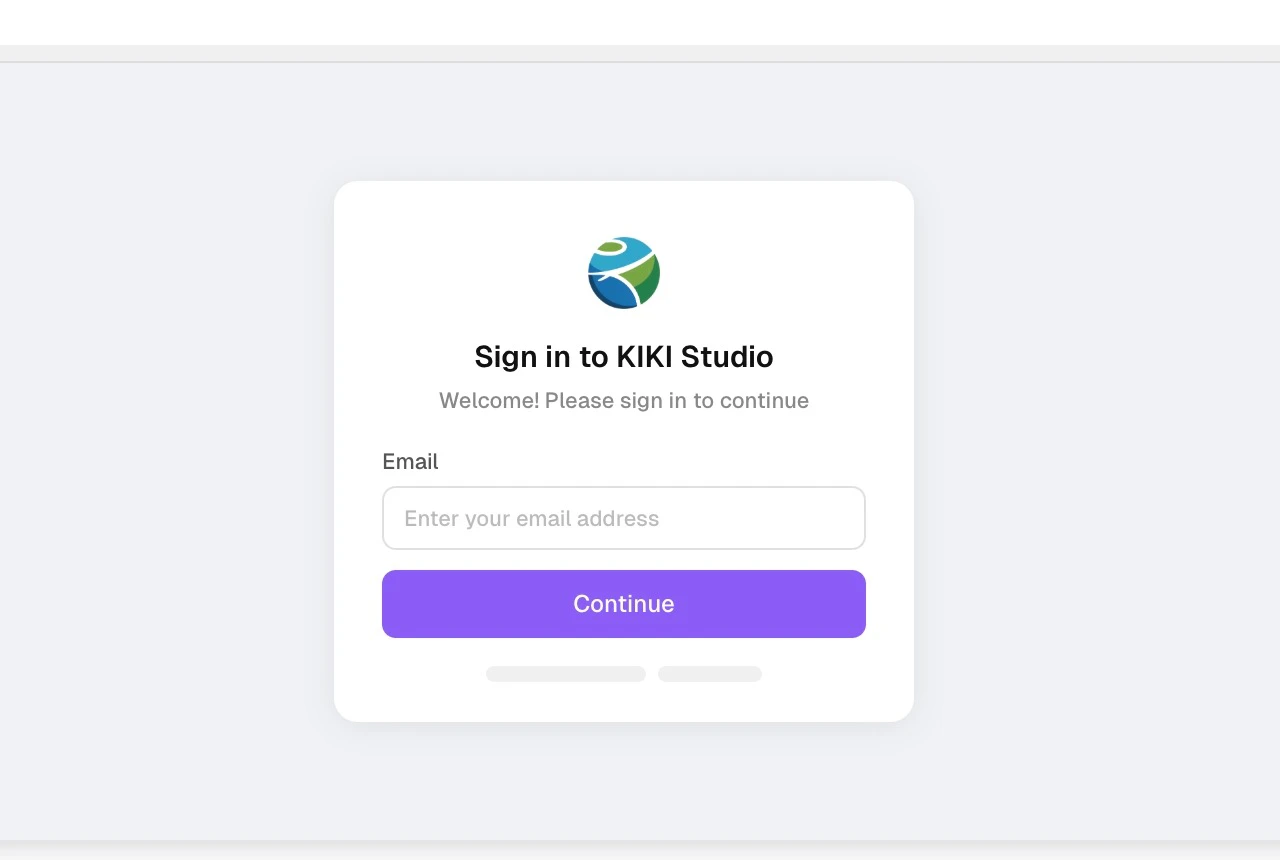
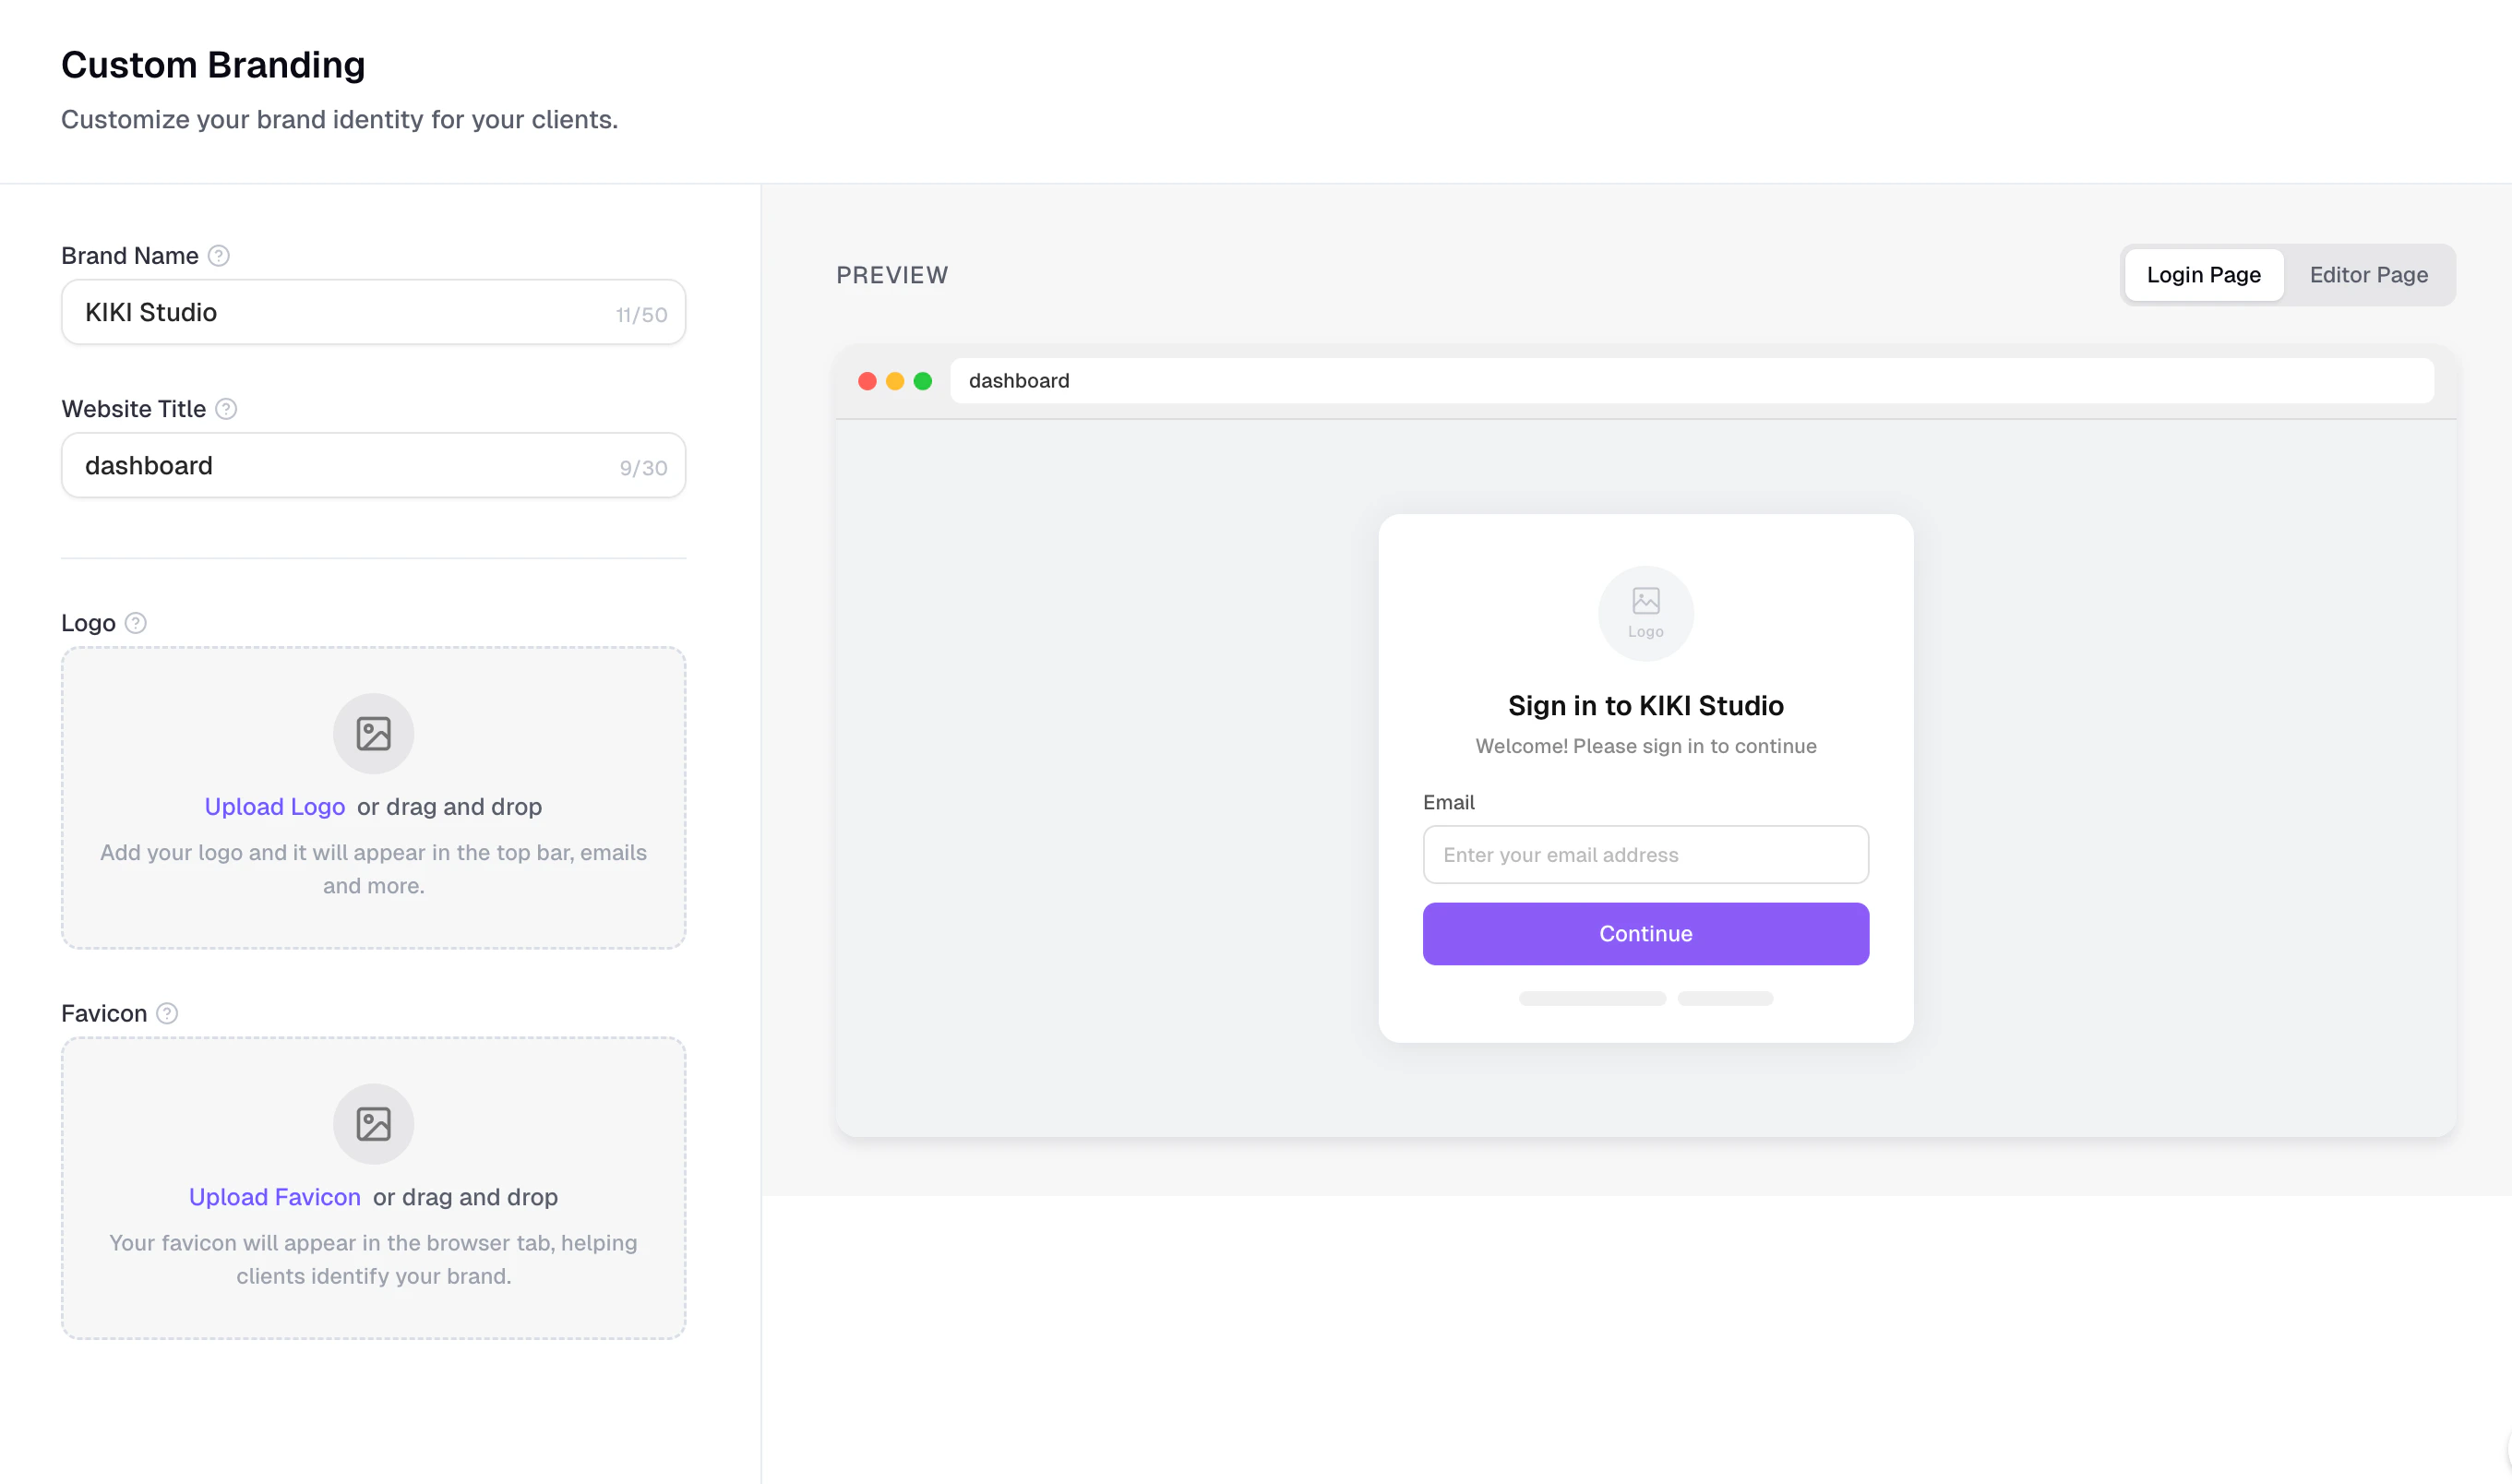
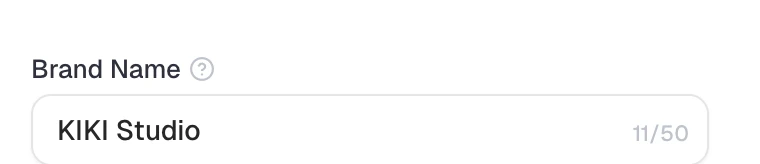
Enter the brand name you want clients to recognize. This appears on the login page. After you configure it, you can preview the result in the preview area on the right.
## Custom Branding
Use **Custom Branding** to control the visual identity clients see across the white-label experience.
Enter the brand name you want clients to recognize. This appears on the login page. After you configure it, you can preview the result in the preview area on the right.
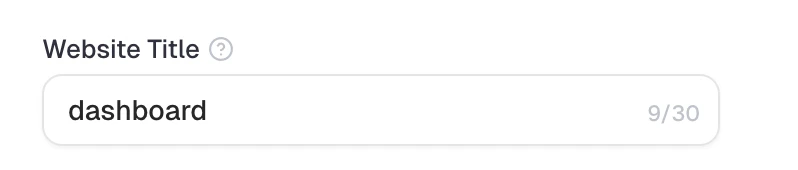
 Enter the title shown in browser tabs. When users hover over the browser tab, they can see the corresponding tab title. You can also hover over the tab in the preview area on the right to preview how it will appear.
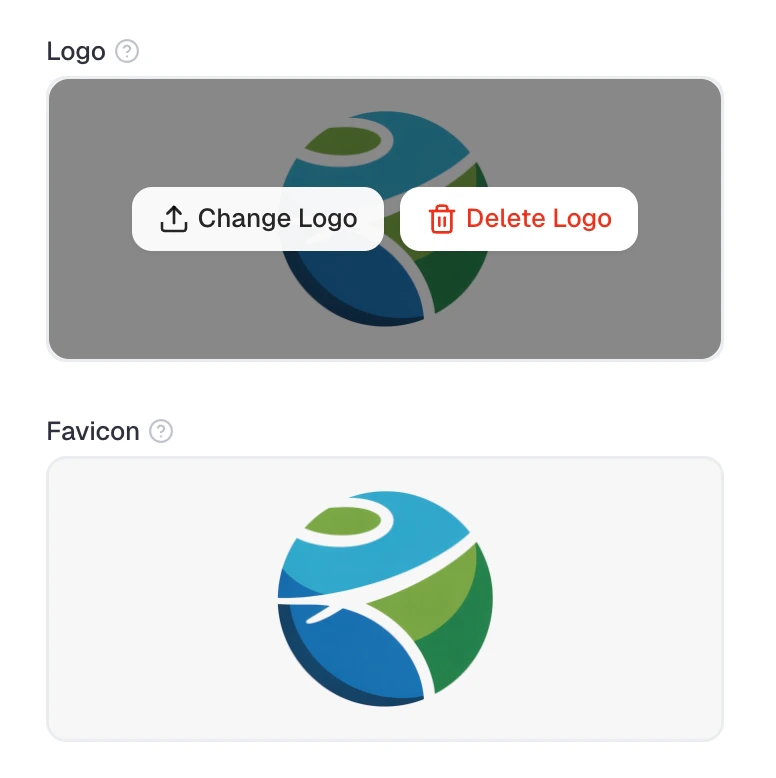
 Upload the logo used on the login page, project pages, emails, and other branded touchpoints. Upload a favicon so clients can recognize your platform in the browser tab.
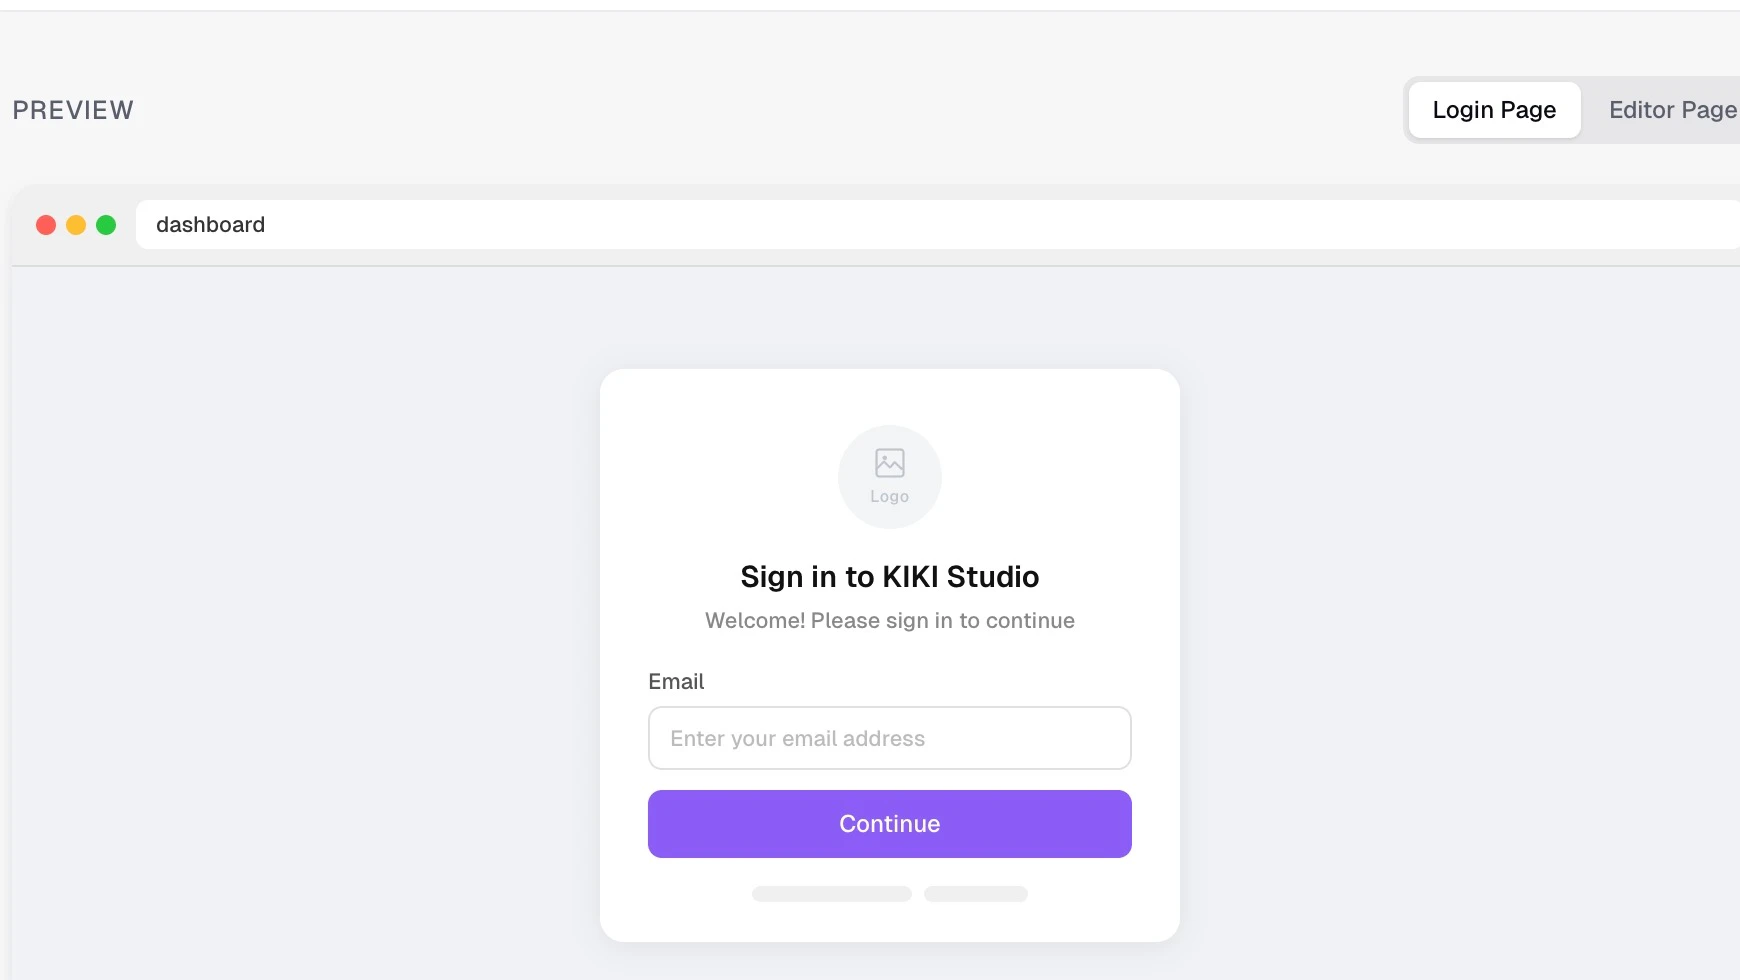
 Use the built-in preview to check both the **Login Page** and **Editor Page** before you finish.
 **Branding asset requirements:** Logo files support `PNG`, `JPG`, and `SVG`, up to 2 MB. Favicon files support `PNG`, `JPEG`, and `ICO`, up to 500 KB.
## Custom Domain
**Branding asset requirements:** Logo files support `PNG`, `JPG`, and `SVG`, up to 2 MB. Favicon files support `PNG`, `JPEG`, and `ICO`, up to 500 KB.
## Custom Domain
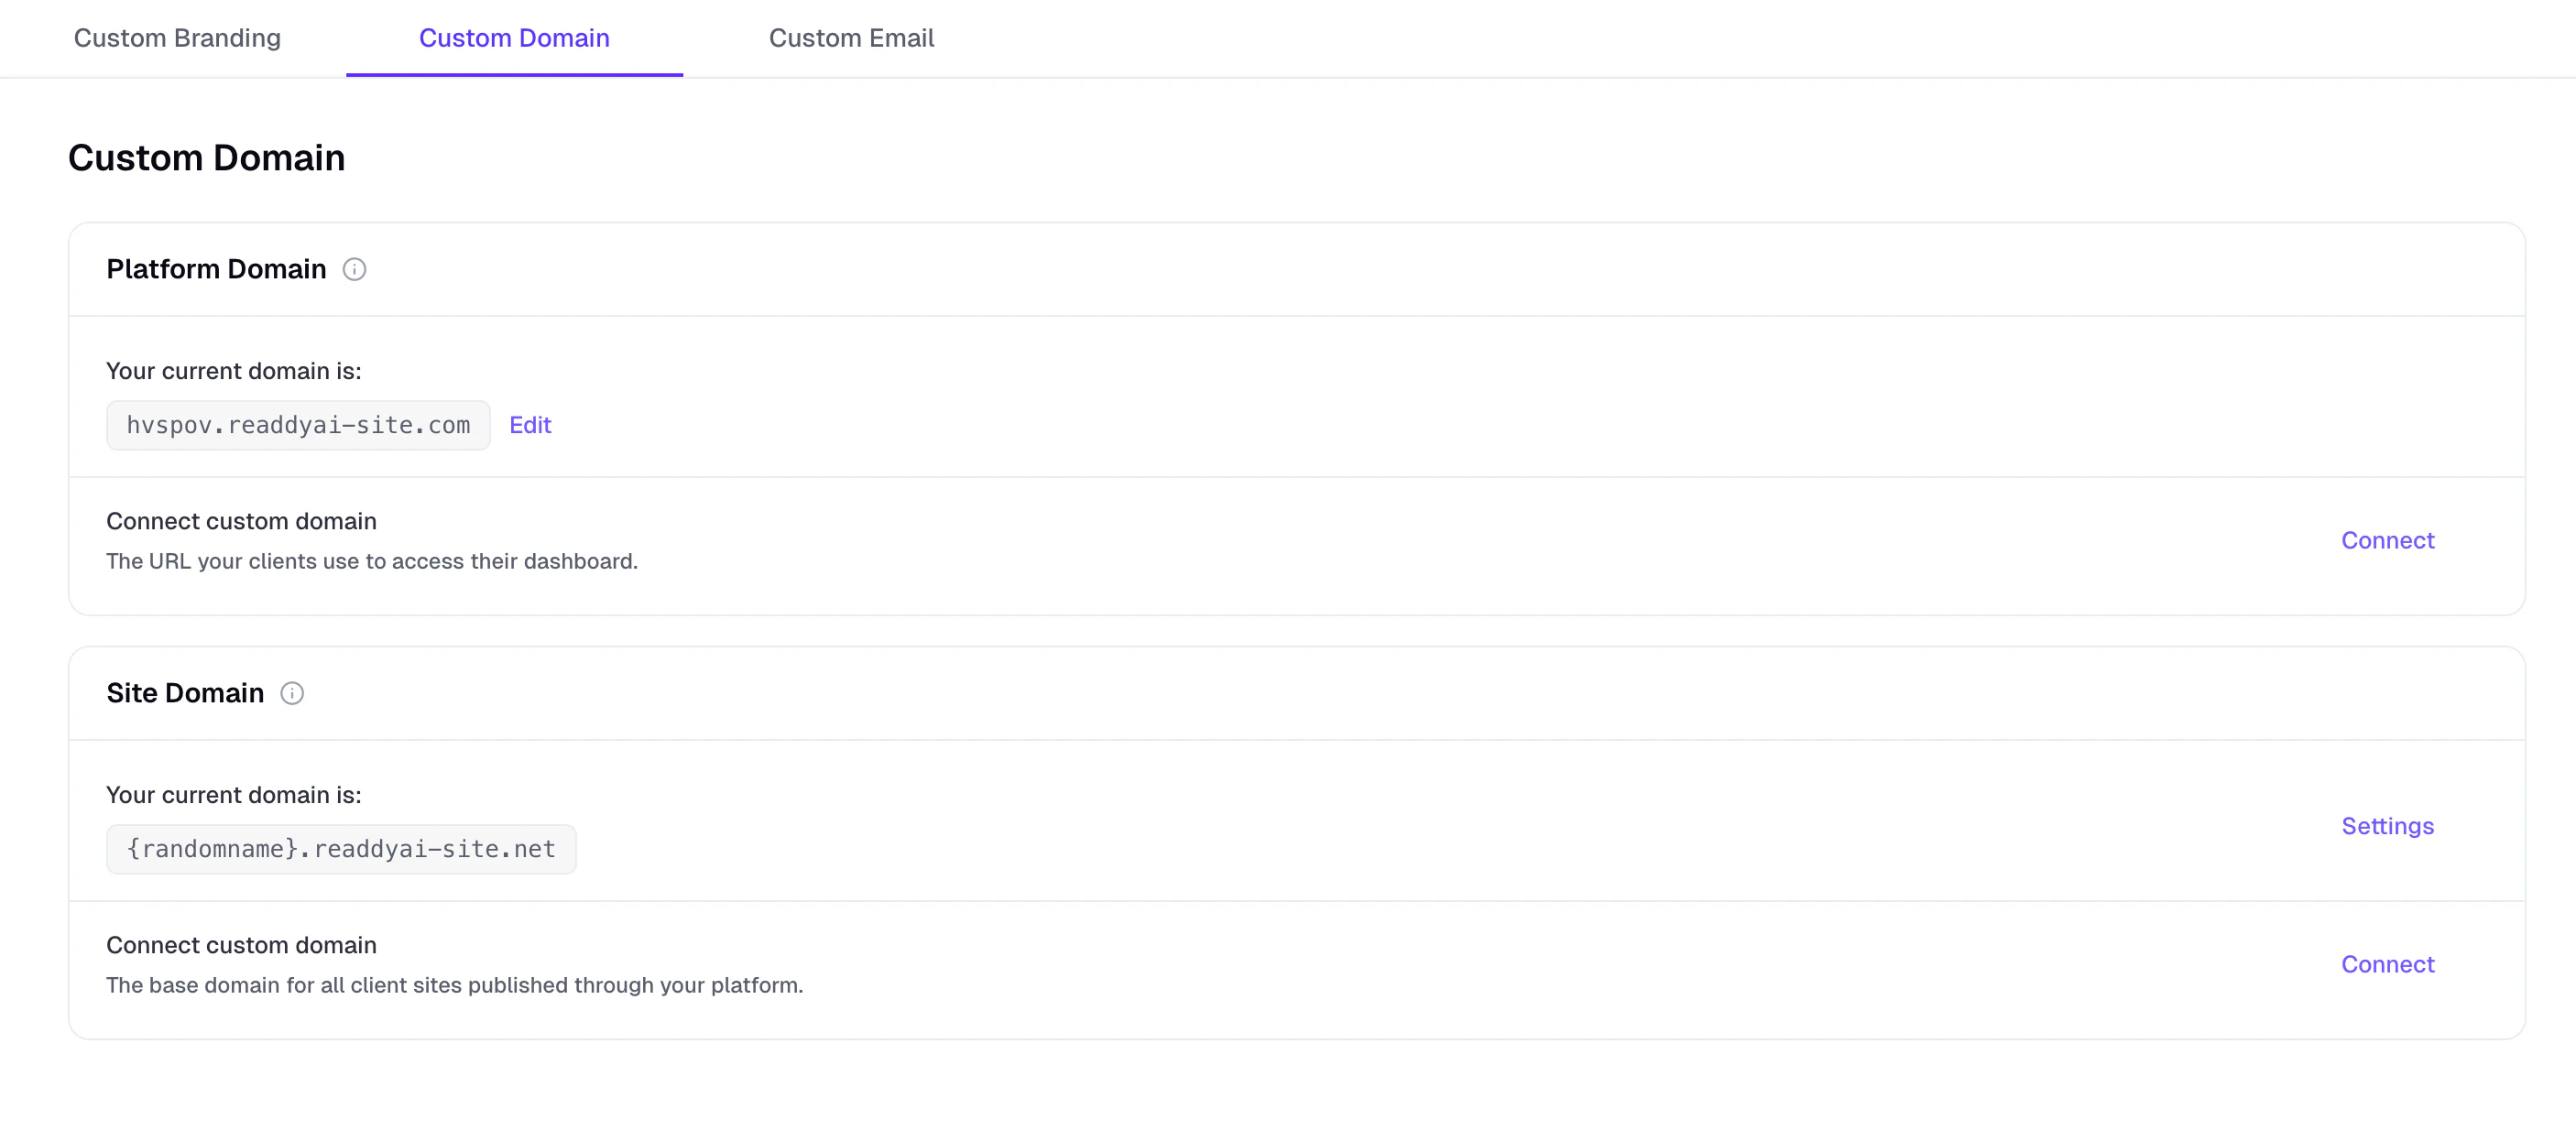 ### Platform Domain
Use **Platform Domain** when you want clients to sign in and work from your own branded URL.
You can either edit the default Readdy subdomain slug, or click **Connect** in the **Connect custom domain** section to move client access to your own domain.
Use a subdomain such as `app.example.com` or `editor.example.com`. Root domains such as `example.com` are not supported for platform login.
### Platform Domain
Use **Platform Domain** when you want clients to sign in and work from your own branded URL.
You can either edit the default Readdy subdomain slug, or click **Connect** in the **Connect custom domain** section to move client access to your own domain.
Use a subdomain such as `app.example.com` or `editor.example.com`. Root domains such as `example.com` are not supported for platform login.
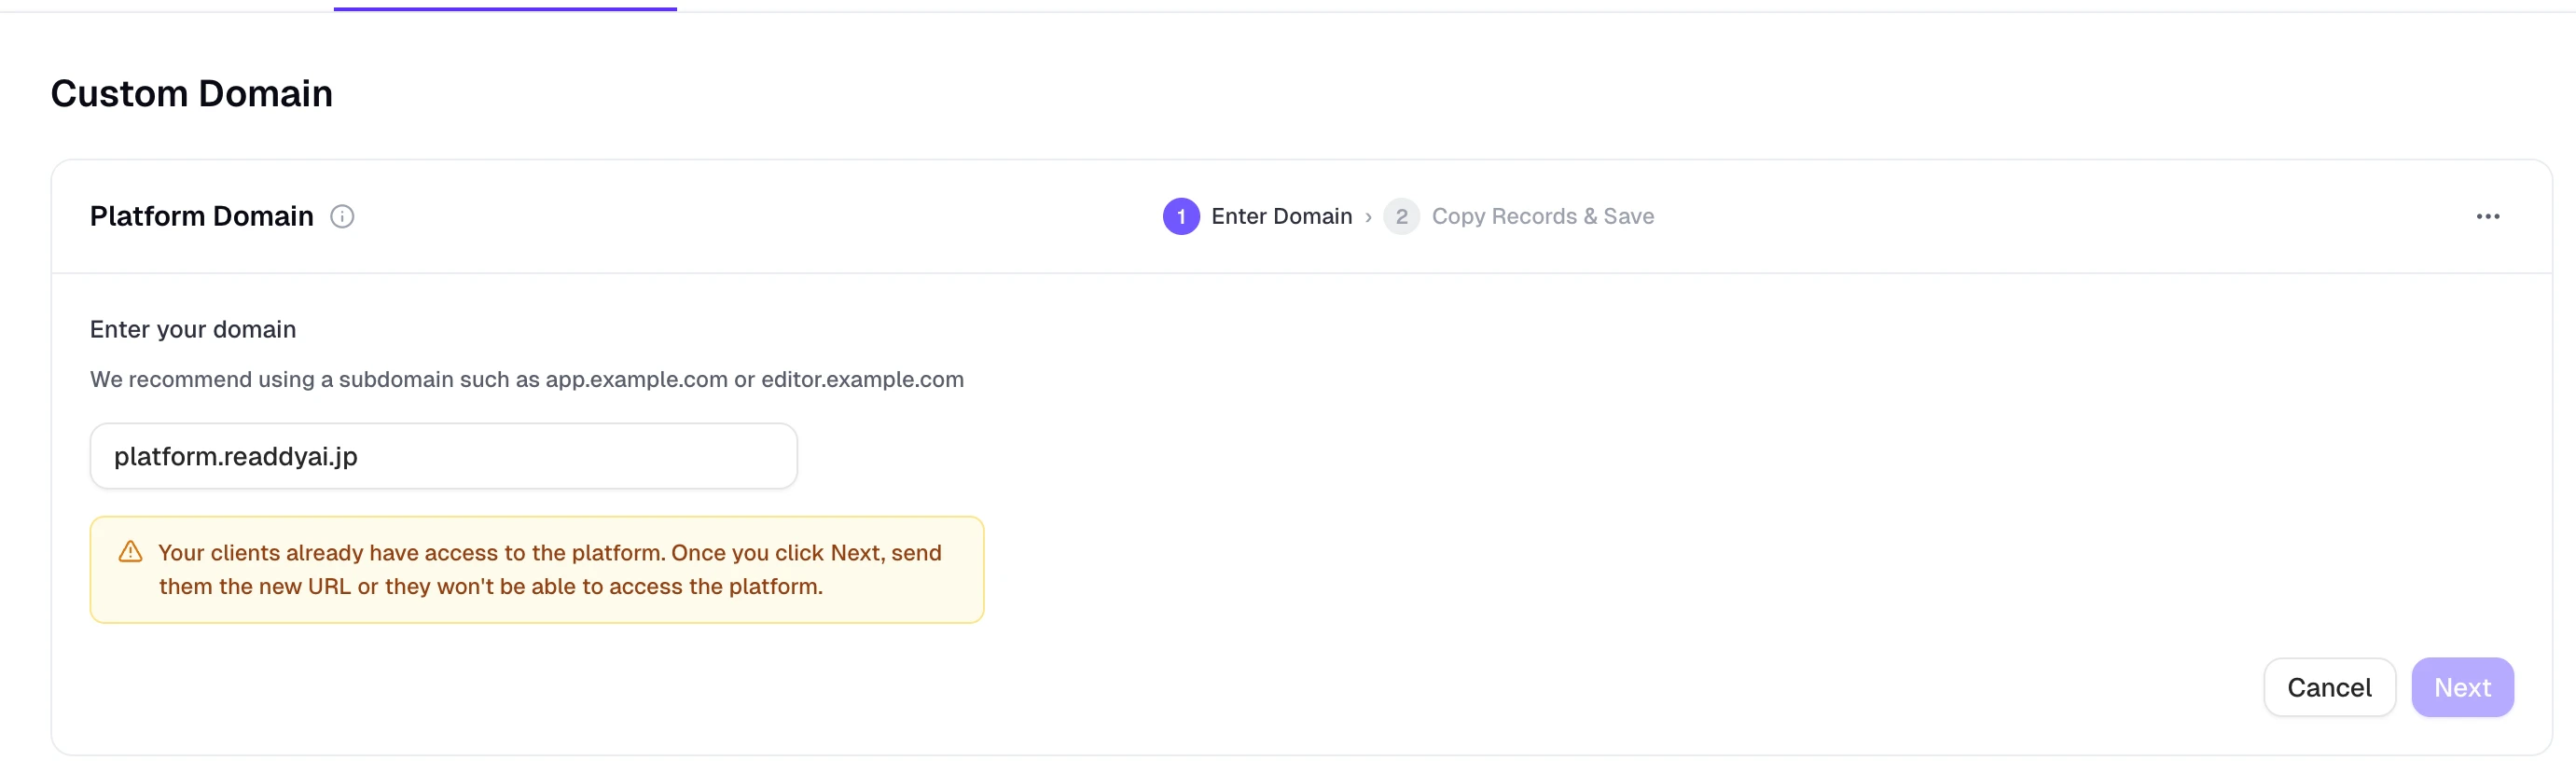 Copy the generated CNAME record into your DNS provider and save the record there.
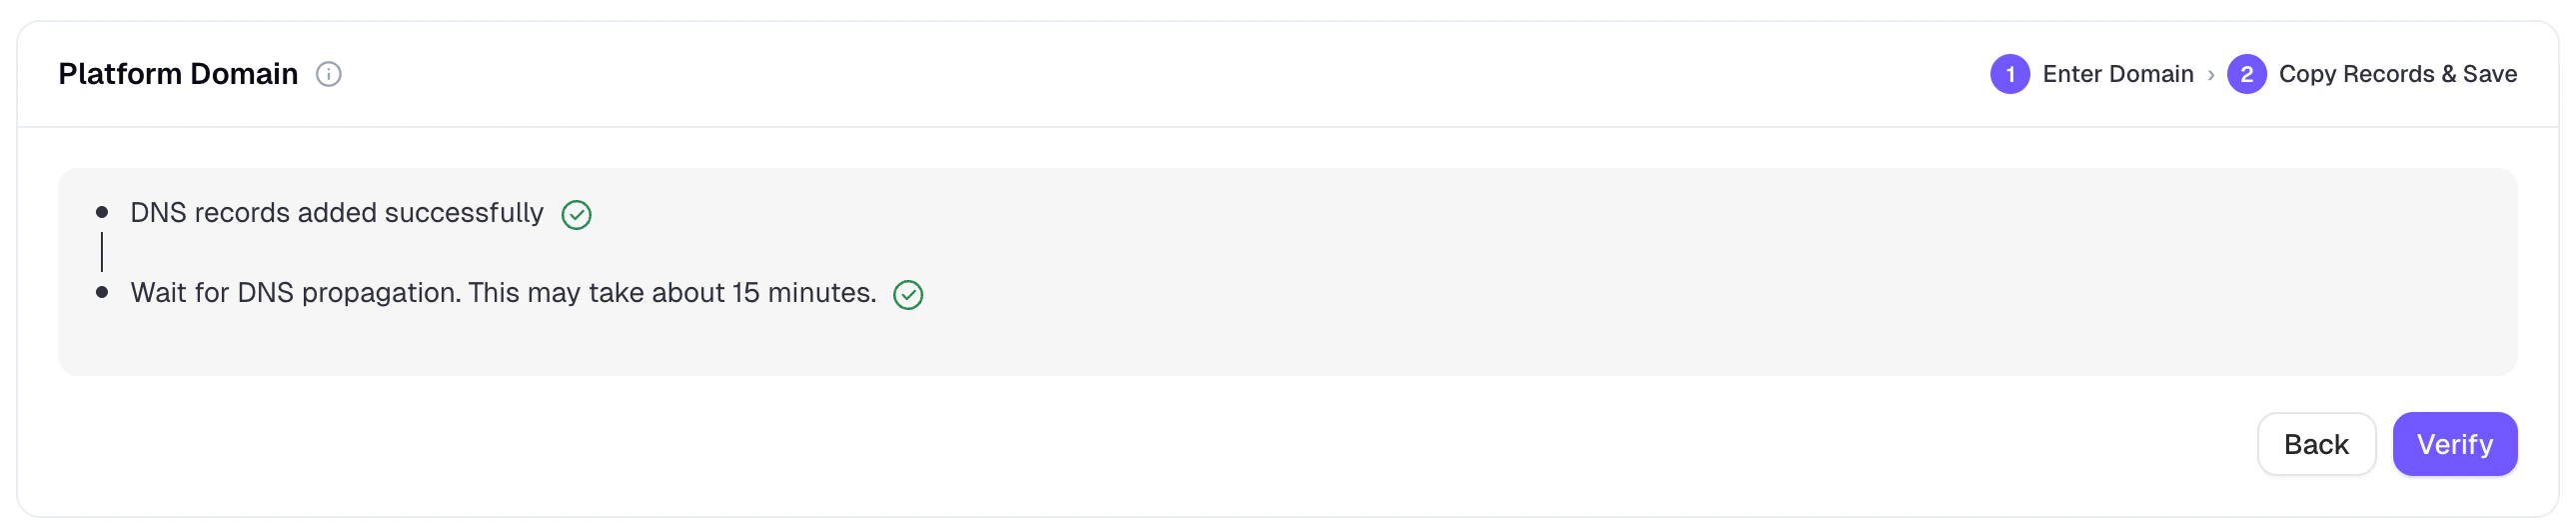 Return to Readdy and click **Verify**. If the DNS record is correct but SSL is still being issued, the action changes to **Check Status** until the domain becomes active.
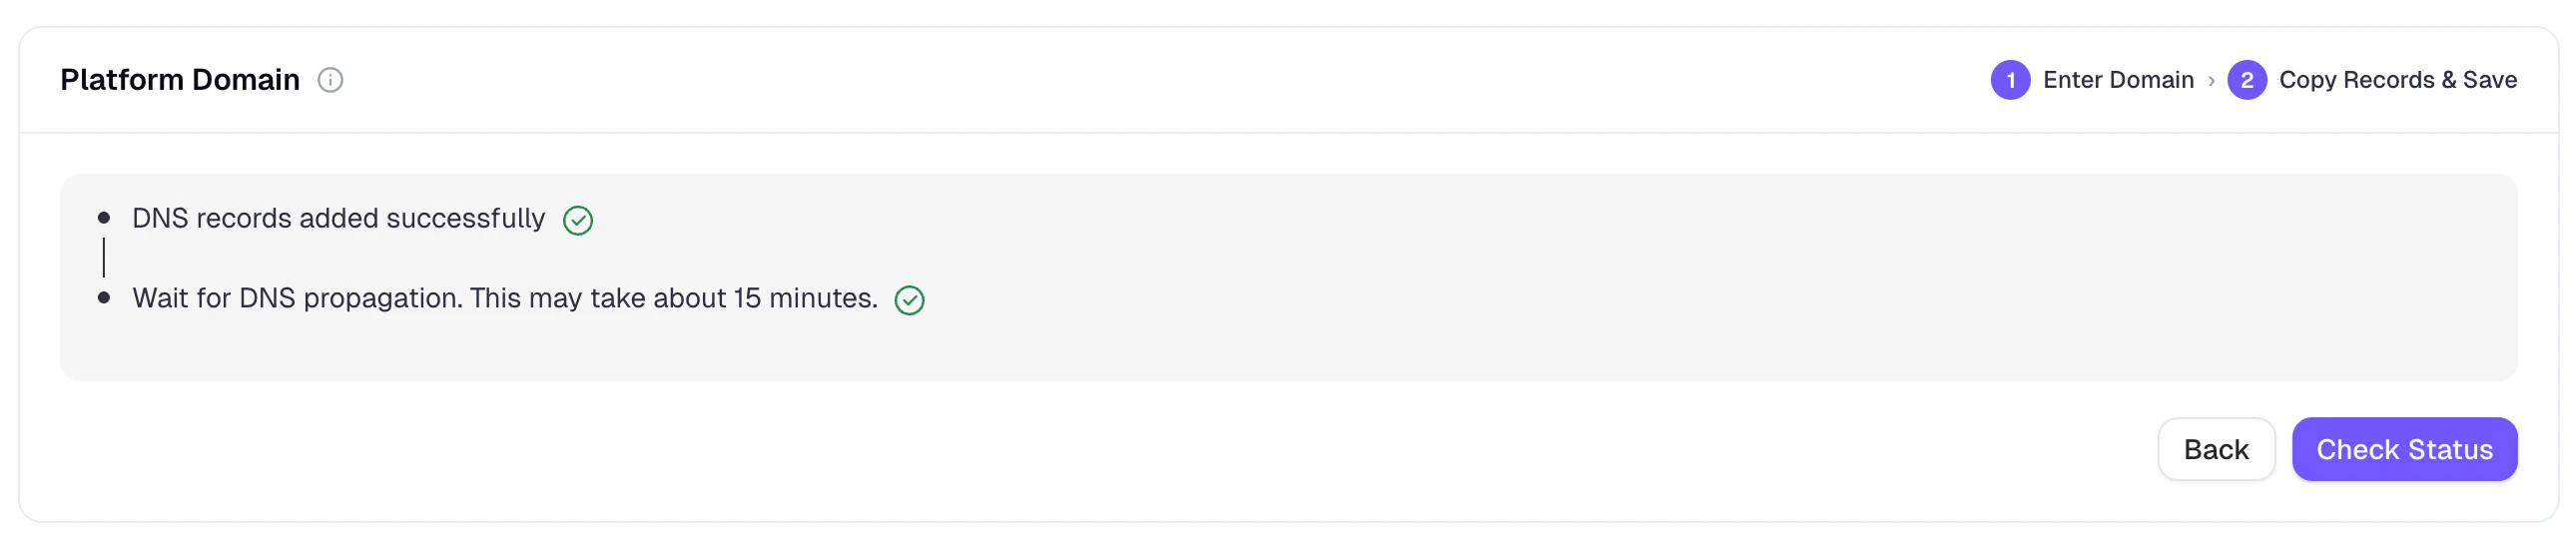 Changing a live Platform Domain immediately invalidates the previous login URL. Share the new URL with your team and clients before or at the same time you switch it.
### Site Domain
Use **Site Domain** when you want client-published sites to live under your own branded domain pattern.
You can use Readdy's default de-branded site domain, which uses a randomly generated prefix, or configure your own branded base subdomain for client-published websites.
Changing a live Platform Domain immediately invalidates the previous login URL. Share the new URL with your team and clients before or at the same time you switch it.
### Site Domain
Use **Site Domain** when you want client-published sites to live under your own branded domain pattern.
You can use Readdy's default de-branded site domain, which uses a randomly generated prefix, or configure your own branded base subdomain for client-published websites.
 Enter a base subdomain such as `sites.example.com`. You do not need to type `*.` yourself. Readdy uses it as a wildcard for published client sites.
 Copy the generated wildcard DNS record and save it in your DNS provider.
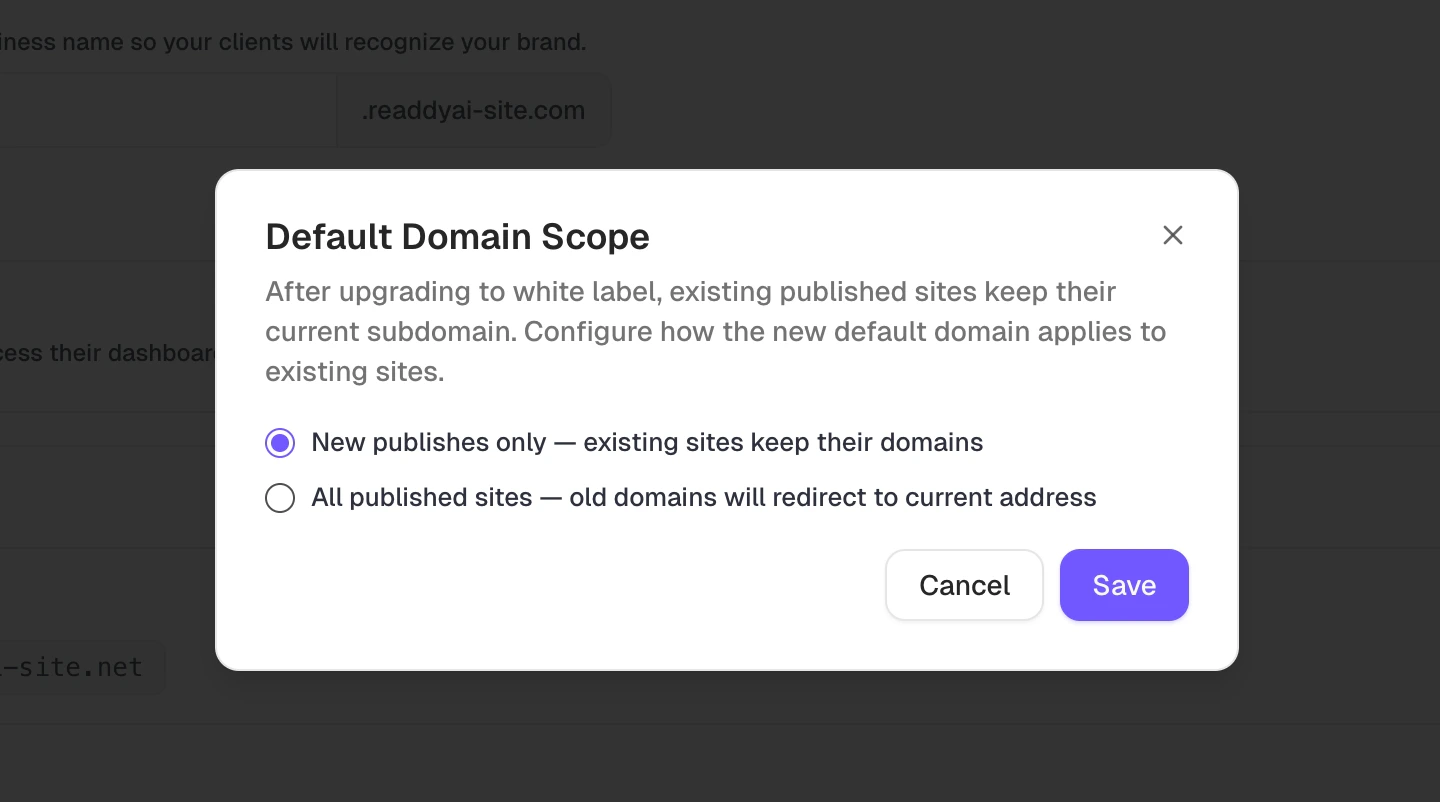
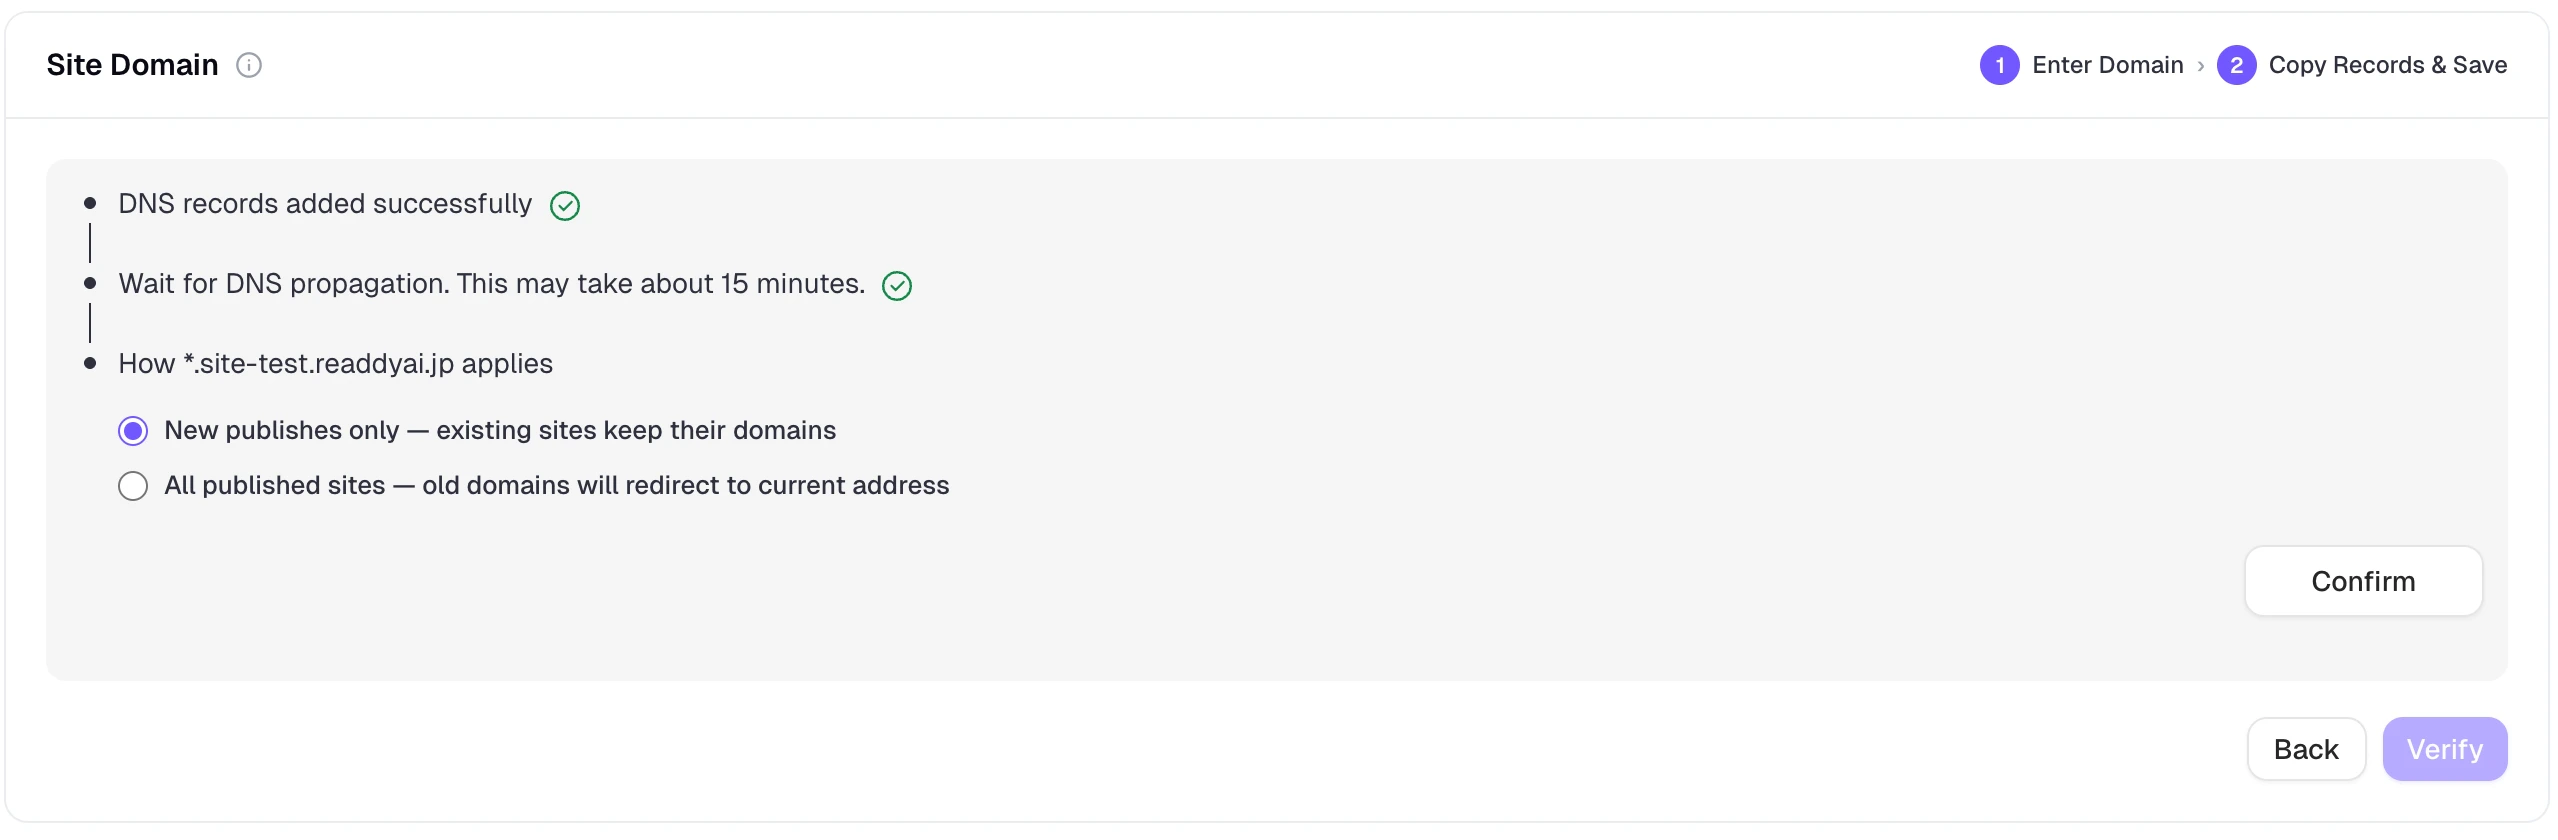 Decide whether the new site domain should apply only to future publishes or to all published sites. Review this carefully before you save the new default domain scope.
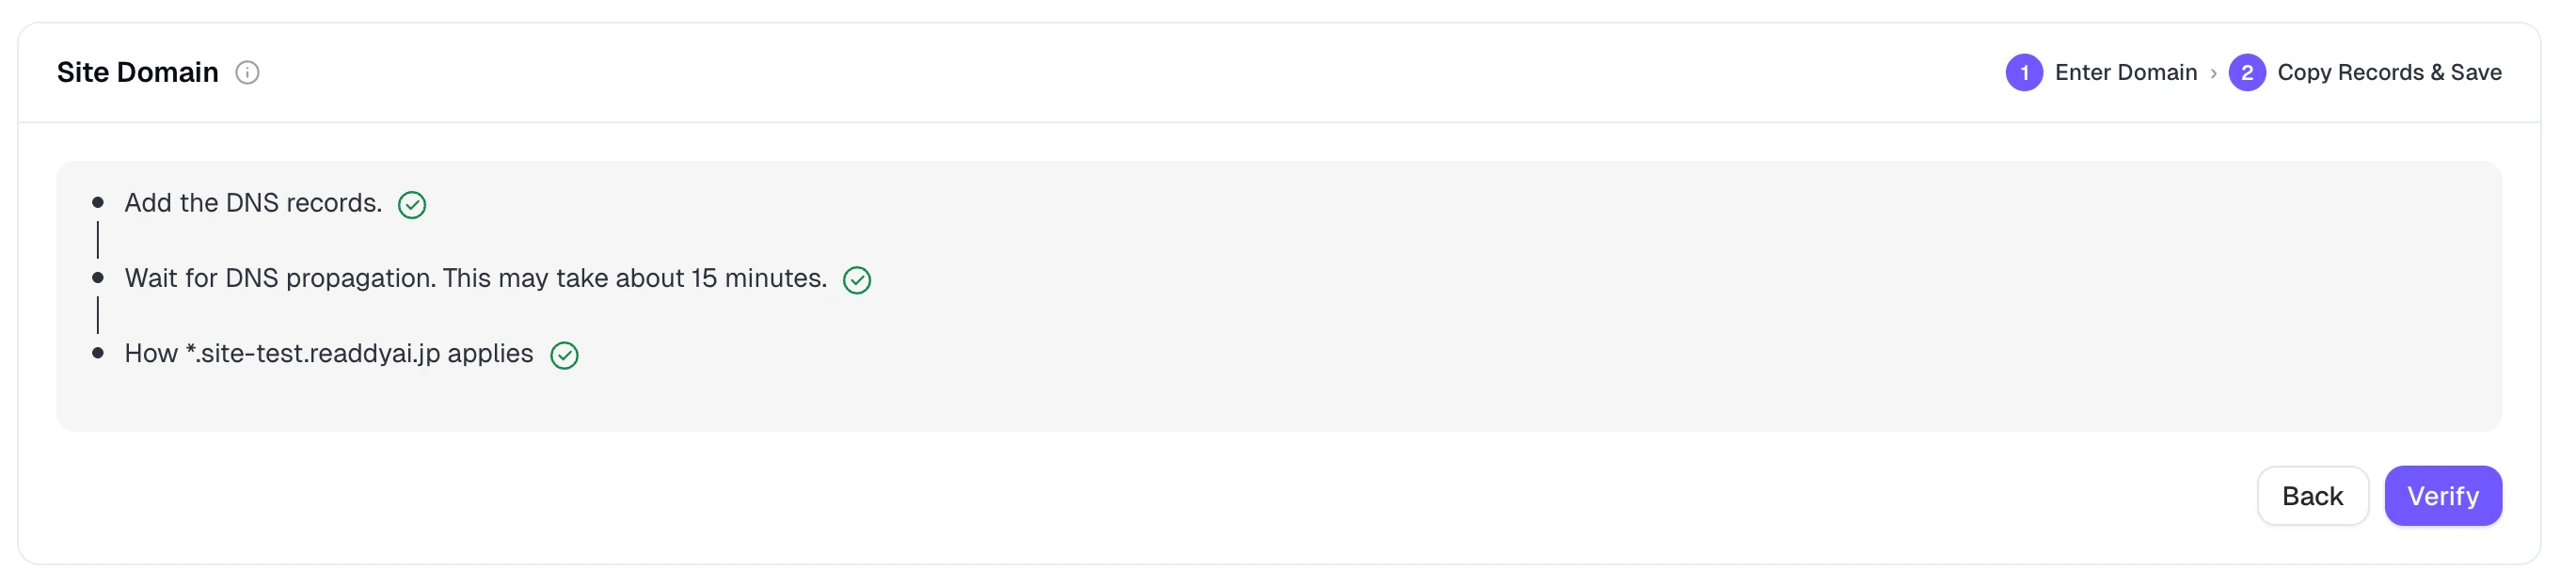
 Click **Verify** after the wildcard DNS record is in place. If the CNAME is correct but SSL is still pending, return later and use **Check Status** until the domain becomes active.
 Use **New publishes only** if you want existing published sites to keep their current domains.
When you first connect a custom Site Domain and apply it to **all published sites**, the previous site URLs redirect to the new address.
When you change from one custom Site Domain to another and apply it to **all published sites**, the old URLs stop working immediately.
If you revert back to the default Site Domain pattern, live site URLs change again, so review the target pattern before you confirm.
DNS propagation and SSL issuance usually complete within a few minutes, but in some cases they can take up to 72 hours. During that time, the domain may stay in a pending status even when the DNS record is already correct.
## Custom Email
Use **Custom Email** to send white-label invitations and notifications from your own sender identity.
In **Custom Email**, click **Settings** in the **Use Brand Email** section to open the branded sender setup.
Add your Resend API key, choose a verified sending domain, then set the sender name and sender email prefix.
Complete the setup with a test email so you can confirm delivery before sending to clients.
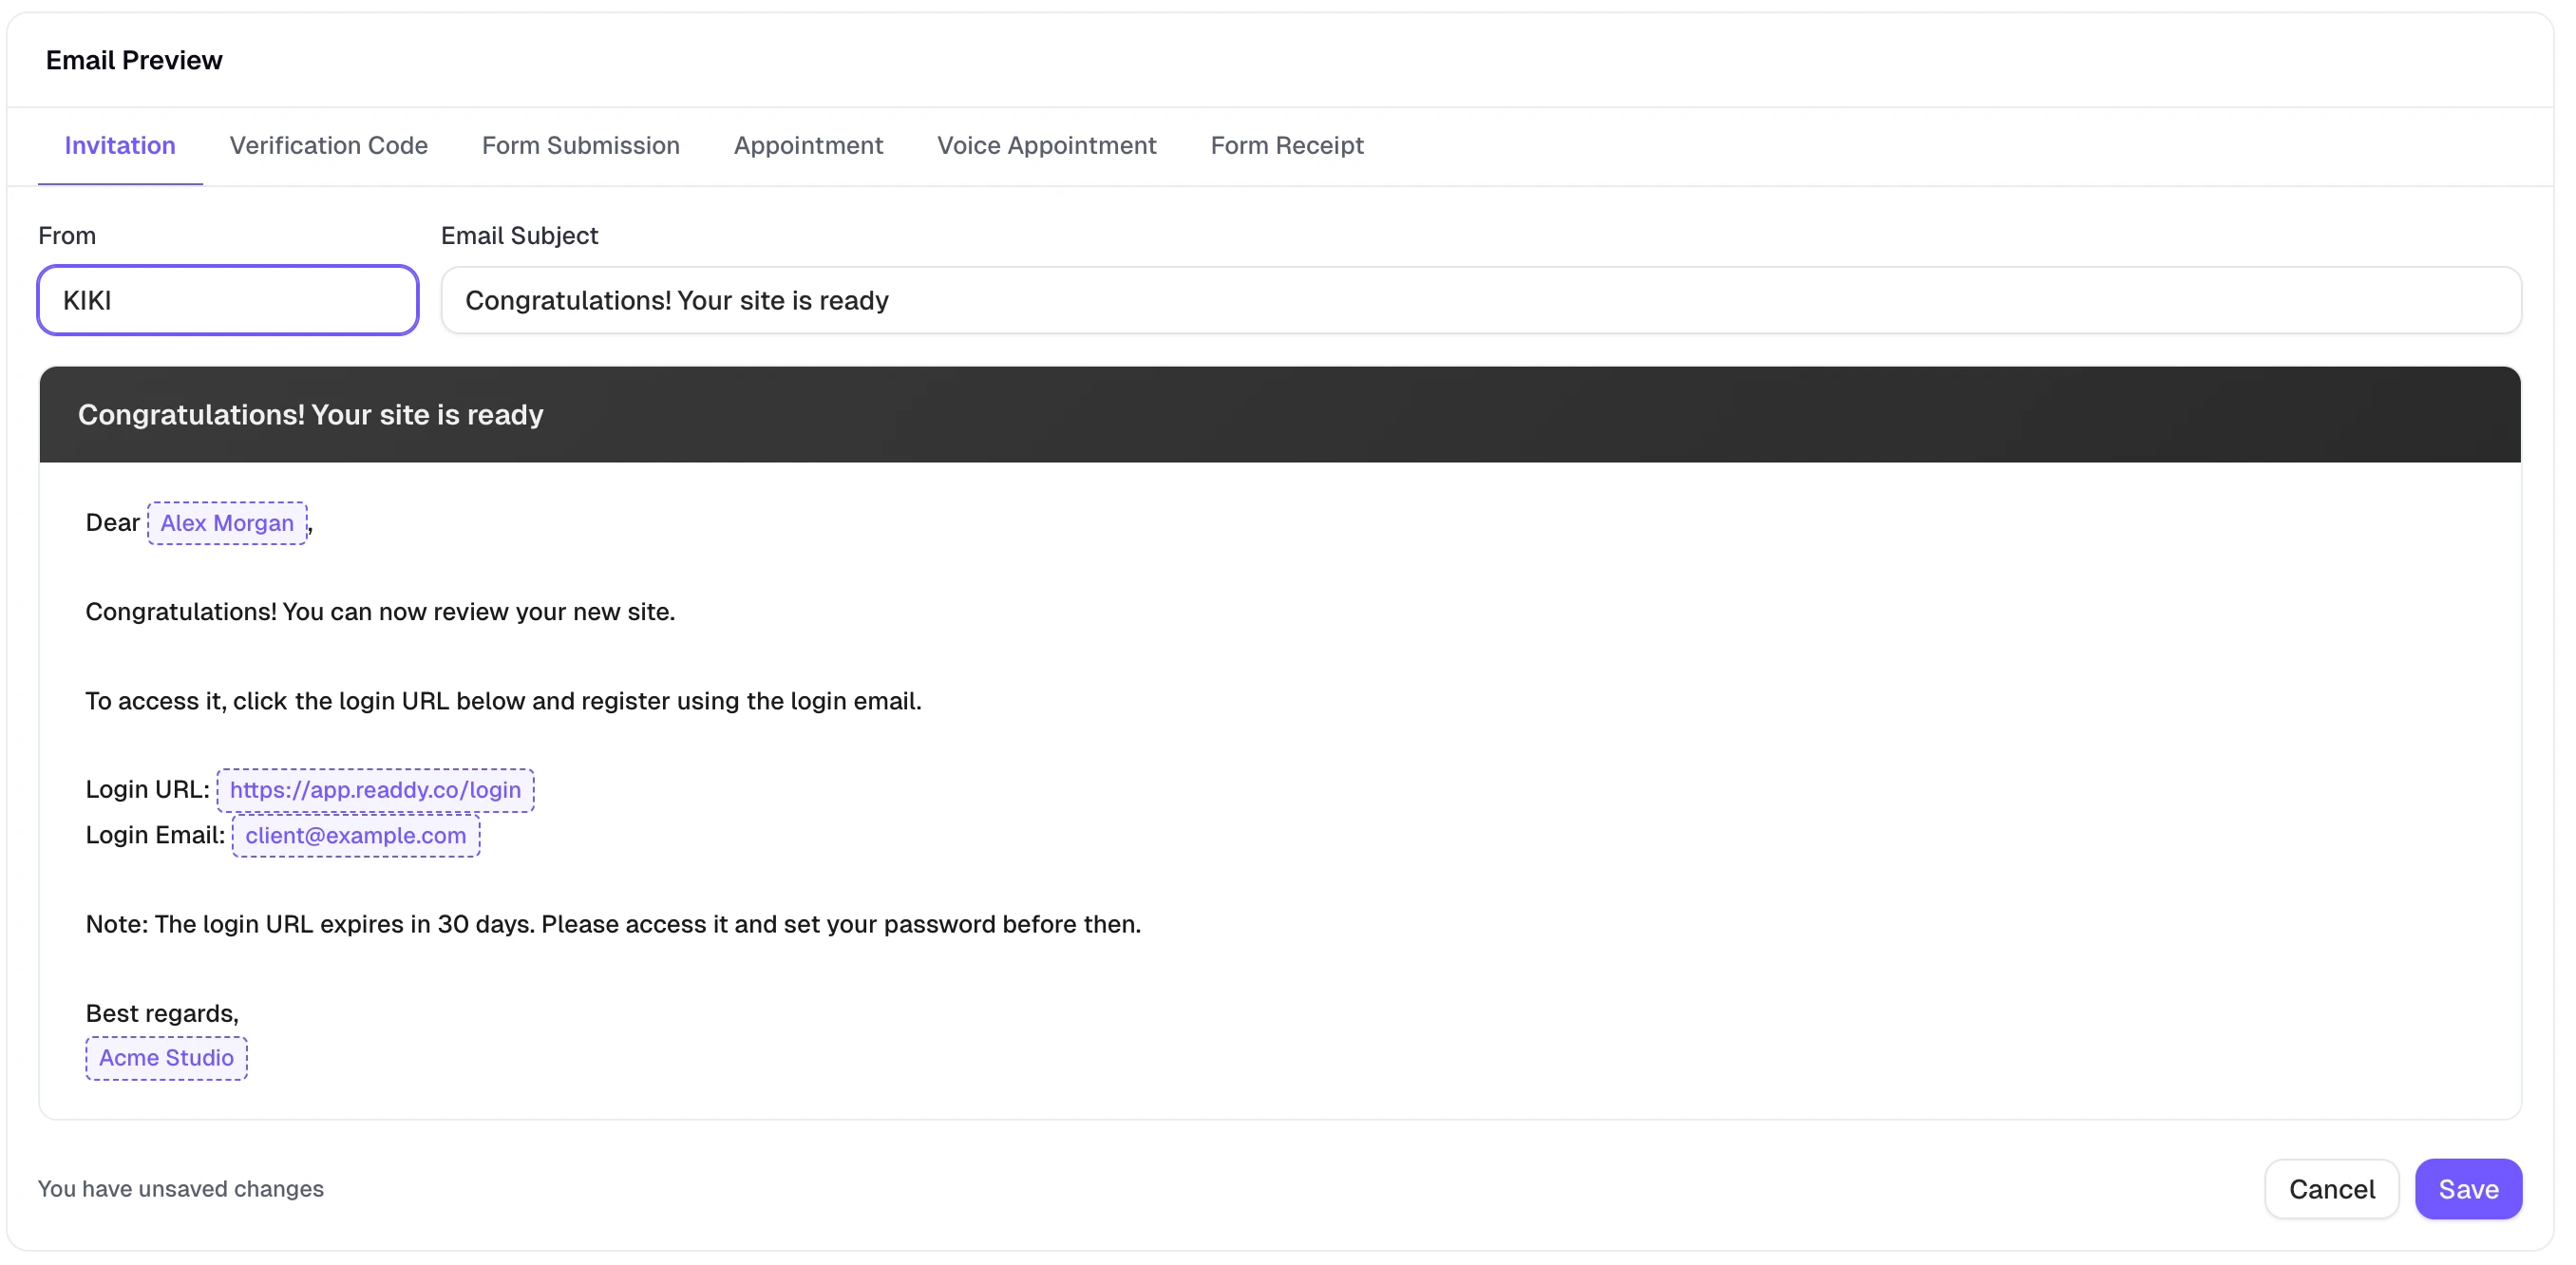
White Label includes templates for **Invitation**, **Verification Code**, **Form Submission**, **Appointment**, **Voice Appointment**, and **Form Receipt**.
For each template, you can review the preview and adjust the sender name and subject line.
Use **New publishes only** if you want existing published sites to keep their current domains.
When you first connect a custom Site Domain and apply it to **all published sites**, the previous site URLs redirect to the new address.
When you change from one custom Site Domain to another and apply it to **all published sites**, the old URLs stop working immediately.
If you revert back to the default Site Domain pattern, live site URLs change again, so review the target pattern before you confirm.
DNS propagation and SSL issuance usually complete within a few minutes, but in some cases they can take up to 72 hours. During that time, the domain may stay in a pending status even when the DNS record is already correct.
## Custom Email
Use **Custom Email** to send white-label invitations and notifications from your own sender identity.
In **Custom Email**, click **Settings** in the **Use Brand Email** section to open the branded sender setup.
Add your Resend API key, choose a verified sending domain, then set the sender name and sender email prefix.
Complete the setup with a test email so you can confirm delivery before sending to clients.
White Label includes templates for **Invitation**, **Verification Code**, **Form Submission**, **Appointment**, **Voice Appointment**, and **Form Receipt**.
For each template, you can review the preview and adjust the sender name and subject line.
 | Template | Usually sent to | Typical purpose |
| --------------------- | ------------------------- | ---------------------------------------------------------------------------------------------------------------------------------------------------------------- |
| **Invitation** | Client | Give a client access to review or log in to their site |
| **Verification Code** | Client or user signing in | Complete login or verification flow |
| **Form Submission** | Site owner | Notify the owner about a new form lead |
| **Appointment** | Site owner | Notify the owner about a new booking
| Template | Usually sent to | Typical purpose |
| --------------------- | ------------------------- | ---------------------------------------------------------------------------------------------------------------------------------------------------------------- |
| **Invitation** | Client | Give a client access to review or log in to their site |
| **Verification Code** | Client or user signing in | Complete login or verification flow |
| **Form Submission** | Site owner | Notify the owner about a new form lead |
| **Appointment** | Site owner | Notify the owner about a new booking
You can set a different recipient email address for each project in Project Settings. |
| **Voice Appointment** | Site owner | Notify the owner about a new voice appointment
You can set a different recipient email address for each project in Project Settings. |
| **Form Receipt** | Form submitter or visitor | Confirm that a submission was received
You can configure a different receipt sender address for each project using the Resend settings in Project Settings. |
In the current White Label flow, **Custom Email** lets you configure branded sending and adjust the sender name and subject line for each template. The email body is shown as a preview and is not fully editable here.
If you do not configure branded email delivery, white-label emails continue to use the default sender address.
## Common issues
Yes. **Site Domain** is optional. Many agencies start with **Custom Branding** and **Platform Domain** first, then move published sites later.
Yes. If you are not ready to use your own Platform Domain yet, you can keep the default Readdy domain and customize the default subdomain slug.
Platform Domain only supports subdomains. Use something like `app.example.com` or `www.example.com`, not the root domain `example.com`.
Enter the base subdomain, such as `sites.example.com`. Readdy handles the wildcard setup for you, so published sites can use subdomains under it.
No. By default, only newly published websites use the default White Label domain.
If you want previously published websites to switch as well, go to **Site Domain** settings and change the application scope so the domain applies to all published sites. After the change, previously published domains redirect to the White Label domain.
The White Label site domain does not include Readdy branding. You can also connect your own branded domain for client-published websites, which helps strengthen and grow your agency brand.
Usually this means either DNS has not fully propagated yet or the SSL certificate is still being issued. Wait a little longer, then run the verification step again.
The domain may already be bound to another account, or the subdomain may already be taken. Use a different domain or remove the conflicting binding first.
Your saved white-label configuration is preserved, but editing stays locked until you upgrade back to a plan that includes White Label.
No. You can still use **Custom Branding** and **Custom Domain** without branded email. If Custom Email is not configured, Readdy continues using the default sender for white-label emails.
## Need Help?
If this guide doesn't resolve your issue, [submit a support ticket](https://readdy.ai/feedback). We're here to help!